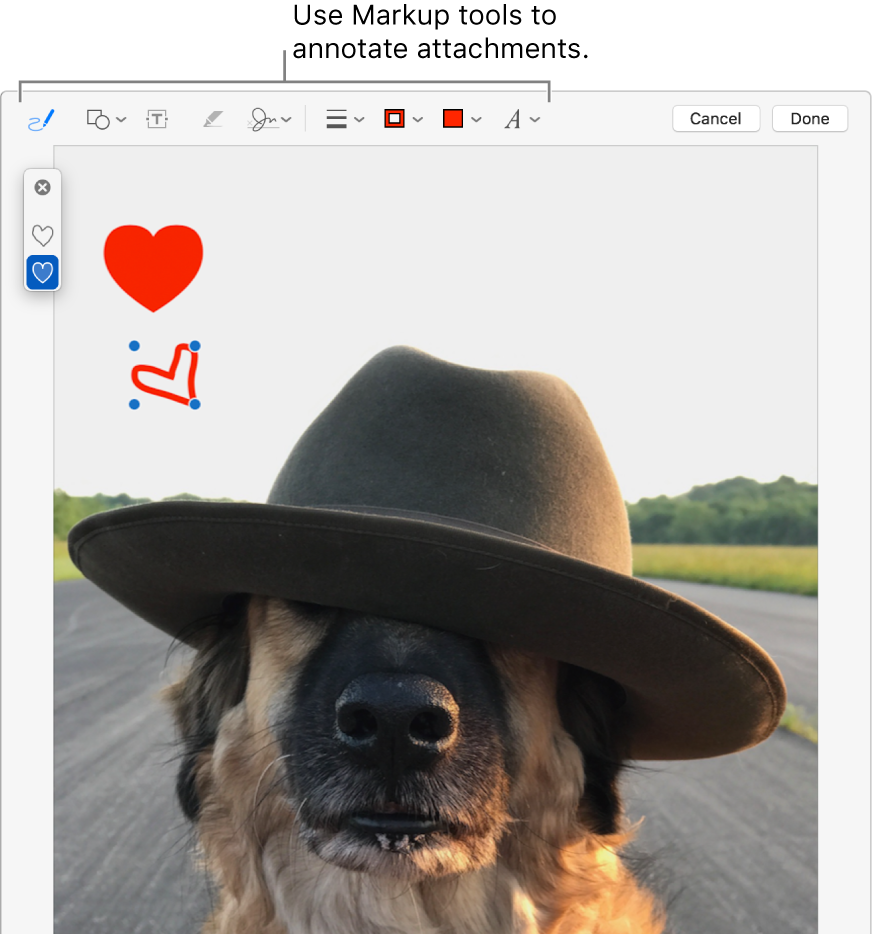
Mark up attachments
When you’re writing a message and add an image or PDF document, you can use Markup to write or draw on the attachment, or to add shapes or a signature to it.

Move the pointer over the image or PDF you added to your message, click the Action pop-up menu
 that appears in the upper-right corner of the attachment, then choose Markup. Or simply force click the image.
If you don’t see the pop-up menu, you may need to enable Markup. Choose Apple menu > System Preferences, click Extensions, click Actions, then select the Markup checkbox.
Use the tools to mark up the attachment.
You can adjust how much of the attachment is shown at any time: move the pointer near the edges, then drag the blue handles.
To duplicate any shape, text, or signature, press and hold the Option key while you drag an item; use the yellow guides to align the items.
Sketch

Sketch a shape using a single stroke.
If your drawing is recognized as a standard shape, it’s replaced by that shape; to use your drawing instead, choose it from the palette that’s shown.
Draw

Draw a shape using a single stroke. Press your finger more firmly on the trackpad to draw with a heavier, darker line.
This tool appears only on computers with a Force Touch trackpad.
Shapes

Click a shape, then drag it where you want. To resize the shape, use the blue handles. If it has green handles, use them to alter the shape.
You can zoom and highlight shapes using these tools:
Loupe
 : Drag the loupe to the area you want to magnify. To increase or decrease the magnification, drag the green handle; drag the blue handle to change the loupe size.
 To further magnify an area, you can create additional loupes and stack them, using the yellow guides to align them.
Highlight
 : Drag the highlight where you want. To resize it, use the blue handles.
Text

Type your text, then drag the text box where you want.
Sign

If signatures are listed, click one, then drag it where you want. To resize it, use the blue handles.
To create a new signature:
Using your trackpad: Click the Sign tool, click Create Signature if shown, then click Trackpad. Click the text as prompted, sign your name on the trackpad using your finger, then click Done. If you don’t like the results, click Clear, then try again.
If your trackpad supports it, press your finger more firmly on the trackpad to sign with a heavier, darker line.
Using your computer’s built-in camera: Click the Sign tool, click Create Signature if shown, then click Camera. Hold your signature (on white paper) facing the camera so that your signature is level with the blue line in the window. When your signature appears in the window, click Done. If you don’t like the results, click Clear, then try again.
Shape Style

Change the thickness and type of lines used in a shape, and add a shadow.
Border Color

Change the color of the lines used in a shape.
Fill Color

Change the color that’s used inside a shape.
Text Style

Change the font or the font style and color.
When you’re finished, click Done.
You can change or add annotations until you send your message. Once sent, your annotations become part of the image or PDF, and you and your recipients can’t modify them.