
Add video effect keyframes in Final Cut Pro
You place keyframes at specific points in a clip to change parameter values at those points.
For example, if you want a clip in your project to fade to black, you set two opacity keyframes at two different times: one with the value of 100 (fully visible) and a second with the value of 0 (fully transparent). Final Cut Pro interpolates the values between 100 and 0, creating a smooth fade to black.
You can set keyframes in the timeline or in the Video inspector. To see keyframes in the timeline, you need to display the Video Animation editor for the clip.
Additional keyframing controls appear with the Final Cut Pro built-in effects. See Work with built-in effects in Final Cut Pro.
To learn about keyframing audio clips, see Keyframe audio effects in Final Cut Pro.
Add keyframes
In Final Cut Pro, do one of the following:
Select a clip in the timeline, then choose Clip > Show Video Animation (or press Control-V).
Control-click a clip in the timeline and choose Show Video Animation.
Each effect in the Video Animation editor has a separate area for adding keyframes.
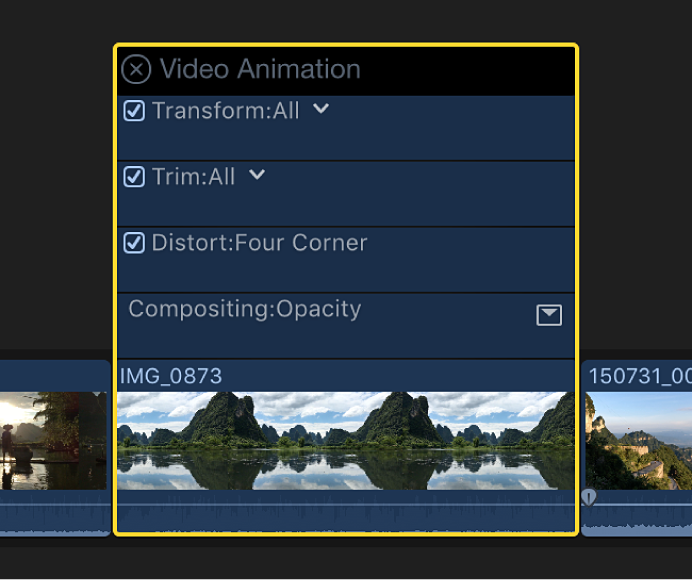
Some effects have more than one parameter and allow you to add keyframes to individual parameters separately. They appear in the Video Animation editor with a down arrow next to the effect’s name or in the Video inspector as additional parameter controls.
In either the Video Animation editor or the Effects section of the Video inspector, select the effect or effect parameter for which you want to add keyframes.
Do one of the following:
See expanded parameters in the Video Animation editor: Click the down arrow next to the effect and choose an individual parameter from the pop-up menu, or choose All to add keyframes for all parameters.
See expanded parameters in the Video inspector: Position the pointer over the effect and click Show.
Do one of the following for each effect:
In the Video Animation editor: Option-click (or press Option-K) at a point on the horizontal effect control where you want to add the keyframe.
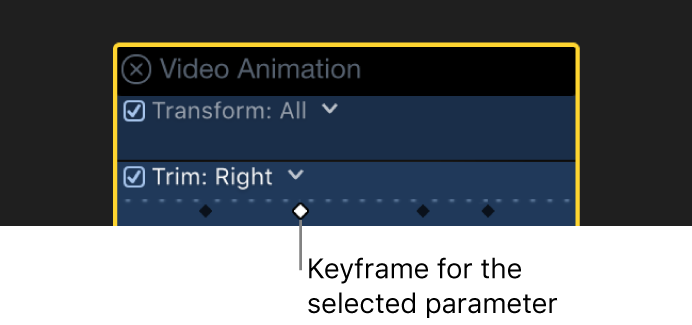
Keyframes for the parameter you chose appear as white diamonds; keyframes for other effect parameters appear gray.
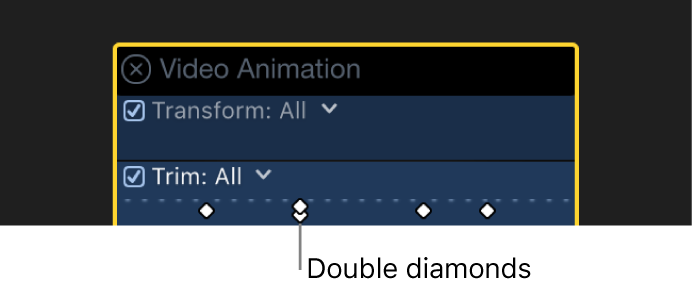
When you choose to view all parameters in the Video Animation editor, keyframes appear as white diamonds for all parameters. Double diamonds indicate that you added a keyframe for more than one parameter at that point.
In the Video inspector: Position the playhead in the timeline at the point where you want to add a keyframe, then click the Keyframe button (or press Option-K).

After you add a keyframe, the Keyframe button becomes solid, indicating that the playhead is currently on this keyframe.

When you move the playhead in the timeline, arrows appear next to the Keyframe button in the Video inspector to indicate which side of the playhead has keyframes. To go to the previous keyframe, click the left arrow. To go to the next keyframe, click the right arrow.

Add keyframes as needed.
Tip: After you’ve added one keyframe, you can add another automatically by moving the playhead in the timeline and then adjusting the effect parameter value in the Video inspector.
Add keyframes automatically across a selected area
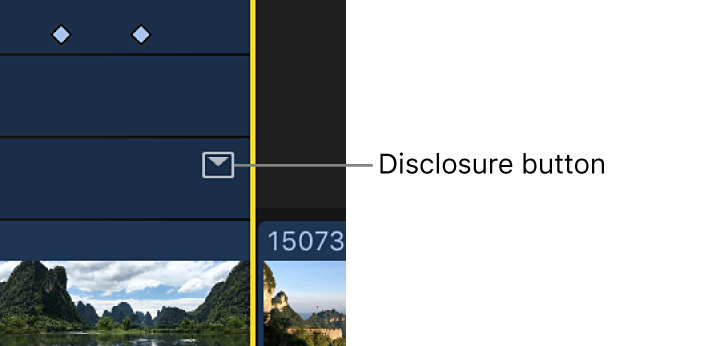
If an effect appears in the Video Animation editor with a disclosure button, you can use either the Select or Range Selection tool to add keyframes automatically across a selected area.
In Final Cut Pro, do one of the following:
Select a clip in the timeline, then choose Clip > Show Video Animation (or press Control-V).
Control-click a clip and choose Show Video Animation.
Select an effect, then click the disclosure button to expand it in the Video Animation editor.
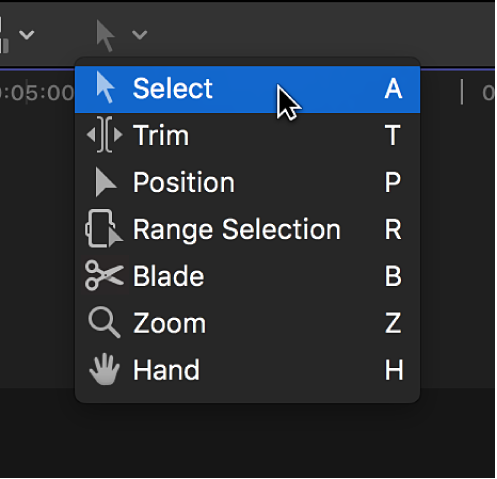
Click the Tools pop-up menu in the top-left corner of the timeline, then choose either Select
 or Range Selection
  (or press A for Select, or R for Range Selection).
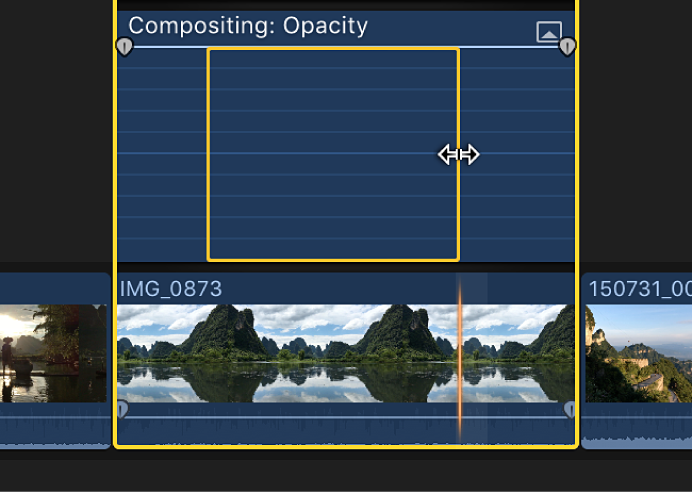
Drag across the area in the Video Animation editor where you want to adjust the effect.
Tip: To deselect the range, click anywhere in the timeline background.
Adjust the effect within the range by dragging the effect’s horizontal control up or down.
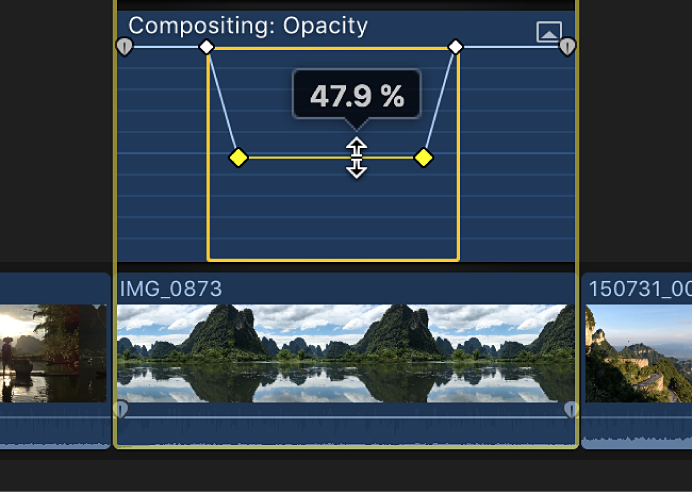
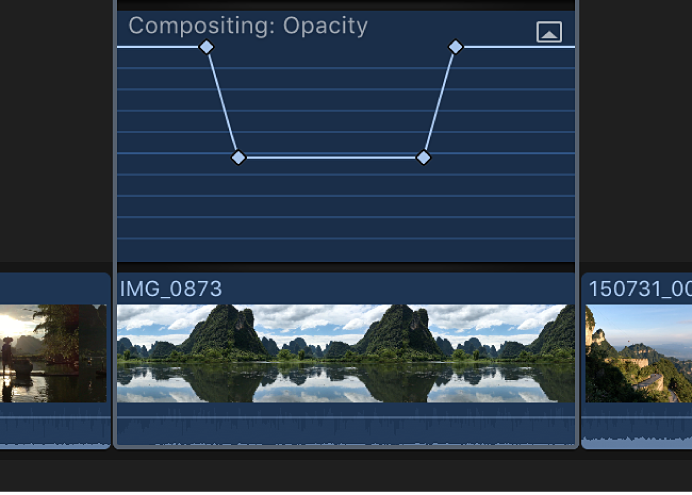
Keyframes are automatically created along the adjustment points within the range.
Adjust keyframes in the Video Animation editor
You can move keyframes left or right in the Video Animation editor.
If an effect appears with a disclosure button in the Video Animation editor, you can expand the effect view and move keyframes up or down to change the parameter value, and you can also fade video effects in or out or change the shape of the effect curve between keyframes. See Adjust effect curves in Final Cut Pro.
Select a keyframe in the Final Cut Pro Video Animation editor.
Do any of the following:
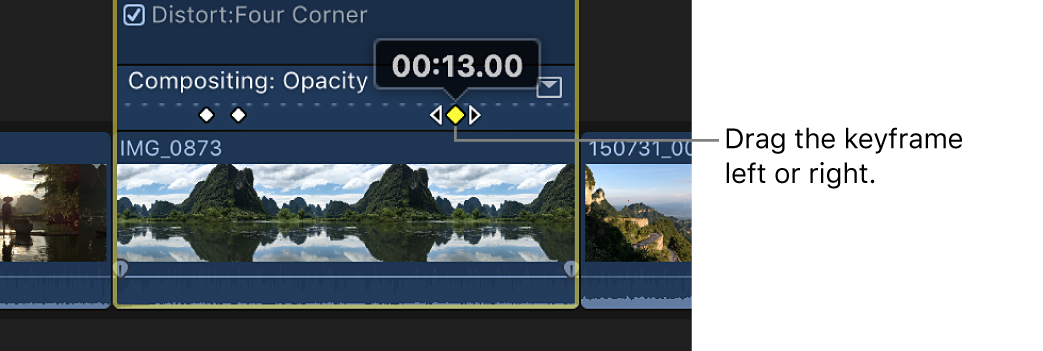
Change a keyframe’s position in time: Drag a keyframe left or right.
As you drag, the timecode value appears.
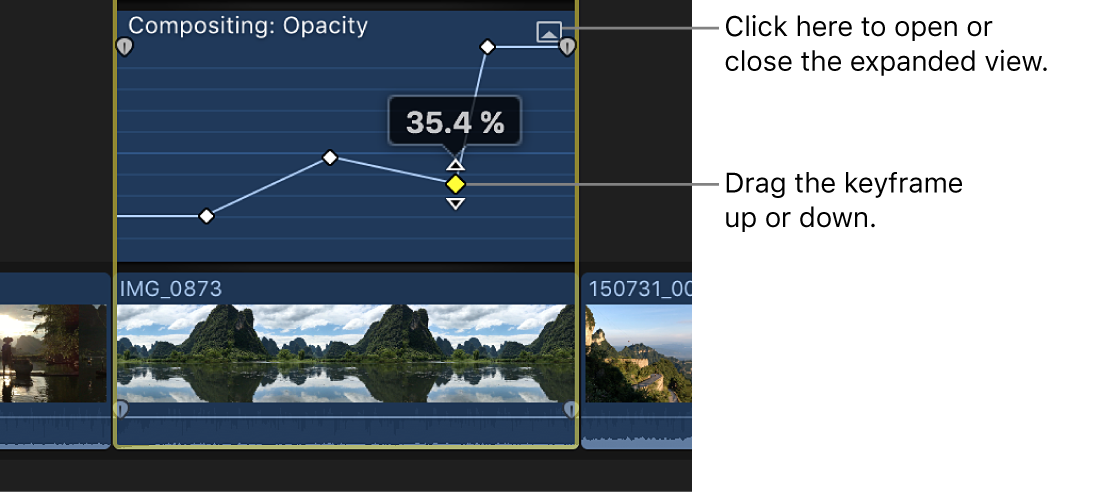
Change a keyframe’s parameter value: Drag the keyframe up or down.
If an effect appears with a disclosure button, click the button (or double-click the effect) to expand it.
Add another keyframe: Option-click (or press Option-K) at a point on the effect control where you want to add the keyframe.
Add a keyframe and change the effect’s parameter value at the same time: Option-click while dragging the effect control up or down.
Adjust keyframes in the Video inspector
For many effects, you adjust the parameter value of individual keyframes using the Video inspector.
When you move the playhead in the timeline, arrows appear next to the Keyframe button in the Video inspector to indicate which side of the playhead has keyframes.
To go to the previous keyframe, click the left arrow. To go to the next keyframe, click the right arrow. Or, to use keyboard shortcuts, select the parameter in the Video Animation editor, then press Option-Semicolon (;) to go to the previous keyframe or Option-Apostrophe (’) to go to the next keyframe.

If the Video inspector isn’t already shown in Final Cut Pro, do one of the following:
Choose Window > Show in Workspace > Inspector (or press Command-4).
Click the Inspector button on the right side of the toolbar.

Click the Video button at the top of the inspector.

Select a keyframe or position the playhead on a keyframe, then adjust the parameter value in the Video inspector.
To change the value at the next keyframe, go to the next keyframe, then adjust the value in the Video inspector.
Delete keyframes
In Final Cut Pro, do one of the following:
Select a keyframe in the Video Animation editor, then press Option-Shift-Delete.
Navigate to a keyframe in the Video inspector, then click the Keyframe button.

View only one effect at a time in the Video Animation editor
You can collapse the Video Animation editor to view only one effect at a time. This can be useful if you have multiple effects applied to a clip and want to preserve screen space.
In Final Cut Pro, choose Clip > Solo Animation (or press Control-Shift-V).
In the Video Animation editor, click the triangle next to the displayed effect’s name and choose an effect.
Note: When Solo Animation is turned on, you can’t delete effects from the Video Animation editor.
To turn off Solo Animation, choose Clip > Solo Animation (or press Control-Shift-V).
Hide video animation for a clip
In Final Cut Pro, do one of the following:
Select the clip in the timeline, then choose Clip > Hide Video Animation (or press Control-V).
Click the close button
 in the top-left corner of the Video Animation editor.
Control-click the clip in the timeline and choose Hide Video Animation.
Download this guide: Apple Books | PDF