
Create share destinations in Final Cut Pro
In the Destinations pane of the Final Cut Pro Preferences window, you can modify existing destinations, add new destinations, delete destinations, and create destination bundles, which allow you to export multiple types of output at once. You can also revert to the default set of destinations that were available when you first opened Final Cut Pro.
For information about sharing projects and clips from Final Cut Pro, see Intro to sharing projects in Final Cut Pro.
Create a new destination
In Final Cut Pro, do one of the following:
Choose File > Share > Add Destination.
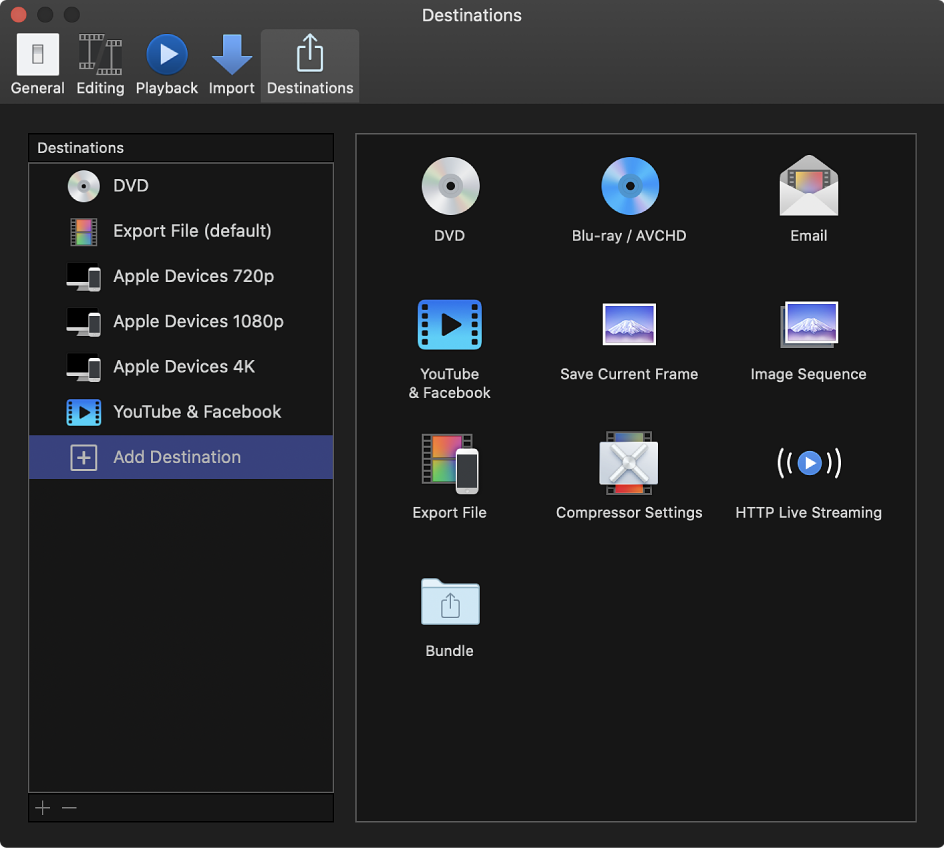
Choose Final Cut Pro > Preferences, click Destinations at the top of the window, then select Add Destination in the Destinations list on the left.
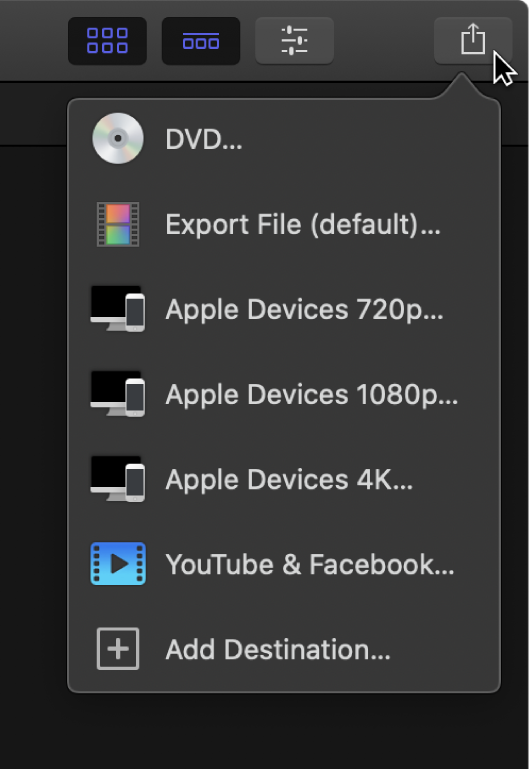
Select a clip or project, click the Share button in the toolbar (shown below), then click Add Destination.

In the Destinations pane of the Preferences window, do one of the following:
Drag a destination from the area on the right to the Destinations list on the left (or double-click a destination on the right).
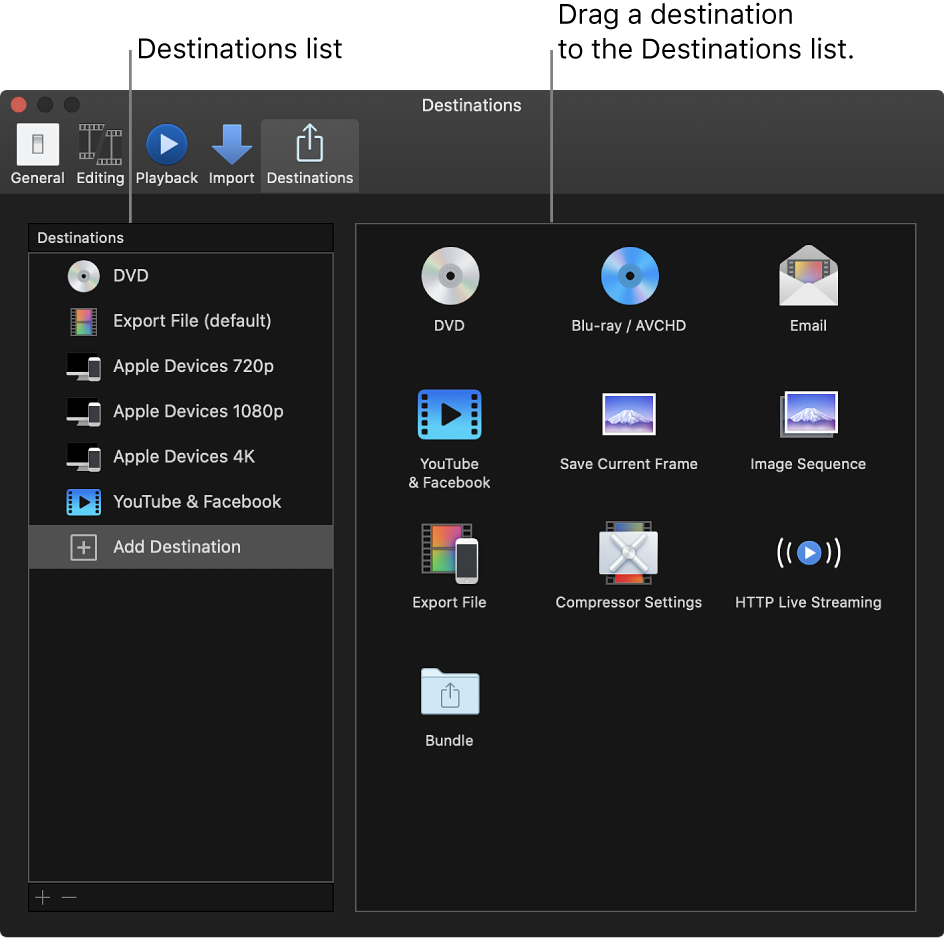
Control-click a destination in the Destinations list, then choose Duplicate.
The new destination appears selected in the list on the left, and the settings for the destination appear on the right.
Specify settings for the new destination.
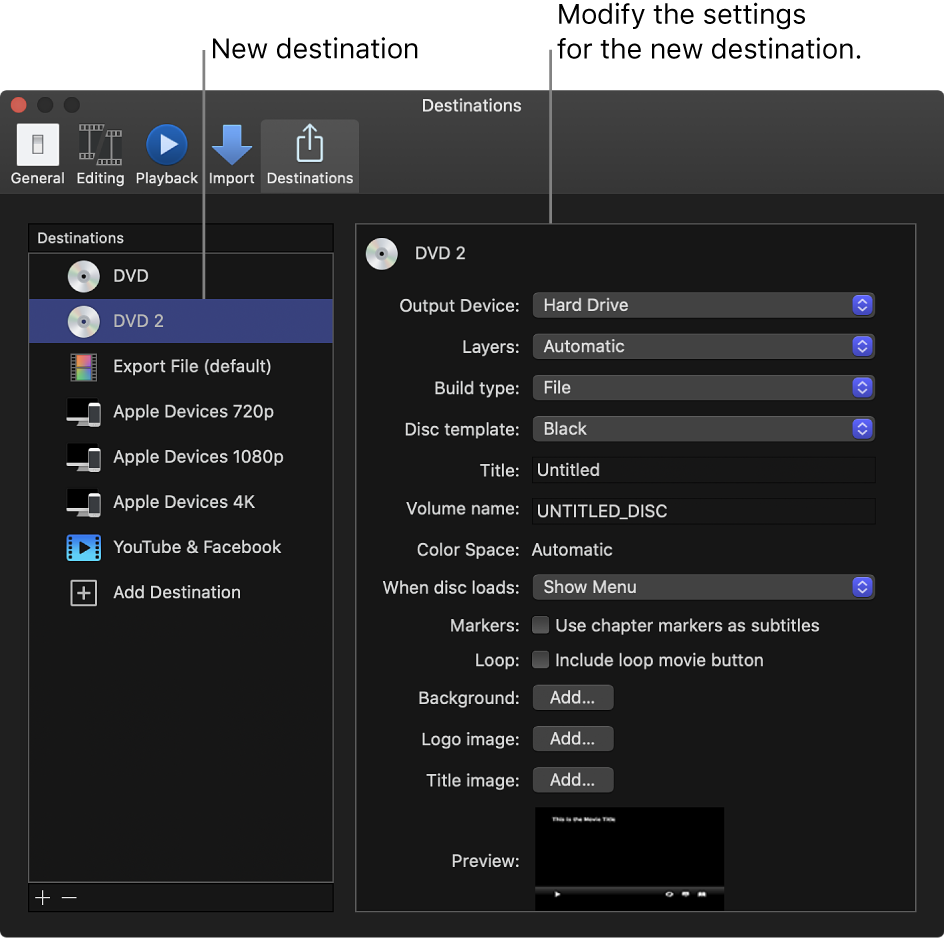
For descriptions of the controls in each destination, see Intro to Destinations preferences in Final Cut Pro.
Here are some tips for setting up various types of destinations:
If you chose a web destination: Enter your user name and password in the window that appears, then click OK. Depending on the destination you’re setting up, you may need to verify your account or your device. To do so, follow the onscreen instructions.
In some cases, you can select a “Remember this password in my keychain” checkbox, so that you don’t have to enter your user name and password every time you share to the destination.
If you chose the Compressor Settings destination: Select a Compressor setting in the window that appears, then click OK. The settings that are displayed include the Compressor settings that come with Final Cut Pro as well as any settings you added.
Important: You can use the Compressor Settings destination only if you have Compressor installed or someone gives you a Compressor setting.
You can make changes to the destination at any time. For example, you can type a new name or use the controls on the right to change the destination settings. As you customize the destination, your changes are saved automatically.
Modify existing destinations
Note: You can modify an existing destination’s settings while you’re sharing a project or clip. For information about sharing projects and clips from Final Cut Pro, see Intro to sharing projects in Final Cut Pro.
Choose Final Cut Pro > Preferences, then click Destinations at the top of the window.
The Destinations pane appears, with a list of destinations on the left.
Do any of the following:
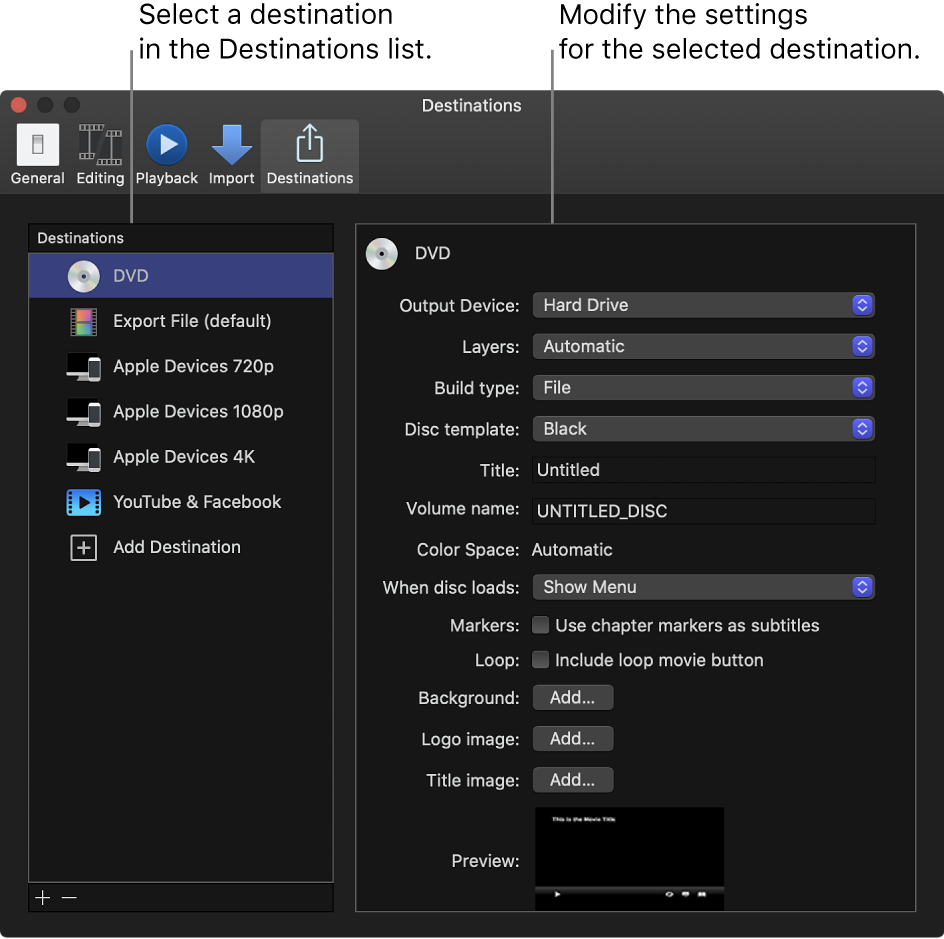
Change a destination’s settings: Select a destination, then modify the destination’s settings on the right.
Restore a destination to its original settings: Control-click a destination in the Destinations list, then choose Revert to Original Settings.
The destination’s settings are restored to their original values.
Rename a destination: Double-click a destination in the list on the left, then type a new name.
Change the order of destinations in the list: Drag a destination to a different location in the list.
For descriptions of the controls in each destination, see Intro to Destinations preferences in Final Cut Pro.
As you modify destinations, your changes are saved automatically.
Create a bundle of destinations
Bundles make it easy to create several types of output in a single step. A bundle holds a set of destinations. When you share a project or clip using the bundle, a file is output for each destination in the bundle.
Choose Final Cut Pro > Preferences, then click Destinations at the top of the window.
Select Add Destination in the Destinations list, then double-click the Bundle destination (or drag it from the area on the right to the Destinations list on the left).
An empty bundle appears in the Destinations list.
To add destinations to the bundle, drag existing destinations into it from the Destinations list, or select Add Destination and drag destinations from the area on the right into the bundle.
Tip: To quickly make a bundle from destinations in the Destinations list, select one or more destinations in the Destinations list, then Control-click in the Destinations list and choose New Bundle from Selection.
Delete a destination
Choose Final Cut Pro > Preferences, then click Destinations at the top of the window.
Do one of the following:
Control-click a destination in the Destinations list, then choose Delete.
Select a destination in the Destinations list, then press Delete.
Select a destination in the Destinations list, then click the Remove button (–) below the list.
Assign a default destination
After you set the default destination, you can quickly share to that destination by pressing Command-E. If a clip in the browser is selected, the clip is shared; if the timeline is active, the project is shared. By default, this keyboard shortcut is assigned to the Export File destination. To use the Command-E keyboard shortcut to share to another destination (or destination bundle), you can make that destination or bundle the default.
Choose Final Cut Pro > Preferences, then click Destinations at the top of the window.
Control-click the destination or bundle you want to make the default, then choose Make Default.
The name of the new default destination is appended with “(default).”
Revert to the set of destinations that came with Final Cut Pro
Choose Final Cut Pro > Preferences, then click Destinations at the top of the window.
Control-click in the Destinations list, then choose Restore Default Destinations.
Any custom destinations are deleted, and the default set of destinations appears. For a list of the default destinations, see Intro to sharing projects in Final Cut Pro.
Share destinations between Final Cut Pro users
Choose Final Cut Pro > Preferences, then click Destinations at the top of the window.
Do any of the following:
Export destinations from your copy of Final Cut Pro: Drag one or more destinations from the Destinations list to a location in the Finder.
The destination file is appended with the filename extension .fcpxdest.
Import destinations into your copy of Final Cut Pro: Drag a destination file from a location in the Finder to the Destinations list.
The destination you added appears in the Destinations list, the Share submenu of the File menu, and the menu that appears when you click the Share button in the toolbar.
Download this guide: Apple Books | PDF