Final Cut Pro User Guide for Mac
- Welcome
- What’s new
-
- Intro to effects
-
- Intro to transitions
- How transitions are created
- Add transitions and fades
- Quickly add a transition with a keyboard shortcut
- Set the default duration for transitions
- Delete transitions
- Adjust transitions in the timeline
- Adjust transitions in the inspector and viewer
- Merge jump cuts with the Flow transition
- Adjust transitions with multiple images
- Modify transitions in Motion
-
- Add storylines
- Use the precision editor
- Conform frame sizes and rates
- Use XML to transfer projects
- Glossary
- Copyright

Intro to audio in Final Cut Pro for Mac
Final Cut Pro has many features designed to make processing and editing audio easier. For example, you can analyze and automatically enhance audio to address problems such as noise or hum, add effects to your clips, sync video and audio clips automatically, and match audio between two clips.

You can make the following changes to clips or to audio components within a clip:
Edit multiple audio channels: Expand the audio portion of clips to reveal and edit audio components down to the individual channel level. This allows you to apply different effects to different components or channels, and streamlines the process for making quick sound cutouts or other adjustments. See Intro to audio editing in Final Cut Pro for Mac.
Adjust volume: Quickly adjust a clip’s volume directly in the timeline or in the Audio inspector. See Adjust volume in Final Cut Pro for Mac.
Pan audio: Take advantage of built-in pan presets for both stereo and surround sound. See Pan audio in Final Cut Pro for Mac.
Add audio effects: Add Audio Units effects, Logic effects, or custom effects included with Final Cut Pro, such as reverb, to clips. See Add audio effects in Final Cut Pro for Mac.
Add keyframes to automate volume and effects: Use keyframes to vary volume or effect settings as a clip plays. See Keyframe audio effects in Final Cut Pro for Mac.
Fade audio in or out: Fade audio in at the beginning or out at the end of a clip or an audio component with easy-to-use fade handles. See Fade audio in and out in Final Cut Pro for Mac.
For the most part, you use the same tools to edit audio clips that you use to edit video in Final Cut Pro. The following editing features are covered elsewhere in the Final Cut Pro User Guide:
Use roles to manage clips: Use roles and subroles in Final Cut Pro to organize clips in your events and projects by function or category, control the arrangement of the timeline, and export separate video or audio files (also known as media stems). See Intro to roles in Final Cut Pro for Mac.
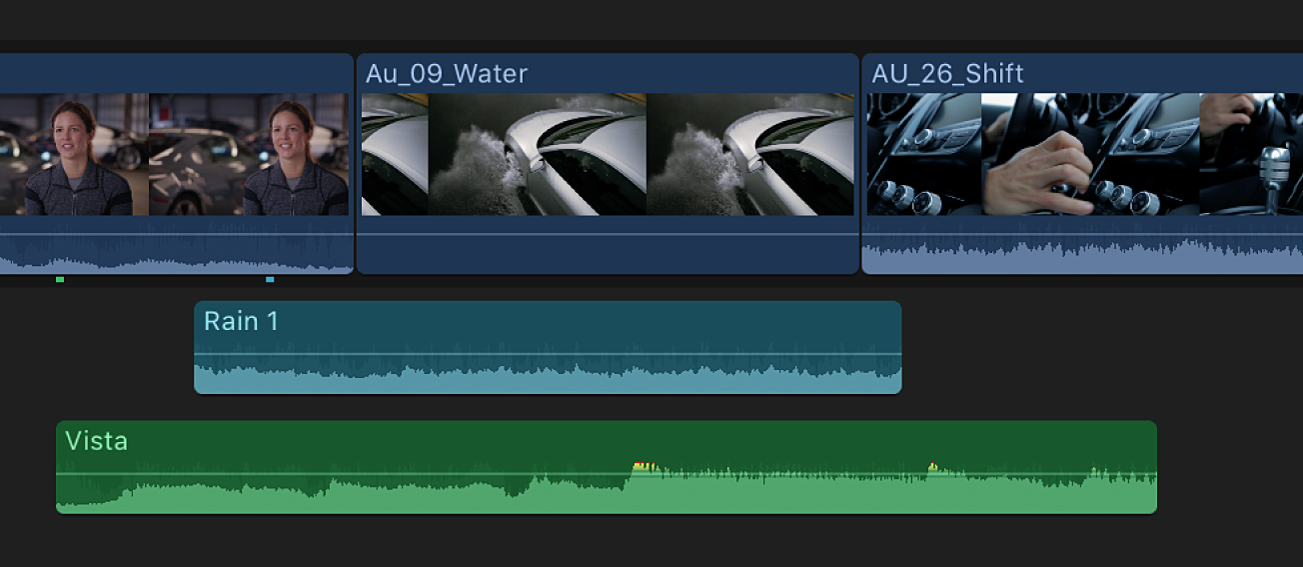
Organize the timeline using audio lanes: With a single click, arrange clips into audio lanes (separate, visually distinct layers) in the timeline. This view organizes clips visually and provides reference points that make editing easier and more efficient. See Organize the timeline with audio lanes in Final Cut Pro for Mac.
Change the edit mode: Set the edit mode for a clip to video only or audio only. See Add only a clip’s video or audio in Final Cut Pro for Mac.
Add markers to clips: Mark specific reference points within an audio clip. See Intro to markers in Final Cut Pro for Mac.
Trim audio: Make precision edits to the audio waveform—for example, to take out an unwanted sound in the recording. See Intro to trimming in Final Cut Pro for Mac.
Add audio crossfades: Create a smooth transition when connecting two separate audio waveforms. See Add video transitions and fades in Final Cut Pro for Mac.
Use compound clips: Combine any video or audio clips into a single compound clip. See Intro to compound clips in Final Cut Pro for Mac.
Export audio: Export your project as an audio file in either mono, stereo, or surround sound. You can also export media by role. See Intro to sharing projects in Final Cut Pro for Mac.
Download this guide: Apple Books | PDF