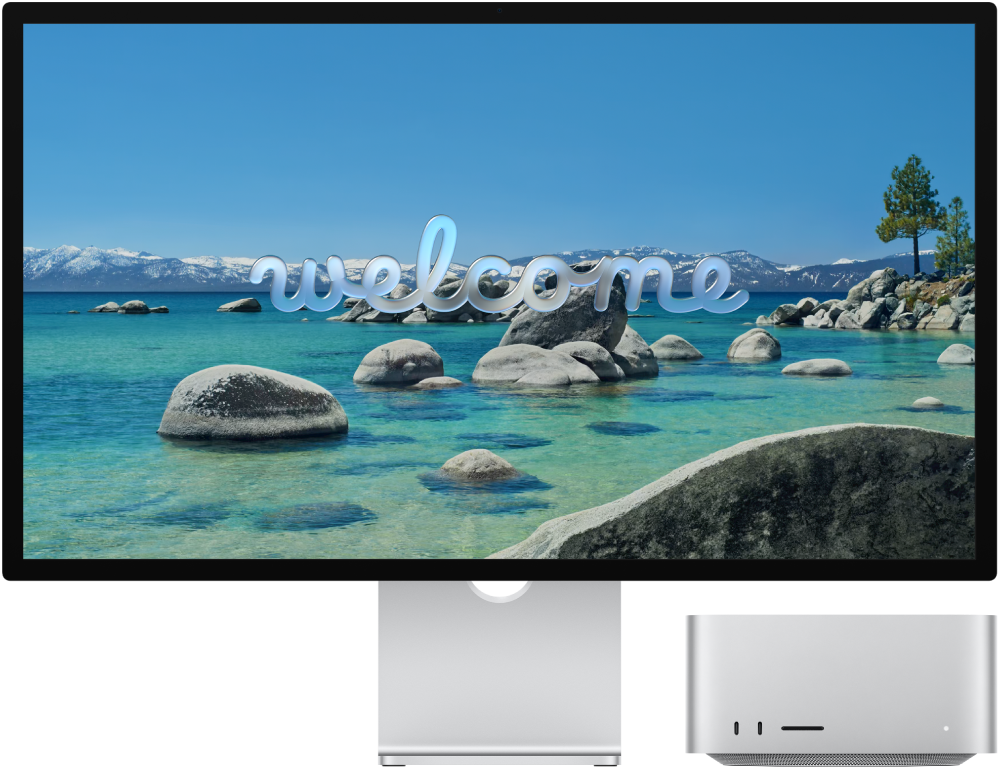
Set up your Studio Display
After you unbox your Studio Display, follow these instructions to set it up.
All Apple packaging is fully recyclable. Please break down the boxes according to the instructions and place in your recycling bin.
Before you begin: Choose a hard, stable work surface that allows for adequate air circulation under and around it. For more information on safety and handling, see Important safety information for Apple Studio Display and Important handling information for Apple Studio Display.
Step 1: Connect your display to AC power. Plug in your Studio Display to a wall outlet using the power cord attached to your display.
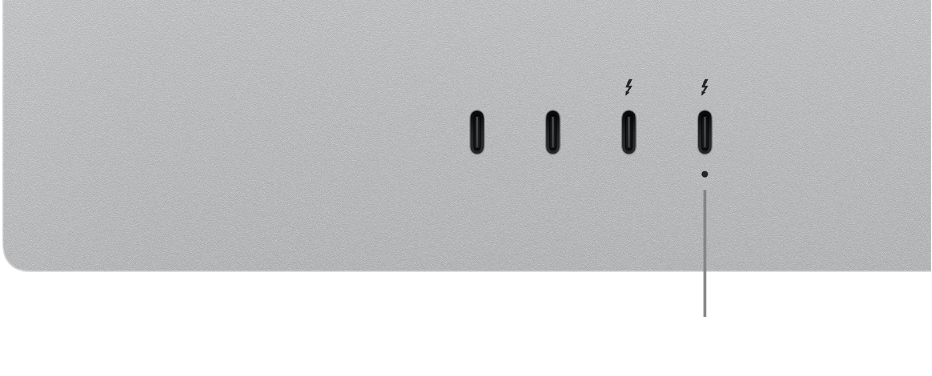
Step 2: Connect your display to your Mac. Use the Thunderbolt 5 cable that came with the display to connect your Mac to the upstream Thunderbolt 5 (USB-C) port 
Studio Display doesn’t have any buttons and automatically turns on when you plug it into power and connect it to your Mac.
Step 3: Adjust the stand. Adjust the tilt or tilt and height of the display’s built-in stand so the top third of the screen is at or slightly below your natural eye level. For more information, see Adjust the stand of your Studio Display.
If you chose to configure your Studio Display with a VESA mount adapter at the time of purchase, see the VESA Mount Adapter Setup Guide that came in the box.
Step 4: Adjust display settings. After you connect your Studio Display to your Mac, use Display settings in System Settings to turn screen mirroring on or off, arrange and manage multiple displays, and more.
Go to System Settings on your Mac, click Displays in the sidebar, then make your changes. For more information, see Display settings in the Mac User Guide.
Step 5: Change the reference mode. The color space, white point, gamma, and brightness on your Studio Display are set to a default mode that is ideal for many use cases. Studio Display also includes several built-in reference modes (known as presets) that cover typical content creation workflows across several media types. You can use the reference modes included with your display to match the production requirements of HDR, HD, SD video, and other media types. Each reference mode sets the color space, white point, gamma, and brightness on your display. You can also create custom reference modes to tailor them to your specific workflow needs by setting the color gamut, white point, luminance, and transfer function operations.
Use a reference mode: To choose a reference mode, go to System Settings on your Mac, click Displays
 in the sidebar, click the Preset menu, then choose an option. For more information, see Use the Preset menu in Display settings in the Mac User Guide.
Create a custom reference mode: To create a custom reference mode, go to System Settings on your Mac, then click Displays
in the sidebar. Click the Preset pop-up menu, choose Customize Presets, then click 

What’s next?
When you’ve set up your Studio Display, you can Connect an additional display and accessories to Studio Display.