Edit groups in a categorized table in Numbers for iCloud
You can fine-tune how data is presented in a categorized table by changing how dates are grouped (for example, by year instead of by month); rearranging groups or rows; changing labels, and more.
Change how date information is grouped
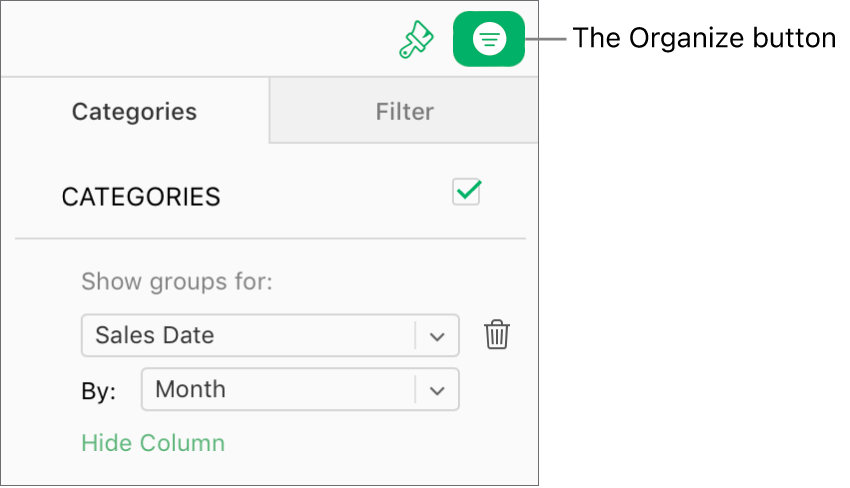
You can change the criteria used to group date information in a categorized table. For example, if the data is currently grouped by month, you can choose to group it by year, week, and so on.
Select the table, click the Organize button
 in the toolbar, then click Categories at the top of the sidebar.
For the category you want to edit, click the pop-up menu next to By, then choose how you want the data in this category to be grouped.

Note: If the source column contains something other than date information, the data is grouped by Value (regardless of what’s selected in the By pop-up menu).
Rename a group
You can rename a group at any time. If you change a group name to match another group’s name, the data in the two groups merges.
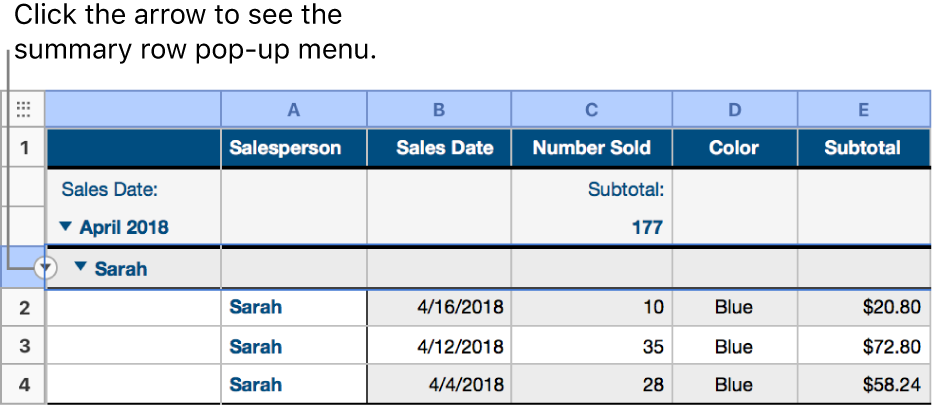
In the summary row, click the group name you want to change, type a new name, then press Return.
Change the order of groups
You can change the order of the groups within a category at any time.
Select the summary row (the one with the group name) for the group you want to move.
Click and hold the selection until the group appears to lift, then drag above or below a different group.
Move rows into a different group
You can move rows to a different group at any time. For example, in a spreadsheet that tracks items you’re selling online, when you sell an item, you could drag it from an unsold group to a sold group. When you move rows between groups, the values in the source column automatically update to fit the new group.
Select the rows you want to move.
Click and hold the selection until it appears to lift, then drag it to a different group.
If you drag the last remaining row out of a group, the summary row for the group is deleted.
Tip: To quickly move all rows from one group into another, merge the groups by naming one the same as the other. See “Rename a group” above.
Hide or show a group
Click the disclosure triangle to the left of the group’s name (in the summary row).
To show the group again, click the triangle again.
Delete a group
When you delete a group, the data in that group is also deleted from the table.
Move the pointer over the empty square to the left of the group name (on the far-left side of a summary row), click the arrow that appears, then choose Delete Group.
