Logic Pro User Guide for iPad
-
- What is Logic Pro?
- Working areas
- Work with function buttons
- Work with numeric values
- Undo and redo edits in Logic Pro for iPad
-
- Intro to tracks
- Create tracks
- Create tracks using drag and drop
- Choose the default region type for a software instrument track
- Select tracks
- Duplicate tracks
- Reorder tracks
- Rename tracks
- Change track icons
- Change track colors
- Use the tuner on an audio track
- Show the output track in the Tracks area
- Delete tracks
- Edit track parameters
- Start a Logic Pro subscription
- How to get help
-
- Intro to recording
-
- Before recording software instruments
- Record software instruments
- Record additional software instrument takes
- Record to multiple software instrument tracks
- Record multiple MIDI devices to multiple tracks
- Record software instruments and audio simultaneously
- Merge software instrument recordings
- Spot erase software instrument recordings
- Replace software instrument recordings
- Capture your most recent MIDI performance
- Route MIDI internally to software instrument tracks
- Record with Low Latency Monitoring mode
- Use the metronome
- Use the count-in
-
- Intro to arranging
-
- Intro to regions
- Select regions
- Cut, copy, and paste regions
- Move regions
- Remove gaps between regions
- Delay region playback
- Trim regions
- Loop regions
- Repeat regions
- Mute regions
- Split and join regions
- Stretch regions
- Separate a MIDI region by note pitch
- Bounce regions in place
- Change the gain of audio regions
- Create regions in the Tracks area
- Convert a MIDI region to a Session Player region or a pattern region
- Replace a MIDI region with a Session Player region in Logic Pro for iPad
- Rename regions
- Change the color of regions
- Delete regions
-
- Intro to chords
- Add and delete chords
- Select chords
- Cut, copy, and paste chords
- Move and resize chords
- Loop chords on the Chord track
- Color chords on the Chord track
- Edit chords
- Work with chord groups
- Use chord progressions
- Change the chord rhythm
- Choose which chords a Session Player region follows
- Analyze the key signature of a range of chords
- Create fades on audio regions
- Extract vocal and instrumental stems with Stem Splitter
- Access mixing functions using the Fader
-
- Intro to Step Sequencer
- Use Step Sequencer with Drum Machine Designer
- Record Step Sequencer patterns live
- Step record Step Sequencer patterns
- Load and save patterns
- Modify pattern playback
- Edit steps
- Edit rows
- Edit Step Sequencer pattern, row, and step settings in the inspector
- Customize Step Sequencer
-
- Intro to mixing
-
- Channel strip types
- Channel strip controls
- Peak level display and clipping
- Set channel strip volume
- Set channel strip input format
- Set the output for a channel strip
- Set channel strip pan position
- Mute and solo channel strips
- Reorder channel strips in the Mixer in Logic Pro for iPad
- Replace a patch on a channel strip using drag and drop
- Work with plug-ins in the Mixer
- Search for plug-ins in the Mixer in Logic Pro for iPad
-
- Effect plug-ins overview
-
- Instrument plug-ins overview
-
- ES2 overview
- Interface overview
-
- Modulation overview
- Use the Mod Pad
-
- Vector Envelope overview
- Use Vector Envelope points
- Use Vector Envelope solo and sustain points
- Set Vector Envelope segment times
- Vector Envelope XY pad controls
- Vector Envelope Actions menu
- Vector Envelope loop controls
- Vector Envelope point transition shapes
- Vector Envelope release phase behavior
- Use Vector Envelope time scaling
- Modulation source reference
- Via modulation source reference
-
- Sample Alchemy overview
- Interface overview
- Add source material
- Save a preset
- Edit mode
- Play modes
- Source overview
- Synthesis modes
- Granular controls
- Additive effects
- Additive effect controls
- Spectral effect
- Spectral effect controls
- Filter module
- Low, bandpass, and highpass filters
- Comb PM filter
- Downsampler filter
- FM filter
- Envelope generators
- Mod Matrix
- Modulation routing
- Motion mode
- Trim mode
- More menu
- Sampler
- Studio Piano
- Copyright
Use ES2 LFOs in Logic Pro for iPad
ES2 LFOs can be used to create delayed modulations, free modulations, and modulations that are synchronized with the Logic Pro tempo.

Set the LFO 1 modulation fade time in ES2
In Logic Pro, set a positive LFO 1 EG value to fade in the modulation.
The higher the value, the longer the delay time.
Set a negative LFO 1 EG value to fade out the modulation.
The lower the slider is positioned onscreen, the shorter the fade out time.
Set up a delayed vibrato in ES2
LFO envelopes are most often used for delayed vibrato—many instrumentalists and singers intonate longer notes this way.
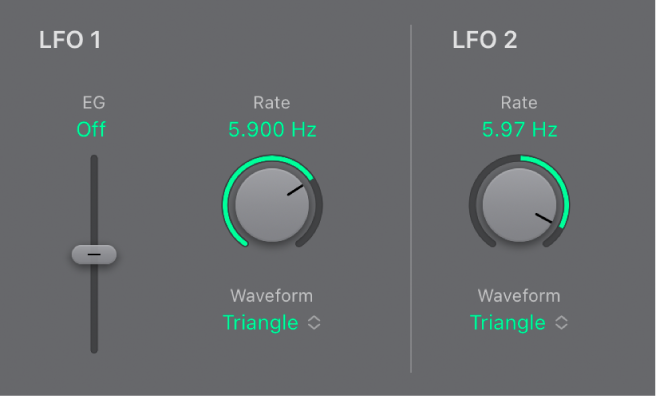
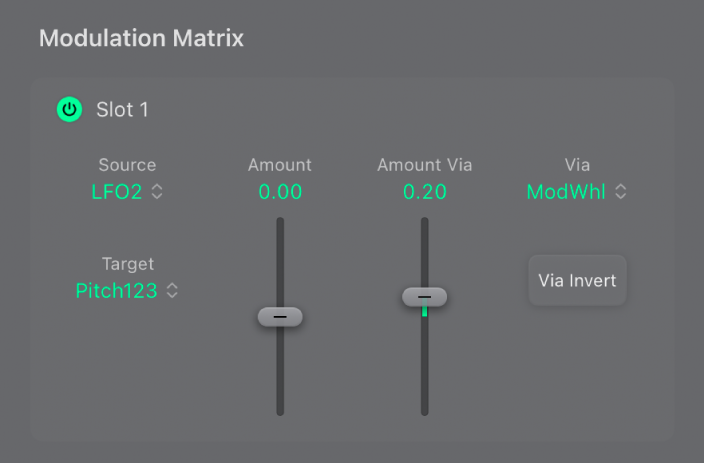
In Logic Pro, set the LFO 1 EG slider to a position in the upper half (Delay) and modulate the Pitch123 target with the LFO 1 source in Mod Matrix Slot 1—10.

Set a slight modulation intensity with the Amount slider.
Set an LFO 1 Rate of about 5 Hz.
Choose the triangular wave as the LFO 1 waveform.
Set a free rate for LFO 2 in ES2
In Logic Pro, choose a value in the upper half of the LFO 2 Rate range to run LFO 2 freely.
The rate is displayed in hertz.
Synchronize the ES2 LFO 2 rate with the song tempo
In Logic Pro, choose a value to the left of the LFO 2 Rate center position to synchronize LFO 2 with the project tempo.
The rate is displayed in rhythmic values (when project tempo synchronization is active).
Synchronized rates range from speeds of 1/64-notes to a periodic duration of 32 bars. Triplet and punctuated values are also available.
Download this guide: PDF