Numbers User Guide for iPad
- Welcome
- What’s new in Numbers 13.2
-
- Intro to Numbers
- Intro to images, charts and other objects
- Create a spreadsheet
- Open spreadsheets
- Prevent accidental editing
- Personalise templates
- Use sheets
- Undo or redo changes
- Save your spreadsheet
- Find a spreadsheet
- Delete a spreadsheet
- Print a spreadsheet
- Change the sheet background
- Copy text and objects between apps
- Customise the toolbar
- Touchscreen basics
- Use Apple Pencil with Numbers
- Copyright

Intro to objects in Numbers on iPad
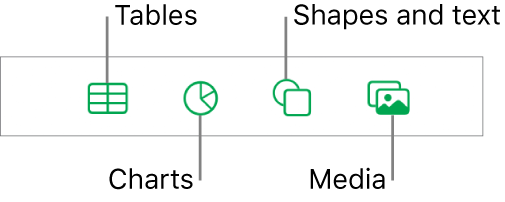
An object is any item you place on a sheet. Tables, charts, text boxes, shapes and photos are examples of objects. To add an object to your spreadsheet, tap one of the object buttons in the middle of the toolbar at the top of your screen, then select an object from the menu.

Note: If you don’t see the object buttons in the toolbar while viewing Numbers in landscape orientation or split view, tap ![]() first.
first.
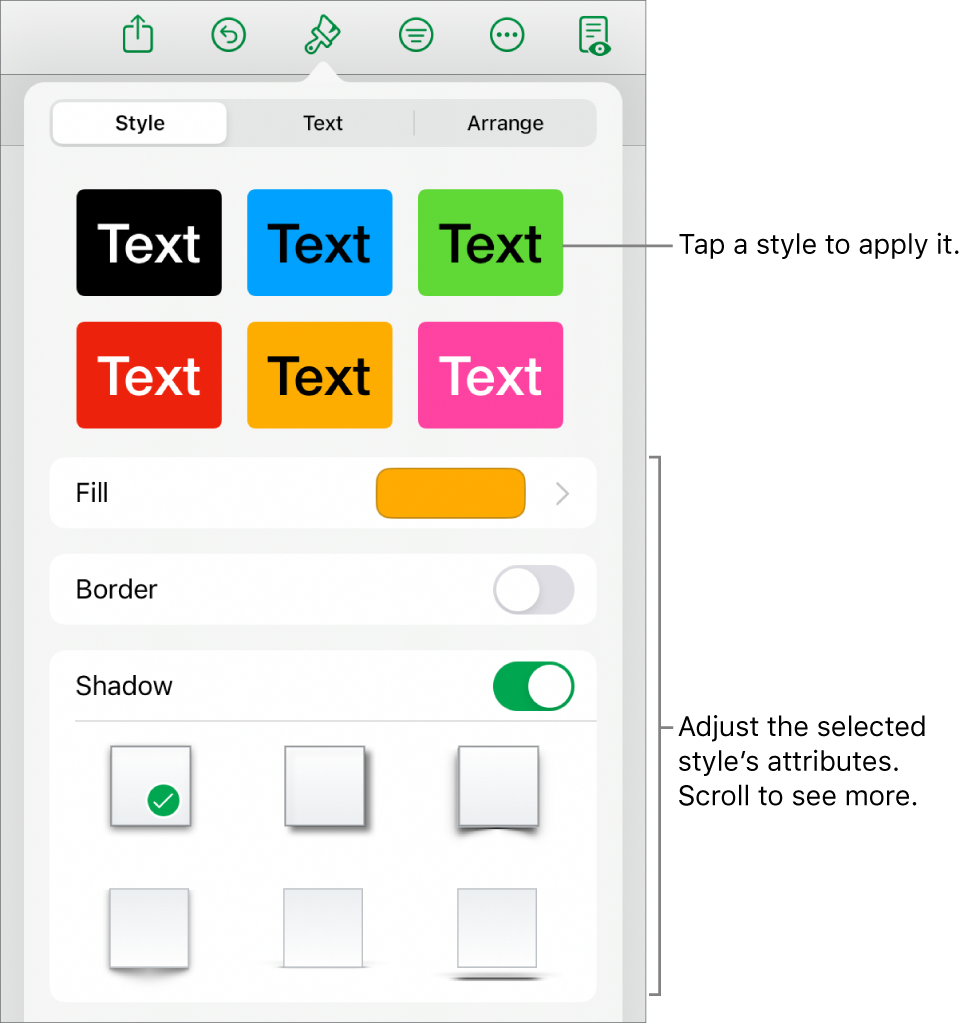
You can change the look of an object by modifying individual attributes of it — like its fill colour, border, shadow and more — or you can quickly change the overall appearance of an object by applying a pre-designed object style to it. Object styles are combinations of attributes that are designed to match the template you’re using.
To see controls for changing the look of objects, tap an object to select it, then tap ![]() . Each object has its own formatting options; when you select an image, for example, you see only controls for formatting images.
. Each object has its own formatting options; when you select an image, for example, you see only controls for formatting images.

You can layer objects on a sheet, resize them, nest them so they appear inline with the text inside a text box or shape, and more.