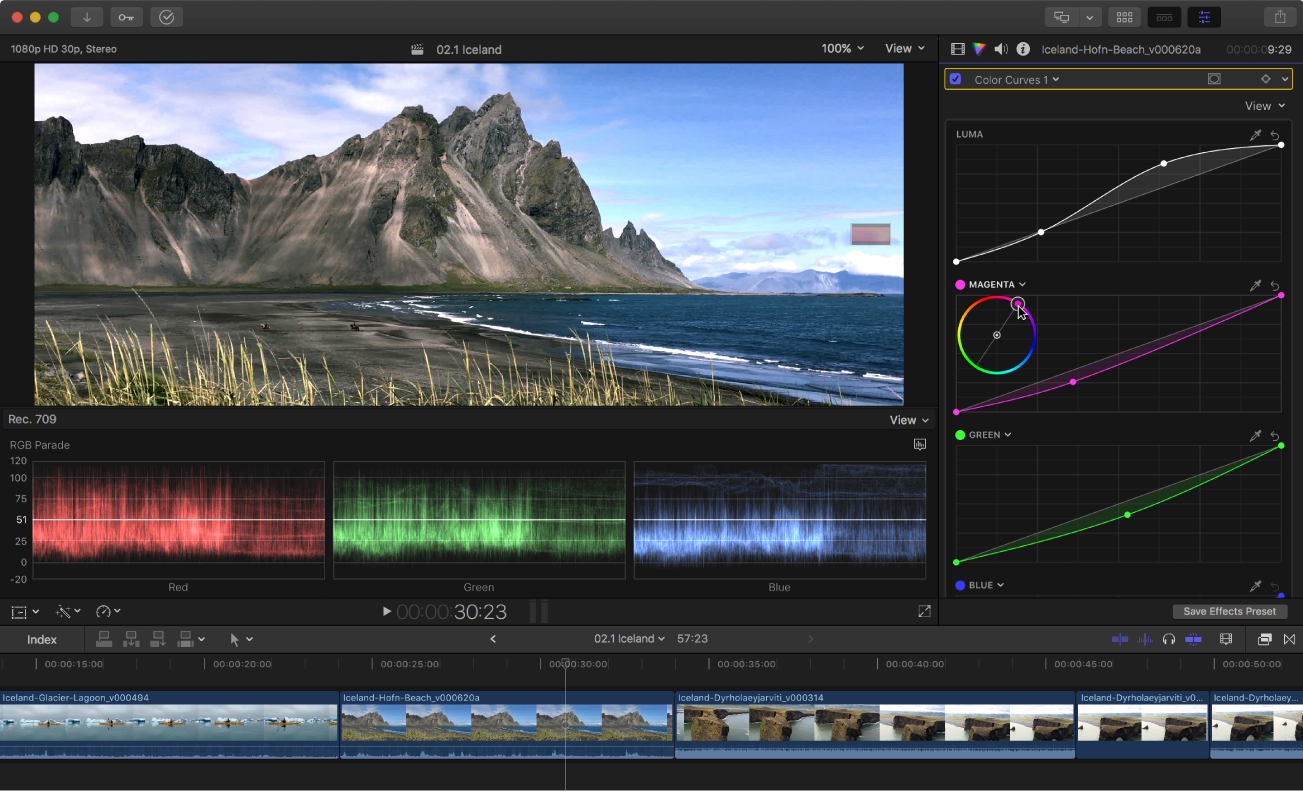
Final Cut Pro manual color correction workflow
The traditional process for color correcting a project is outlined below, in rough chronological order.

Step 1: Color correction starts during your shoot
The process of determining the overall look of your video begins when your scenes are lit and shot during production. To have the maximum amount of control over your clips in post-production, you need to start out with footage that has been exposed with your end goals in mind right from the beginning. Color correction in post-production is no substitute for good lighting.
Tip: In many productions, a color chip chart is placed next to the slate at the beginning of every shot. This chart can be used during post-production to provide a good neutral starting point for color correction. For example, you can use the white chip in the chart to quickly white-balance your clips. This technique is especially valuable for matching color in multicamera shoots.
Step 2: Pick a reference shot from a scene to use as the basis for color correction
If you’re color correcting a scene consisting of a single shot, your job is pretty easy. All you need to do is find the settings that work best for that one shot. Most scenes, however, cut between a variety of different shots, such as close-ups, medium shots, and wide shots. In every scene, there is usually a single wide shot that encompasses the entire scene. You can use that shot as a reference shot, and then make the colors of the other shots match those of the reference shot.
Step 3: Add a color correction effect and perform primary color correction
To make any manual color correction adjustments to a clip, you must first add one of the color correction effects available in Final Cut Pro (Color Board, Color Wheels, Color Curves, or Hue/Saturation Curves). See Add color corrections in Final Cut Pro.
Primary color correction refers to two basic steps that you take using one of the color correction effects:
Adjust the blacks and whites to maximize the contrast of your clip: Essentially, you’re mapping the blackest black in your clip to a value of 0 and the whitest white to a value of 100. By doing this first, you widen the range that an underexposed image covers, or bring down overly bright (or super-white) areas of overexposed video into the range considered to be broadcast-safe.
Adjust the balance of reds, greens, and blues in your shot: As you make these adjustments, it’s helpful to view your clip on a broadcast video monitor as well as check the clip’s luma and chroma levels in the video scopes to make more informed changes. See Intro to measuring video in Final Cut Pro.
Step 4: Add additional color corrections as needed
It’s important to remember that you don’t have to do everything with a single application of a color correction effect. For example, if you can’t get the colors in both the dimly lit areas and the highlights of your clip right with a single effect, focus only on the dimly lit area. You can then adjust the highlights with a second application of a color correction effect.
For each color correction effect, you can use a color mask and an unlimited number of shape masks to isolate a region of your clip, limiting the color correction effect to just that area. This way, you can target the green grass, the highlights in the trees, and the red lipstick of an actor in the scene with three separate corrections, giving you an extremely fine level of control over your image. See Add a color mask in Final Cut Pro and Add a shape mask in Final Cut Pro.
Step 5: Add other effects to address specific needs
After you’ve finished color correcting your footage, you may find yourself with some additional issues to resolve. For example, the combination of effects you’re using may cause the chroma or luma to extend into levels illegal for broadcast. In this case, you can use the Broadcast Safe effect (in the Effects browser) to bring down the offending parts of Rec. 709 clips to acceptable levels.
Step 6: Match the rest of the scene to the reference shot
After you’ve finished defining the look of the reference shot in a scene, you can move on to the rest of the shots. It’s easy to copy the settings of the color correction effects you’re using to other pieces of the same reference shot. For example, if you cut back to the reference shot five times in your scene, you can simply copy the effects from the first piece of the reference shot you corrected to all other instances in your sequence. You can also combine multiple color correction effects into a single effects preset and copy it from clip to clip. See Save color correction presets in Final Cut Pro.
As you work on other shots in the scene, you’ll probably repeat steps 3 through 5 for each shot. You can compare each new shot with the reference shot that you corrected, switching back and forth rapidly to compare the look of one clip with that of the other. By comparing the clips’ values on the video scopes, you’ll see how you need to adjust the color correction effects to make the clips’ color, blacks, and whites match as closely as possible.
Tip: You can use the Command Editor to assign a keyboard shortcut to turn color corrections on and off while making adjustments, and to assign keyboard shortcuts to many other color correction functions. See Modify keyboard shortcuts in Final Cut Pro.