Introduce your device to the Beats app for Android
To manage your headphones, earphones, or Pill+ speaker, first add your supported Beats device to the Beats app.
Connect your device to the Beats app
After you install the Beats app for Android, open the app.

Tap Get Started.
Follow the onscreen instructions for the analytics and privacy settings, and for the location access settings.
You can change the app’s location access and analytics in the App Settings screen.
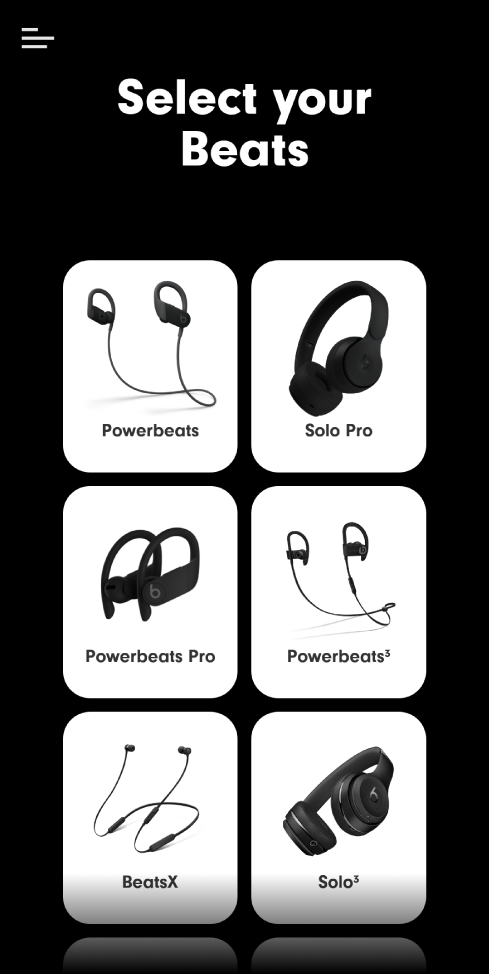
In the Select Your Beats screen, tap your device.

Follow the onscreen instructions to power on and connect your Beats device.
Note: If your device cannot be paired through the Beats app, the “No Beats found” message appears. Tap Bluetooth® Settings to connect the device using Connections > Bluetooth in Android Settings.
When your Beats device is discovered, tap Connect.
After you connect your device, the device screen appears. Here you can:
Explore the features of your Powerbeats Pro, Powerbeats, or Solo Pro device
Turn transparency and noise cancellation on or off on your Solo Pro headphones
Turn noise cancellation on or off on your Beats Studio3 headphones
When your device is paired with the Beats app, the device is displayed onscreen whenever it’s powered on and in range of your Android phone.
If the Beats app can’t locate your device
In the Beats app for Android, tap Help Connect, then follow the onscreen instructions.
Add more Beats devices to the app
Open the Beats app for Android, tap
 , then tap Add New Beats.
In the Select Your Beats screen, tap your device.

Follow the onscreen instructions to power on and connect your Beats device.
Note: If your device cannot be paired through the Beats app, the “No Beats found” message appears. Tap Bluetooth Settings to connect your device using the Android phone’s Bluetooth settings.
When your Beats device is discovered, tap Connect.
When your device is paired with the Beats app, the device is displayed onscreen whenever it’s powered on and in range of your Android phone.