Final Cut Pro User Guide for Mac
- Welcome
- What’s new
-
- Intro to effects
-
- Intro to transitions
- How transitions are created
- Add transitions and fades
- Quickly add a transition with a keyboard shortcut
- Set the default duration for transitions
- Delete transitions
- Adjust transitions in the timeline
- Adjust transitions in the inspector and viewer
- Merge jump cuts with the Flow transition
- Adjust transitions with multiple images
- Modify transitions in Motion
-
- Add storylines
- Use the precision editor
- Conform frame sizes and rates
- Use XML to transfer projects
- Glossary
- Copyright

Solo or disable clips in Final Cut Pro for Mac
Sometimes, it’s helpful to compare how a project plays with and without certain clips. In Final Cut Pro, you can quickly play one clip’s audio, excluding audio from other clips. This feature, called solo, works by disabling the audio in all unselected clips in the timeline. You can also disable (rather than delete) selected clips, making them invisible and silent during playback. Disabled clips don’t appear in any output. You can just as easily reenable them.
Solo selected items
In Final Cut Pro, select the clips in the timeline that you want to isolate.
Do one of the following:
Choose Clip > Solo (or press Option-S).
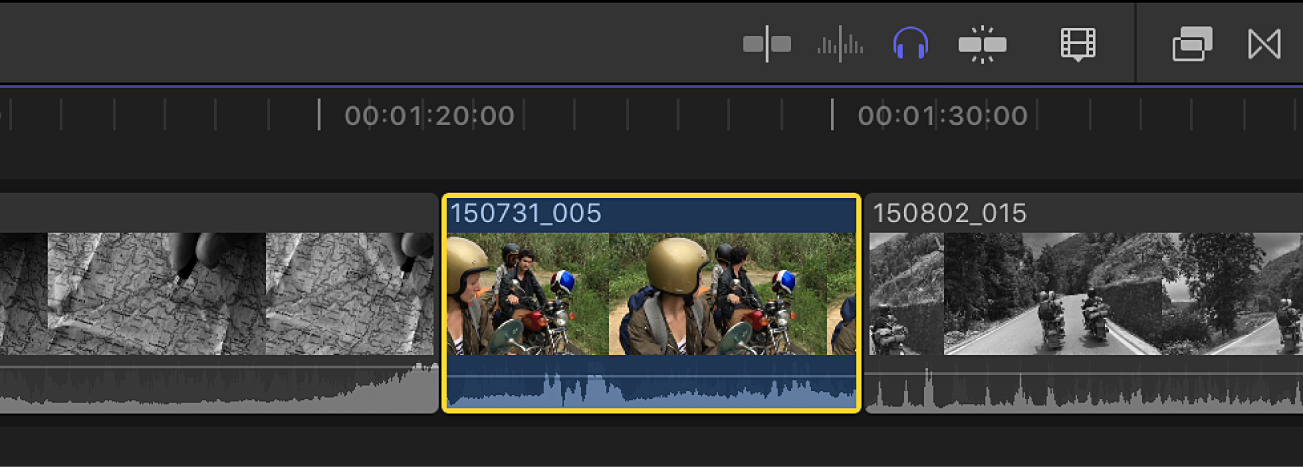
Click the Solo button in the top-right corner of the timeline.

When solo is turned on, the Solo button turns blue, and the soloed clips are outlined in yellow. Nonsoloed clips are shown in black and white.

To turn off solo, click the Solo button again.
Disable and reenable one or more clips
In Final Cut Pro, select one or more clips in the timeline.
Choose Clip > Disable (or press V).
Disabled clips are dimmed in the timeline and are invisible and silent during playback.

To reenable the disabled clips, select them in the timeline, then choose Clip > Enable (or press V).
You can also solo, disable, or silence audio clips in Final Cut Pro. See Solo and mute audio clips in Final Cut Pro for Mac.
Download this guide: PDF