
Create a custom walk or hike in Maps on Mac
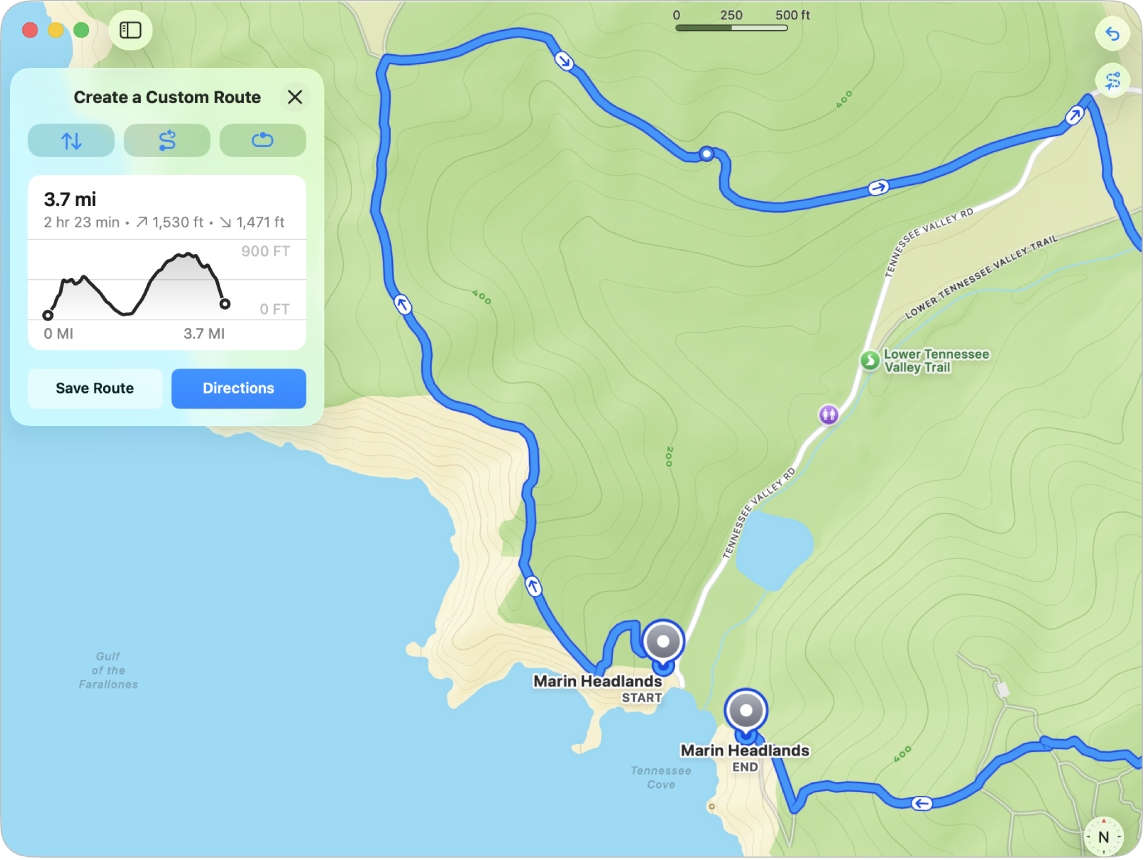
You can customise a walking route for hiking, exercising or touring a city. You can also save the routes — along with any notes you add.
Note: Not all features are available in all countries or regions. See the macOS Feature Availability website.
Go to the Maps app
on your Mac.Click Routes in the sidebar.
If you don’t see the sidebar, click
 .
.Click
 near the bottom of the Routes card.
To select a starting point on the map, click any road, path, trail or other location accessible by walking.
Click other points along your route.
Do any of the following:
Switch the start and end points: Click
 .
.Make the route out-and-back: Click
 .
.Close the route with the shortest point back to the start: Click
 .
.
Click Save Route, name the route or add notes (optional), then click Done.
To see your saved walks or hikes, click Routes in the sidebar.