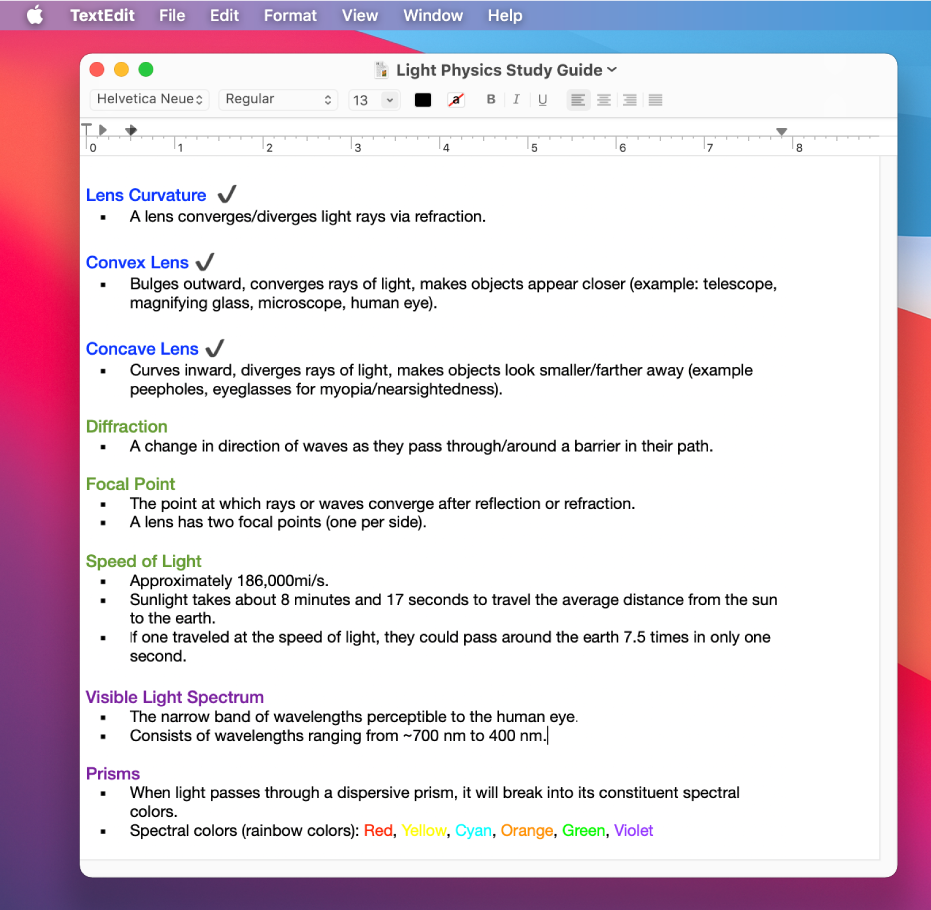
Create and work with documents on Mac
You can use macOS apps — such as Pages or TextEdit — or apps from the Mac App Store to create reports, essays, spreadsheets, financial charts, presentations, slide shows and more.

Create documents
On your Mac, open an app that lets you create documents.
For example, open TextEdit to create a plain text, rich text or HTML document.
Click New Document in the Open dialogue, or choose File > New.
Many Mac computers come with these Apple apps that you can use to create spreadsheets, presentations, reports, and more. If you have questions about how to use an app, look for answers in the app’s built-in help.
Pages: Create letters, reports, flyers, posters, and more. Pages includes many templates that make it easy to create beautiful documents.
Numbers: Create spreadsheets to organise and present your data. Start with a template, then modify it however you like — add formulas, charts, images, and more.
Keynote: Create compelling presentations with images, media, charts, slide animations, and more.
If you don’t have Pages, Numbers, or Keynote on your Mac, you can get them from the App Store.
They’re also available for your iOS and iPadOS devices (from the App Store) and on iCloud.com.
Format documents
There are several ways to format and work with text in documents on your Mac:
Change fonts and styles: In a document, choose Format > Show Fonts, Format > Font > Show Fonts or Format > Style. See Format text in documents with fonts.
Change colours: In a document, choose Format > Show Colours, or Format > Font > Show Colours. See Use colours in documents.
Enter different types of characters: You can enter characters with accent marks or diacritic marks.
Check spelling: In most apps, spelling is checked while you type, and mistakes are automatically corrected. You can turn off these features or use other options. See Check spelling and grammar.
An app may provide additional ways to format and work with text, and with images and objects. To learn more about an app, choose Help in the menu bar while working in the app.
Save documents
Many apps on your Mac save your documents automatically while you work. You can save a document at any time.
Save a document: In a document, choose File > Save, enter a name, choose where to save the document (to see more locations, click the down arrow button
 ), then click Save.
When you save your document, you can add tags in the Finder to help you find it later. You may be able to save your document in iCloud Drive so it’s available on your computers and iOS and iPadOS devices set up with iCloud Drive.
Save a document with another name: In a document, choose File > Save As, then enter a new name. If you don’t see Save As, press and hold the Option key, then open the File menu again.
Save a document as a copy: In a document, choose File > Duplicate or File > Save As.
You can also save a document as a PDF and combine multiple files into a single PDF.
Find documents
There are several ways to find documents on your Mac:
Use Spotlight: Open Spotlight
 , then enter the name of the document in the search field. You can also use Spotlight to specify criteria to narrow the search results.
 Use tags: If you tagged a document, click the Finder icon
 in the Dock to open a Finder window, then click the tag in the Finder sidebar. See Use tags to organise files.
 Use the Recents folder: In the sidebar of a Finder window, click Recents.
Use the Recent Items menu: If you worked on a document recently, choose Apple menu

In some apps, you can open recent documents by choosing File > Open Recent, then the document.