Create and manage font collections and libraries in Font Book on Mac
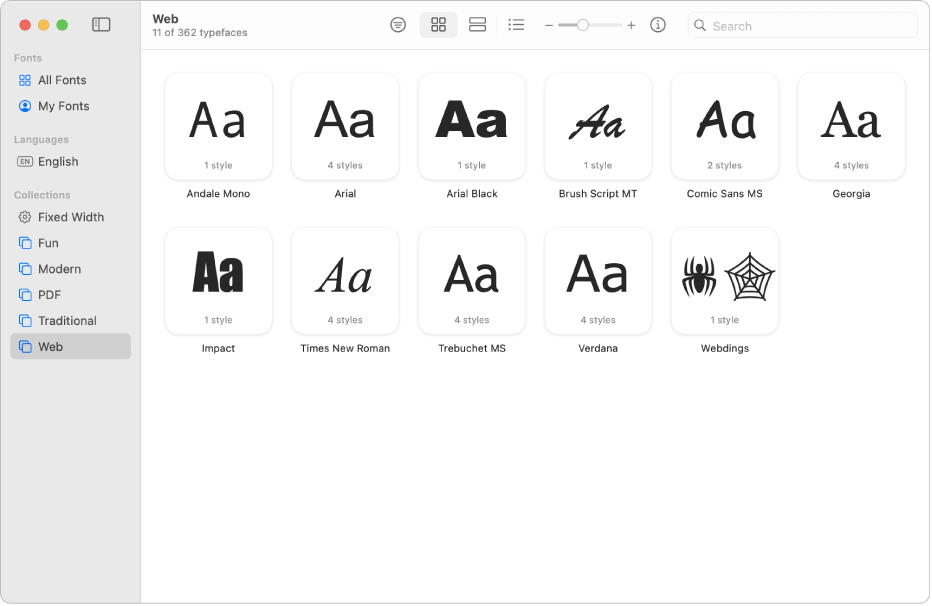
You can use font collections and libraries in Font Book on your Mac to organise macOS fonts into groups — for example, fonts you use for a specific website or all the fonts that look like handwriting. Fonts are organised into default collections, listed in the sidebar.

Note: Collections you create are shown in the Fonts window, available when you work in some apps, such as TextEdit. Font libraries you create aren’t shown in the Fonts window.
Create a collection
In the Font Book app
 on your Mac, do one of the following:
Choose File > New Collection, then drag fonts from other collections to the new collection.
Select one or more fonts, then choose File > New Collection From Selection.
Note: When you add a font to a collection, it’s still available in the previous location.
Double-click the new collection in the sidebar, then type a name for it.
Press Return.
Add a font to a collection
In the Font Book app ![]() on your Mac, select the font you want to add, then drag it to a collection.
on your Mac, select the font you want to add, then drag it to a collection.
When you add a font to a collection, it’s still available in the previous location.
Note: You can’t add fonts to Smart Collections.
Remove a font from a collection
In the Font Book app
 on your Mac, select a collection in the sidebar.
If you don’t see the sidebar, choose View > Show Sidebar.
Control-click the font you want to remove, then click Remove.
Click Remove Fonts to confirm.
When you remove a font from a collection, it’s still available in Font Book and in the Fonts window.
Note: You can’t remove fonts from Smart Collections.
Create a Smart Collection
A Smart Collection groups fonts based on criteria, such as the design style and family. If a font meets the criteria, it’s automatically included in the Smart Collection.
In the Font Book app
 on your Mac, choose File > New Smart Collection, then enter a name for your collection.
Click the pop-up menu under “Collection name,” then choose All to find fonts that match all the criteria you enter, or Any to match any one of the criteria.
Use the pop-up menus and text fields to define the search criteria for the collection. Click the Add button

For example, you can set criteria such as “Design style is Bold” or “Family name is Helvetica”.
Click OK. The new Smart Collection appears in the sidebar with a gear icon
 next to its name.
To edit a Smart Collection, Control-click it, then choose Edit [Smart Collection name]. To delete a Smart Collection, Control-click it, then choose Delete [Smart Collection name].
Create a font library
You can use a library to organise your fonts. For example, if you use a group of fonts only with a particular document, create a font library to store the fonts associated with the document.
In the Font Book app
 on your Mac, choose File > New Library.
Double-click the new library in the sidebar, type a name for it, then press Return.
Do any of the following to add fonts to the library:
Choose File > Add Fonts to [library name]. Select the font file, then click Open.
Drag a font file from the Finder to the library.
The fonts are validated. If the Font Validation window is shown, select the tick box next to a font, then click Install Checked.
To remove a font library, Control-click it, then choose Delete [library name]. Click Delete to confirm.