Encrypt and protect a storage device with a password in Disk Utility on Mac
When you format an internal or external storage device, you can encrypt and protect it with a password. If you encrypt an internal device, you must enter a password to access the device and its information. If you encrypt an external device, you must enter the password when you connect the device to your computer.
If you encrypt an external storage device, you can’t connect it to an AirPort base station for Time Machine backups.
WARNING: To encrypt and protect the device with a password using Disk Utility, you must erase the device first. If the device contains files you want to save, be sure to copy them to another storage device or volume.

If the device contains any files you want to save, copy them to another storage device or volume.
In the Disk Utility app
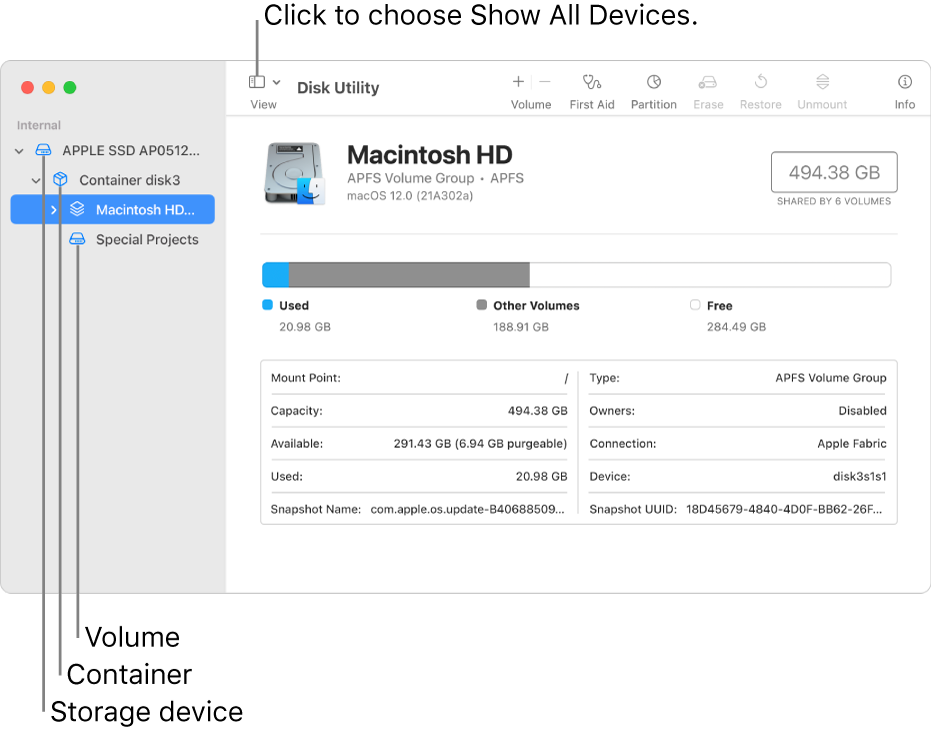
 on your Mac, choose View > Show All Devices.
If Disk Utility isn’t open, click the Launchpad icon
 in the Dock, type Disk Utility in the Search field, then click the Disk Utility icon
  .
.In the sidebar, select the storage device you want to encrypt.
Click the Erase button
 in the toolbar.
Enter a name for the volume.
Click the Scheme pop-up menu, then choose GUID Partition Map.
Click the Format pop-up menu, then choose an encrypted file system format.
Enter and verify a password, then click Choose.
To change the password later, select the volume in the sidebar, then choose File > Change Password.
(Optional) If available, click Security Options, use the slider to choose how many times to write over the erased data, then click OK.
Secure erase options are available only for some types of storage devices. If the Security Options button is not available, you can’t use Disk Utility to perform a secure erase on the storage device.
Click Erase, then click Done.
You can encrypt your data without erasing it by turning on FileVault in the Security and Privacy pane of System Preferences (see Encrypt Mac data with FileVault).
You can also encrypt a disk and protect it with a password without erasing it. See Protect your Mac information with encryption.