Edit Delay Designer pan in Final Cut Pro
The way the Delay Designer effect’s Pan parameter is represented in Pan view is entirely dependent on the input channel configuration—mono to stereo, stereo to stereo, or surround.
Note: Pan is not available in mono configurations.

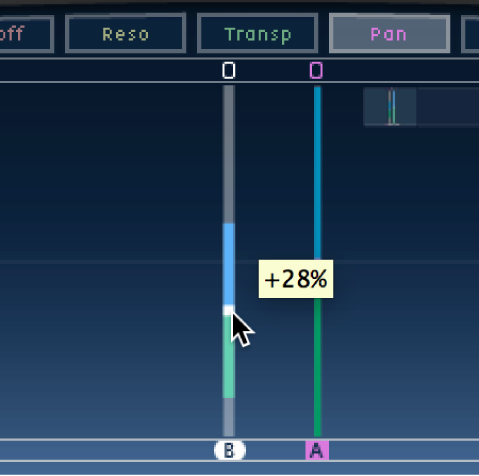
In mono input/stereo output configurations, all taps are initially panned to the center. To edit the pan position, drag vertically from the center of the tap in the direction you wish to pan the tap, or taps. A white line extends outward from the center in the direction you have dragged, reflecting the pan position of the tap, or taps.
Lines above the center position indicate pans to the left, and lines below the center position denote pans to the right. Left (blue) and right (green) channels are easily identified.

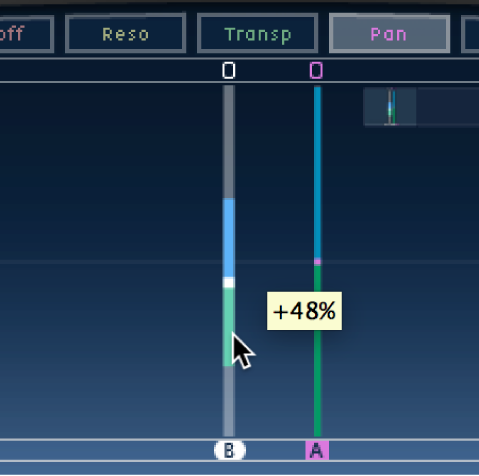
In stereo input/stereo output configurations, the Pan parameter adjusts the stereo balance, not the position of the tap in the stereo field. The Pan parameter appears as a dot on the tap, which represents stereo balance. Drag the dot up or down the tap to adjust the stereo balance.
By default, stereo spread is set to 100%. To adjust this, drag either side of the dot. As you do so, the width of the line extending outward from the dot changes. Keep an eye on the Spread parameter in the Tap parameter bar while you’re adjusting.

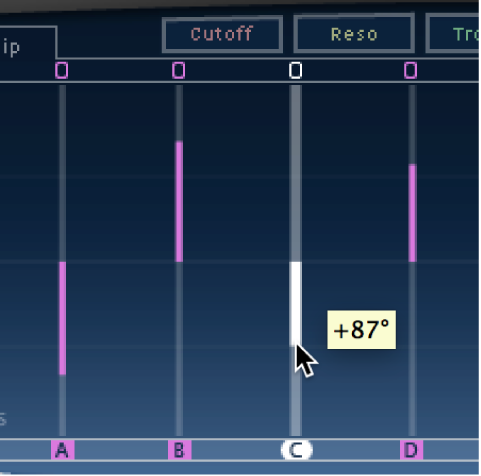
In surround configurations, the bright line represents the surround angle. For more information, see Work with Delay Designer in surround in Final Cut Pro.