Set up a multifunction printer to send faxes on Mac
If you have a multifunction printer connected to your Mac, follow these instructions to set it up to send faxes.
Note: macOS Sierra and later does not support sending faxes using legacy fax modems. If you’ve used a fax modem in the past with your Mac, you may be able to continue using it to send and receive faxes by installing third-party fax software. You can also try using an internet faxing service. For more information, search the internet for “fax software” or “internet fax service.”
Follow the instructions that came with the printer to set it up and connect it to your Mac.
On your Mac, choose Apple menu

 in the sidebar. (You may need to scroll down.)
If you don’t see your multifunction printer in the list, click the Add Printer, Scanner, or Fax button on the right.
Select your printer in the list, click the Use pop-up menu, choose the version of printer software that supports faxing, then click Add.
If your multifunction printer is compatible with macOS Sierra or later, the fax capability is added automatically when you add the printer. If you can’t add the printer as a fax machine, see the documentation that came with the printer to find out how to use it to send and receive faxes.
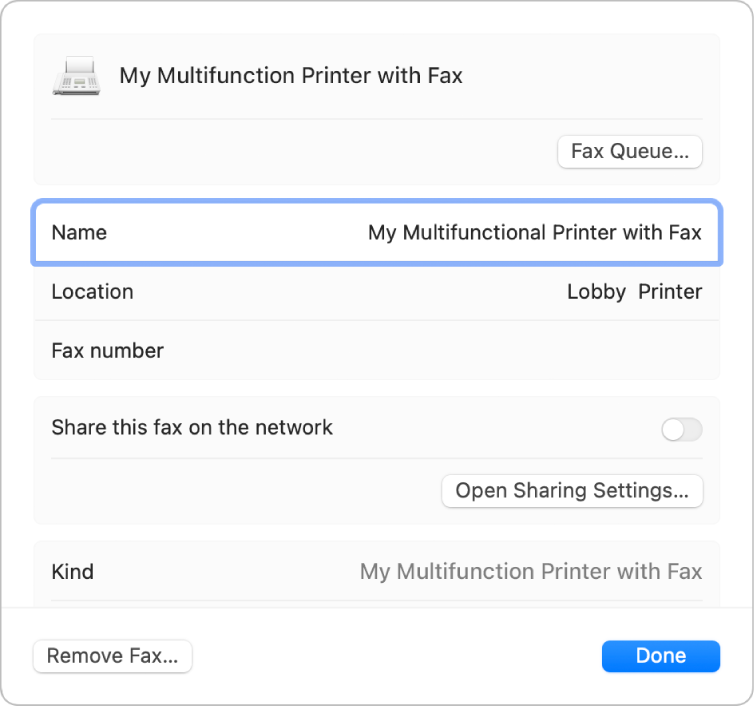
To set up a Fax queue for your multifunctional printer, do the following:
Click the printer or scanner in the Printers list.

Type a name for the fax queue in the Name field.
Type the fax number of the multifunctional printer in the Fax number field.
To share this fax from this device with others on the network, click “Share this fax on the network.” If you can’t turn on sharing for this fax device, click Open Sharing Settings and turn on Printer Sharing.
Click Done.
As an alternative to faxing, consider scanning your document and saving it as a PDF or in another text format that you can email. You may also be able to send and receive faxes with an internet faxing service.