Create and format notes on iPad
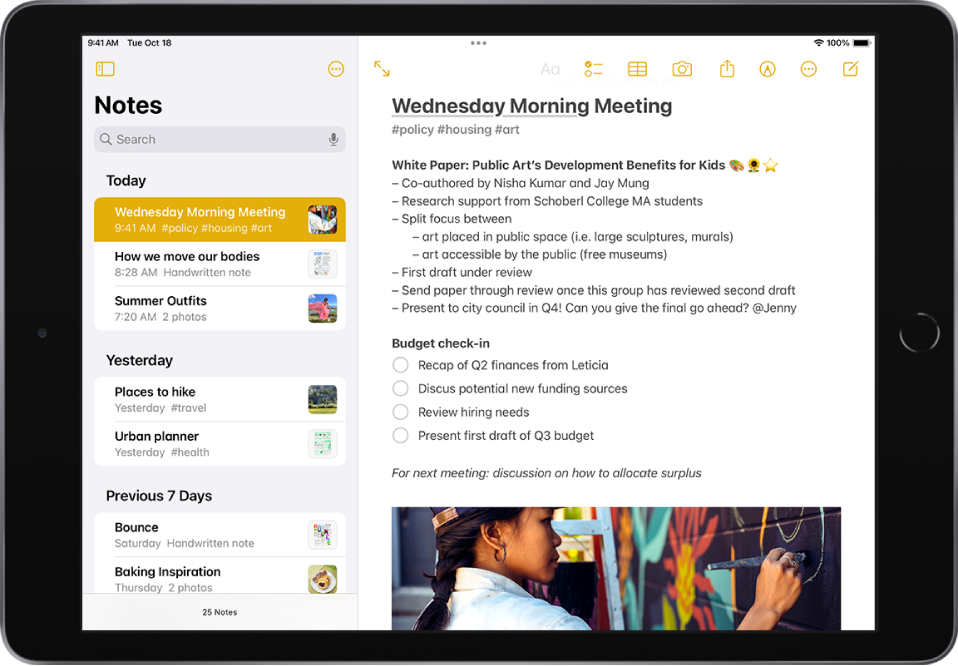
Use the Notes app ![]() to jot down quick thoughts or organize detailed information with checklists, images, web links, scanned documents, handwritten notes, and sketches.
to jot down quick thoughts or organize detailed information with checklists, images, web links, scanned documents, handwritten notes, and sketches.
Create and format a new note
Tap
 , then enter your text.
The first line of the note becomes the note’s title.
To change the formatting, tap
 .
.You can apply a heading style, bold or italic font, a bulleted or numbered list, and more.
To save the note, tap Done.
Tip: To choose a default style for the first line in all new notes, go to Settings ![]() > Notes > New Notes Start With.
> Notes > New Notes Start With.
You can quickly create a note or resume work on your last note by tapping the Lock Screen with Apple Pencil (on supported models). On other iPad models, you can do this if you add Notes to Control Center. To change the Lock Screen behavior, go to Settings ![]() > Notes > Access Note from Lock Screen.
> Notes > Access Note from Lock Screen.
Add a checklist
In a note, tap ![]() , then do any of the following:
, then do any of the following:
Add items to the list: Enter text, then tap return to enter the next item.
Increase or decrease the indentation: Swipe right or left on the item.
Mark an item as completed: Tap the empty circle next to the item to add a checkmark.
Reorder an item: Touch and hold the empty circle or checkmark next to the item, then drag the item to a new position in the list.
Manage items in the list: Tap the list to see the menu, tap Checklist, then tap Check All, Uncheck All, Delete Checked, or Move Checked to Bottom.
To automatically sort checked items to the bottom in all your notes, go to Settings ![]() > Notes > Sort Checked Items, then tap Automatically.
> Notes > Sort Checked Items, then tap Automatically.
Add or edit a table
In a note, tap ![]() , then do any of the following:
, then do any of the following:
Enter text: Tap a cell, then enter your text. To start another line of text in the cell, touch and hold the Shift key and tap next.
Move to the next cell: Tap next. When you reach the last cell, tap next to start a new row.
Format a row or column: Tap a row or column selection handle, then choose a style, such as bold, italic, underline, or strikethrough.
Add or delete a row or column: Tap a row or column selection handle, then choose to add or delete.
Move a row or column: Touch and hold a row or column selection handle, then drag it to a new position.
See more columns: If the table becomes wider than your screen, swipe right or left on the table to see all the columns.
To remove the table and convert its contents to text, tap a cell in the table, tap ![]() , then tap Convert to Text.
, then tap Convert to Text.
Take action on addresses, phone numbers, dates, and more
In your notes, a yellow underline appears below text that’s recognized as a street or email address, phone number, date, or other data. Tap the underlined text to take action on it. For example, you can see a street address in Maps, compose an email, call a phone number, or add a calendar event.
Note: Data detection is available when the system language of your iPad is set to a supported language in Settings ![]() > General > Language & Region. See the iOS and iPadOS Feature Availability website.
> General > Language & Region. See the iOS and iPadOS Feature Availability website.
Change the Notes display on your iPad
Make the note fill the screen: While viewing a note in landscape orientation, tap
 or turn iPad to portrait orientation.
See your accounts, notes list, and selected note all at once: (iPad Pro 12.9-inch) Turn iPad to landscape orientation, then tap
 .
.