Final Cut Pro User Guide
- Welcome
-
- What’s new in Final Cut Pro 10.5
- What’s new in Final Cut Pro 10.4.9
- What’s new in Final Cut Pro 10.4.7
- What’s new in Final Cut Pro 10.4.6
- What’s new in Final Cut Pro 10.4.4
- What’s new in Final Cut Pro 10.4.1
- What’s new in Final Cut Pro 10.4
- What’s new in Final Cut Pro 10.3
- What’s new in Final Cut Pro 10.2
- What’s new in Final Cut Pro 10.1.2
- What’s new in Final Cut Pro 10.1
- What’s new in Final Cut Pro 10.0.6
- What’s new in Final Cut Pro 10.0.3
- What’s new in Final Cut Pro 10.0.1
-
- Intro to effects
-
- Intro to transitions
- How transitions are created
- Add transitions
- Set the default transition
- Delete transitions
- Adjust transitions in the timeline
- Adjust transitions in the inspector and viewer
- Merge jump cuts with the Flow transition
- Adjust transitions with multiple images
- Modify transitions in Motion
-
- Add storylines
- Use the precision editor
- Conform frame sizes and rates
- Use XML to transfer projects
-
- Glossary
- Copyright

Use a second display with Final Cut Pro
When you connect a second display to your Mac, controls appear that allow you to move the viewer, browser, or timeline to the second display.
To view playback on an external video monitor see Play media on an external display in Final Cut Pro and Color correct HDR video with Pro Display XDR and Final Cut Pro.
Make sure that the second display is connected to your Mac and turned on.
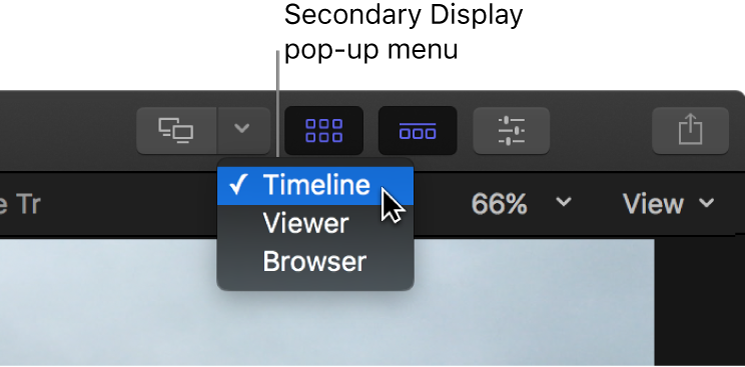
The Secondary Display button and pop-up menu appear in the toolbar at the top of the Final Cut Pro window.
To choose which area of the Final Cut Pro window you want to move to the second display, do one of the following:
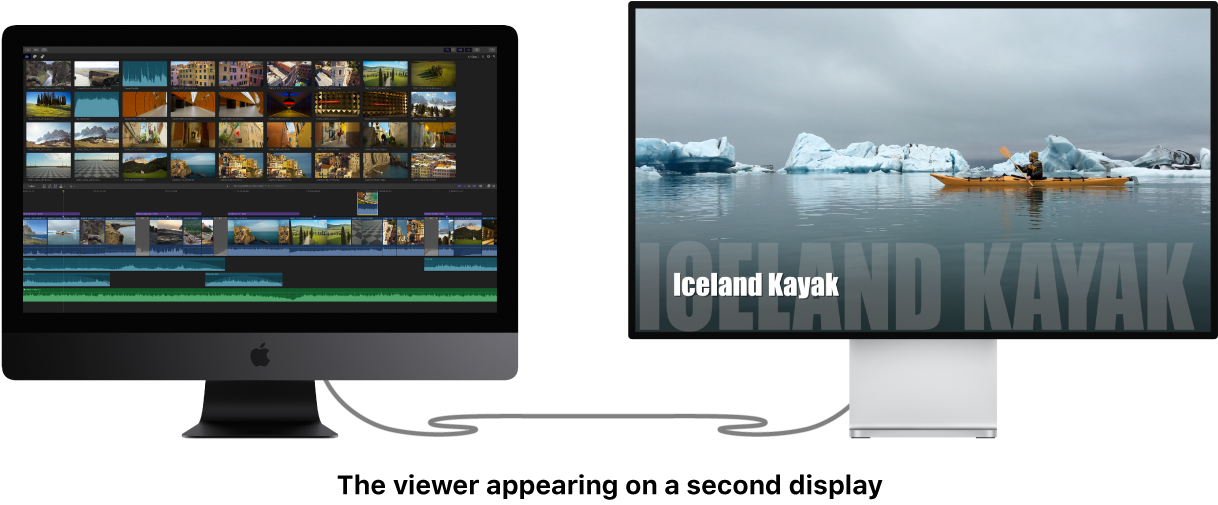
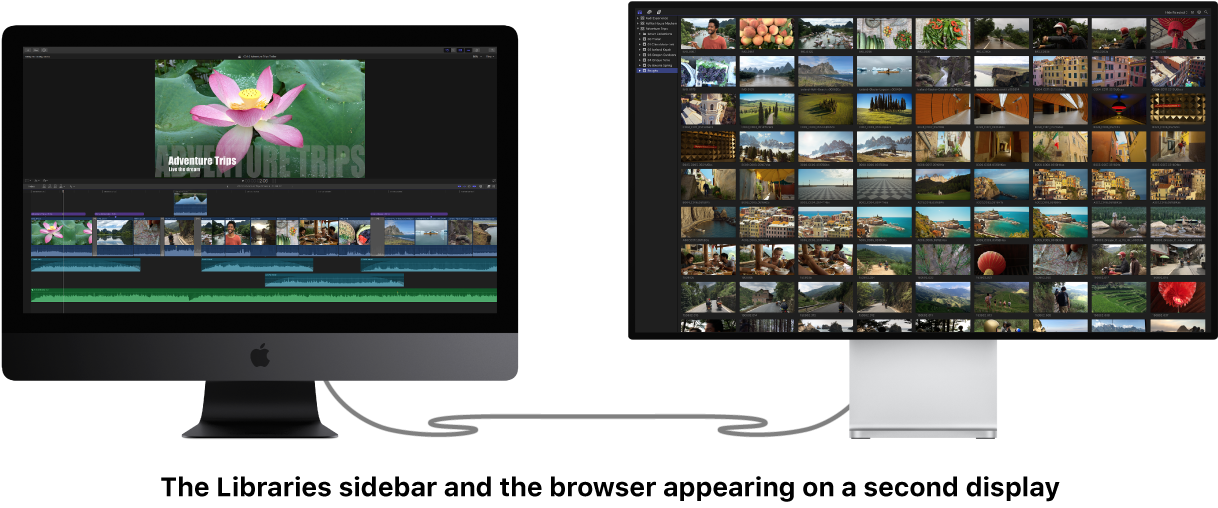
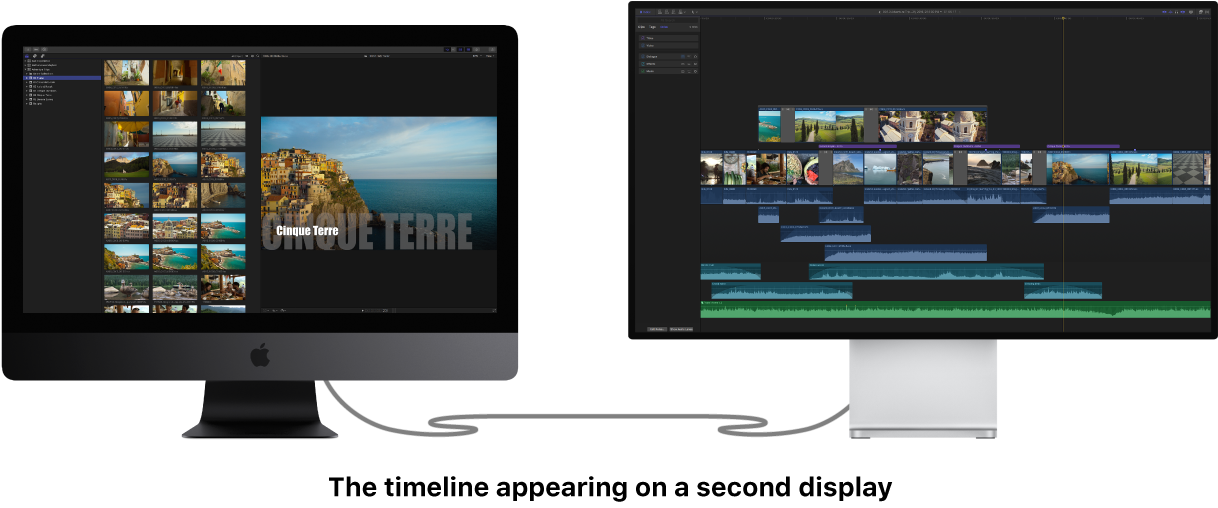
Click the Secondary Display pop-up menu and choose Timeline, Viewer, or Browser.

Choose Window > Show in Secondary Display > [item].
The area you chose moves to the second display, and the other areas of the Final Cut Pro window are adjusted on the primary display.


To move all areas back to the primary display, click the Secondary Display button.
