Final Cut Pro User Guide
- Welcome
-
- What’s new in Final Cut Pro 10.5
- What’s new in Final Cut Pro 10.4.9
- What’s new in Final Cut Pro 10.4.7
- What’s new in Final Cut Pro 10.4.6
- What’s new in Final Cut Pro 10.4.4
- What’s new in Final Cut Pro 10.4.1
- What’s new in Final Cut Pro 10.4
- What’s new in Final Cut Pro 10.3
- What’s new in Final Cut Pro 10.2
- What’s new in Final Cut Pro 10.1.2
- What’s new in Final Cut Pro 10.1
- What’s new in Final Cut Pro 10.0.6
- What’s new in Final Cut Pro 10.0.3
- What’s new in Final Cut Pro 10.0.1
-
- Intro to effects
-
- Intro to transitions
- How transitions are created
- Add transitions
- Set the default transition
- Delete transitions
- Adjust transitions in the timeline
- Adjust transitions in the inspector and viewer
- Merge jump cuts with the Flow transition
- Adjust transitions with multiple images
- Modify transitions in Motion
-
- Add storylines
- Use the precision editor
- Conform frame sizes and rates
- Use XML to transfer projects
-
- Glossary
- Copyright

Keyframe color corrections in Final Cut Pro
In Final Cut Pro, you can create changes to color correction settings over time. For example, you can animate brightness, hue, or saturation adjustments to correct issues caused by a lighting change or a camera movement. Or you can track moving objects with shape masks built into every color correction effect.
You place keyframes at specific points in a clip to change parameter values at those points.
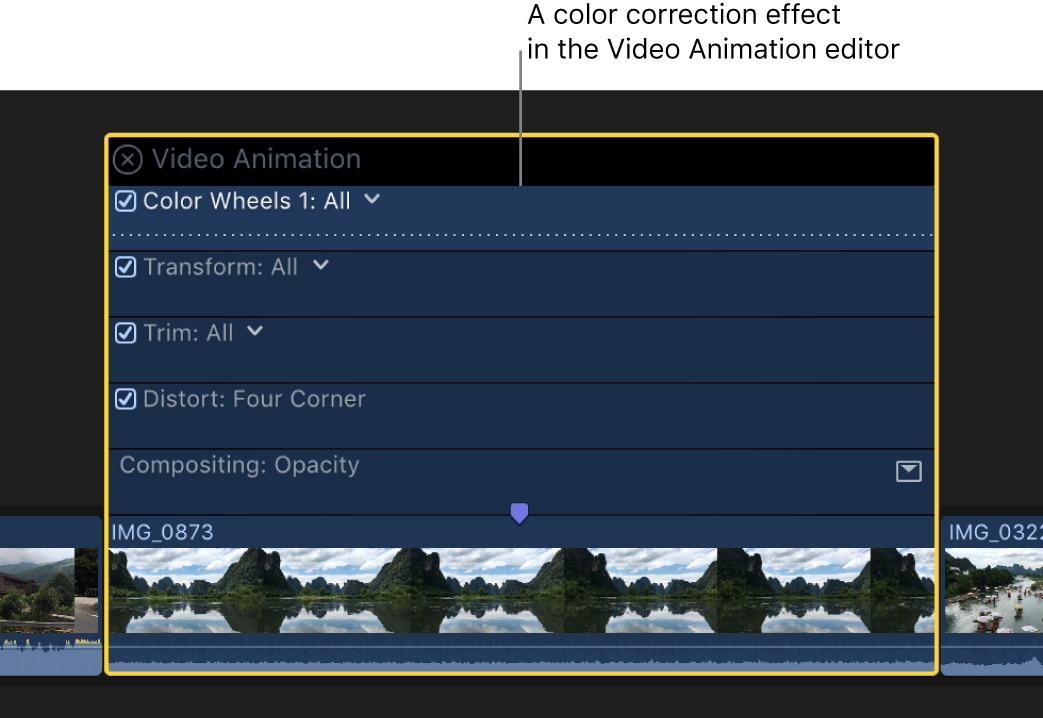
You can set keyframes in color correction effects in the timeline or in the Color inspector. To see keyframes in the timeline, you need to display the Video Animation editor for the clip.
For more information about using keyframes, see Intro to video keyframing in Final Cut Pro.
Add a color correction effect to a clip in the Final Cut Pro timeline.
Do one of the following:
Select the clip in the timeline, then choose Clip > Show Video Animation (or press Control-V).
Control-click a clip in the timeline and choose Show Video Animation.
Each effect in the Video Animation editor has a separate area for adding keyframes. The color correction effect you added appears in the list of effects.

In either the Video Animation editor or the Color inspector, select the color correction effect for which you want to add keyframes.
Note: For some effects, you can display and keyframe individual parameters in the Video Animation editor. See Add keyframes.
Do one of the following:
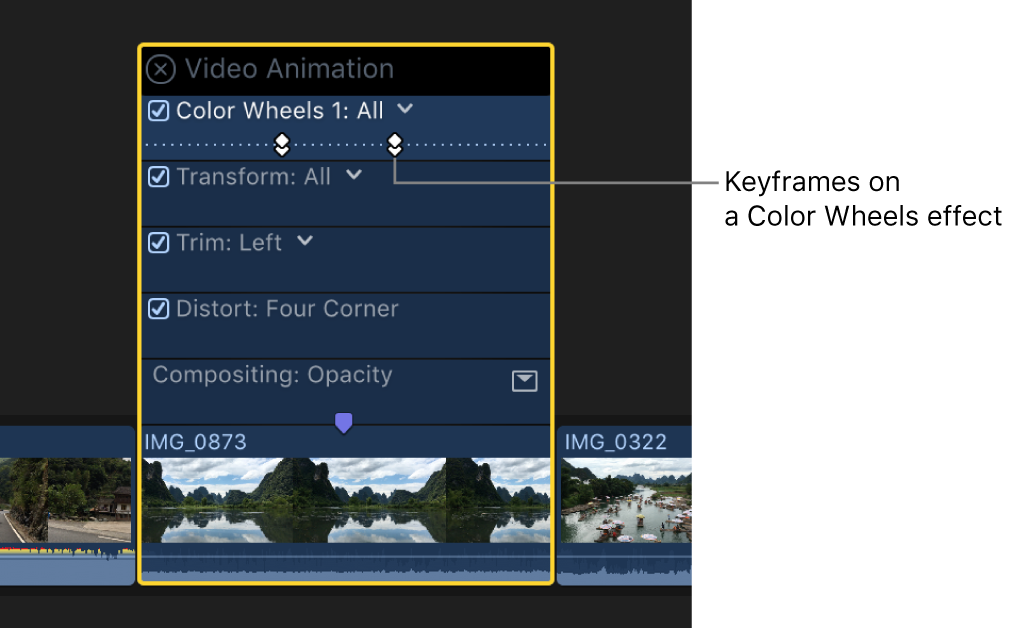
In the Video Animation editor: Option-click (or press Option-K) at a point on the horizontal effect control where you want to add the keyframe.
Keyframes for individual parameters appear as white diamonds. Keyframes for multiple parameters appear as double diamonds. Because color correction keyframes control all parameters in a given color correction effect, they always appear as double diamonds.

In the Color inspector: Position the playhead in the timeline at the point where you want to add a keyframe, then click the Keyframe button at the top of the Color inspector (or press Option-K).

After you add a keyframe, the Keyframe button becomes solid yellow, indicating that the playhead is currently on this keyframe.

When you move the playhead in the timeline, arrows appear next to the Keyframe button in the Color inspector to indicate which side of the playhead has keyframes. To go to the previous keyframe, click the left arrow. To go to the next keyframe, click the right arrow.

Add keyframes as needed.
Tip: After you’ve added one keyframe, you can add another automatically by moving the playhead in the timeline and then adjusting the color correction effect in the Color inspector.