
Import surround sound audio in Compressor
You can create a surround sound audio job in Compressor by manually assigning audio files to surround sound channels, or by appending audio filenames with channel identifiers that allow Compressor to automatically map the files to the correct surround sound channels.
Create a surround sound source file by manually assigning channels
In Compressor, do one of the following:
Choose File > Add Surround Sound Group.
At the bottom of the batch area, click
 , then choose Add Surround Sound Group.
The channel assignment dialog opens.
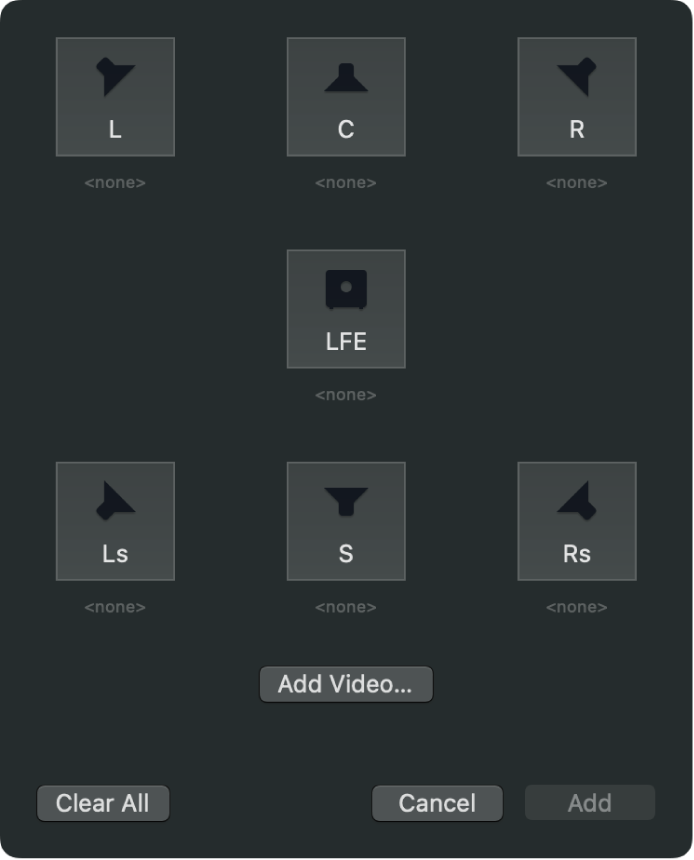
To assign a source audio file to each channel, click the icon for a specific channel, select a source audio file intended for that channel, then click Open.
To include a video file, click the Add Video button, select a video file, then click Open.
When you’re done setting up the surround sound group, click Add.
A new surround sound source media file appears in a job in the batch area.
Create a surround sound source file using channel identifier codes
You can add channel identifier codes to the filenames of surround sound files in the macOS Finder, then add the files in Compressor.
In the macOS Finder, append the filename of each audio file with the appropriate channel identifier code:
-L: Left front channel
-R: Right front channel
-C: Center front channel
-Ls: Left surround channel
-Rs: Right surround channel
-S: Center surround channel
-LFE: Low-frequency effects channel (subwoofer, LFE)
For example, if the audio file for your left front channel is named “final audio_left.aiff,” name the file “final audio_left-L.aiff.”
Note: Compressor will recognize source files with or without a file extension (.aiff or .wav, for example).
Import all of the renamed source audio files at the same time as one job.
A new job appears in the batch area.
Reassign or remove audio files in a surround sound job
In Compressor, select the surround sound job, then open the Job inspector.
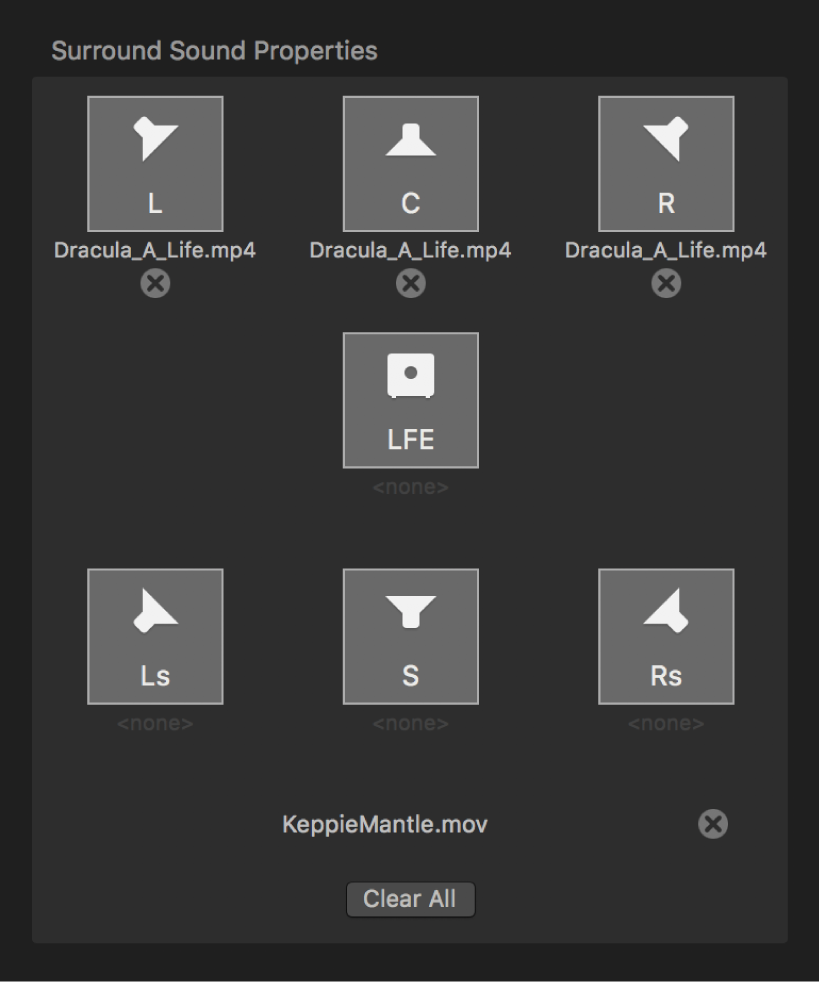
In the Surround Sound Properties area of the Job inspector, do any of the following:
Remove a file assigned to a channel: Click
 next to the file you want to remove.
Assign a different file to a channel: Click the channel icon (a speaker icon or subwoofer icon), then choose a new audio file from the menu that appears.
Remove all audio files: Click the Clear All button. This also removes the video file assigned to the surround sound source file.
Add video to a surround sound job
In Compressor, select the surround sound job, then open the Job inspector.
In the Surround Sound Properties area of the Job inspector, click the Add Video button.
In the file window that appears, select a video file, then click Open.
Once a video file has been added, its filename replaces the Add Video button.
After you import source media, you can view and modify job properties, apply transcoding instructions, and transcode the batch.
Download this guide: PDF