Logic Pro User Guide for iPad
-
- What is Logic Pro?
- Working areas
- Work with function buttons
- Work with numeric values
- Undo and redo edits in Logic Pro for iPad
-
- Intro to tracks
- Create tracks
- Create tracks using drag and drop
- Choose the default region type for a software instrument track
- Select tracks
- Duplicate tracks
- Reorder tracks
- Rename tracks
- Change track icons
- Change track colors
- Use the tuner on an audio track
- Show the output track in the Tracks area
- Delete tracks
- Edit track parameters
- Start a Logic Pro subscription
- How to get help
-
- Intro to recording
-
- Before recording software instruments
- Record software instruments
- Record additional software instrument takes
- Record to multiple software instrument tracks
- Record multiple MIDI devices to multiple tracks
- Record software instruments and audio simultaneously
- Merge software instrument recordings
- Spot erase software instrument recordings
- Replace software instrument recordings
- Capture your most recent MIDI performance
- Route MIDI internally to software instrument tracks
- Record with Low Latency Monitoring mode
- Use the metronome
- Use the count-in
-
- Intro to arranging
-
- Intro to regions
- Select regions
- Cut, copy, and paste regions
- Move regions
- Remove gaps between regions
- Delay region playback
- Trim regions
- Loop regions
- Repeat regions
- Mute regions
- Split and join regions
- Stretch regions
- Separate a MIDI region by note pitch
- Bounce regions in place
- Change the gain of audio regions
- Create regions in the Tracks area
- Convert a MIDI region to a Session Player region or a pattern region
- Replace a MIDI region with a Session Player region in Logic Pro for iPad
- Rename regions
- Change the color of regions
- Delete regions
-
- Intro to chords
- Add and delete chords
- Select chords
- Cut, copy, and paste chords
- Move and resize chords
- Loop chords on the Chord track
- Color chords on the Chord track
- Edit chords
- Work with chord groups
- Use chord progressions
- Change the chord rhythm
- Choose which chords a Session Player region follows
- Analyze the key signature of a range of chords
- Create fades on audio regions
- Extract vocal and instrumental stems with Stem Splitter
- Access mixing functions using the Fader
-
- Intro to Step Sequencer
- Use Step Sequencer with Drum Machine Designer
- Record Step Sequencer patterns live
- Step record Step Sequencer patterns
- Load and save patterns
- Modify pattern playback
- Edit steps
- Edit rows
- Edit Step Sequencer pattern, row, and step settings in the inspector
- Customize Step Sequencer
-
- Intro to mixing
-
- Channel strip types
- Channel strip controls
- Peak level display and clipping
- Set channel strip volume
- Set channel strip input format
- Set the output for a channel strip
- Set channel strip pan position
- Mute and solo channel strips
- Reorder channel strips in the Mixer in Logic Pro for iPad
- Replace a patch on a channel strip using drag and drop
- Work with plug-ins in the Mixer
- Search for plug-ins in the Mixer in Logic Pro for iPad
-
- Effect plug-ins overview
-
- Instrument plug-ins overview
-
- ES2 overview
- Interface overview
-
- Modulation overview
- Use the Mod Pad
-
- Vector Envelope overview
- Use Vector Envelope points
- Use Vector Envelope solo and sustain points
- Set Vector Envelope segment times
- Vector Envelope XY pad controls
- Vector Envelope Actions menu
- Vector Envelope loop controls
- Vector Envelope point transition shapes
- Vector Envelope release phase behavior
- Use Vector Envelope time scaling
- Modulation source reference
- Via modulation source reference
-
- Sample Alchemy overview
- Interface overview
- Add source material
- Save a preset
- Edit mode
- Play modes
- Source overview
- Synthesis modes
- Granular controls
- Additive effects
- Additive effect controls
- Spectral effect
- Spectral effect controls
- Filter module
- Low, bandpass, and highpass filters
- Comb PM filter
- Downsampler filter
- FM filter
- Envelope generators
- Mod Matrix
- Modulation routing
- Motion mode
- Trim mode
- More menu
- Sampler
- Studio Piano
- Copyright
Intro to Play Surfaces in Logic Pro for iPad
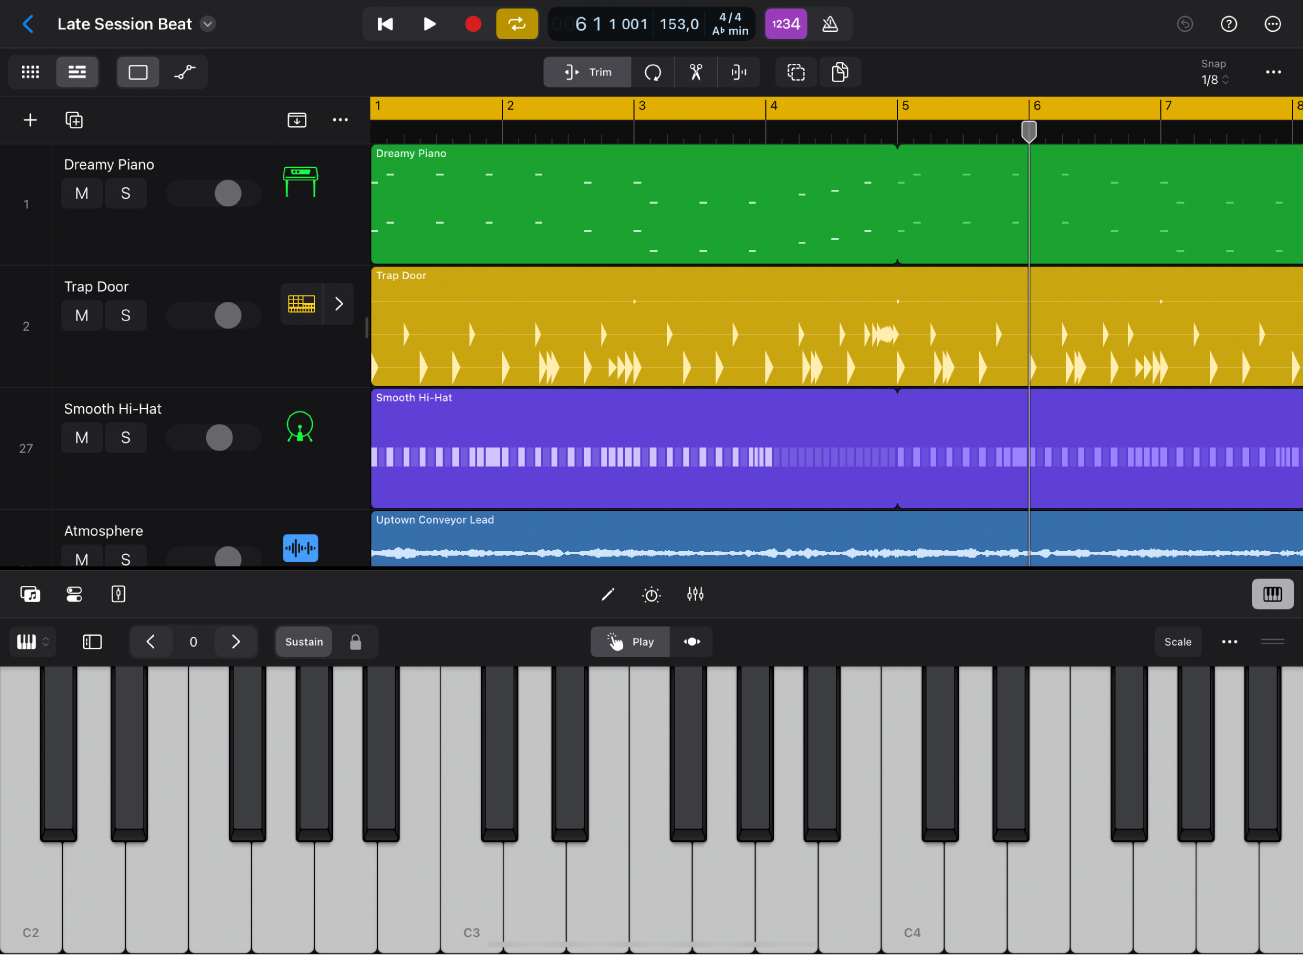
In Logic Pro for iPad, you can use Play Surfaces to play and control the various software instruments in your project by touching the screen of your iPad.

By default, the Play Surface shown depends on the type of instrument patch loaded on the selected software instrument track. However, you can play any software instrument with any of the Play Surfaces. If you prefer to always use a particular Play Surface, you can set it as the default for all instrument patches by locking the Play Surface.
You can turn on side controls to show performance controls, including pitchbend, modulation, note repeat, and velocity range.

For more information about Play Surfaces, see the following topics:
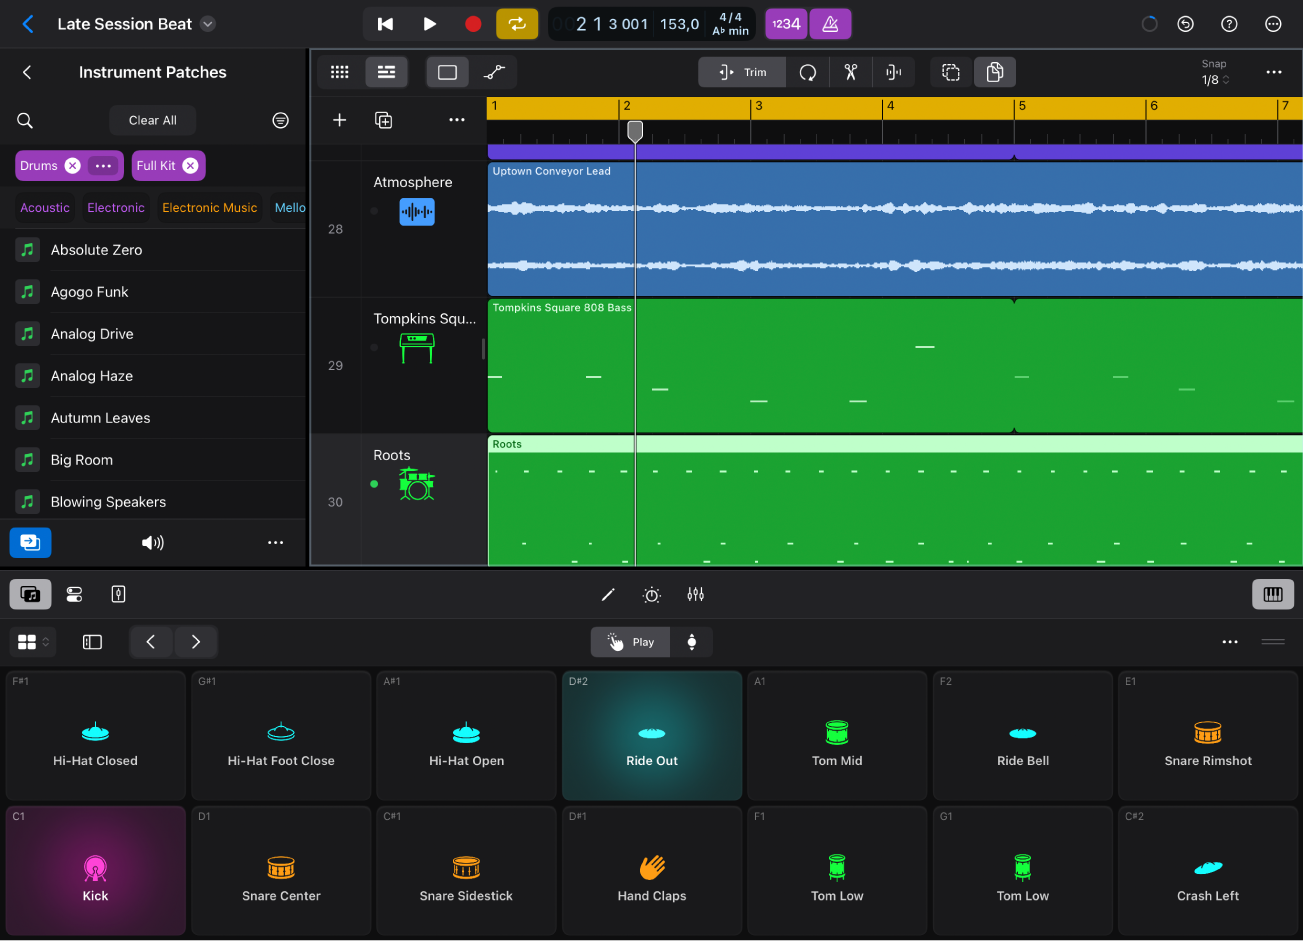
Note: Drum patches that use track stacks use an enhanced Drum Pads Play Surface that offers extended features and flexibility for designing your own drum patches. See Drum Machine Designer overview.
You can also play software instruments using an external MIDI device connected to your iPad.
Open the Play Surfaces area
In Logic Pro, select a software instrument track, then do one of the following:
Tap the Play Surfaces button
 on the right side of the view control bar.
Drag the view control bar up.
You can set whether the Play Surface opens when a new software track with MIDI as the default region type is created. See Create tracks in Logic Pro for iPad.
Choose a different Play Surface
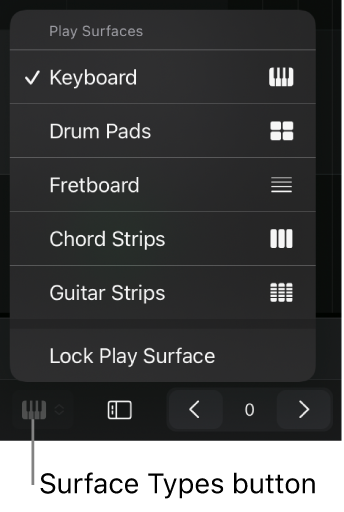
Tap the Surface Types button, then choose a Play Surface from the menu.

The icon for the Surface Types button changes to indicate which Play Surface is active.
Lock the default Play Surface
Tap the Surface Types button, then tap Lock Play Surface.
A lock symbol appears on the Surface Types button when Lock Play Surface is on.
Change size of the Play Surface
Drag the resize handle
 up or down.
Play within a particular scale
You can play the Keyboard and Fretboard Play Surfaces in various scales. After you choose a scale, the Play Surface changes to show notes in the scale.
In the Play Surface menu bar, tap the Scale button, tap the Activate switch, then choose the root note and scale from the pop-up menus.
Download this guide: PDF