
View and modify 360° video properties in Compressor
360° video (sometimes called spherical video) is footage captured by special cameras that point lenses in all directions to create a panoramic sphere of video.
Compressor acts as a finishing tool that lets you add or modify the 360° video metadata used by VR headsets and other presentation devices to display 360° video in the correct format (including monoscopic or stereoscopic view), and export the finished video as a media file ready for distribution.
Note: Compressor is not an editing tool for 360° video. To “stitch” the separate camera views together, you must use the 360° camera manufacturer’s software. To assemble a sequence, you must use a 360° video-capable application like Final Cut Pro. See Intro to 360° video in Final Cut Pro for Mac.
There are two places to adjust the properties of 360° video in Compressor:
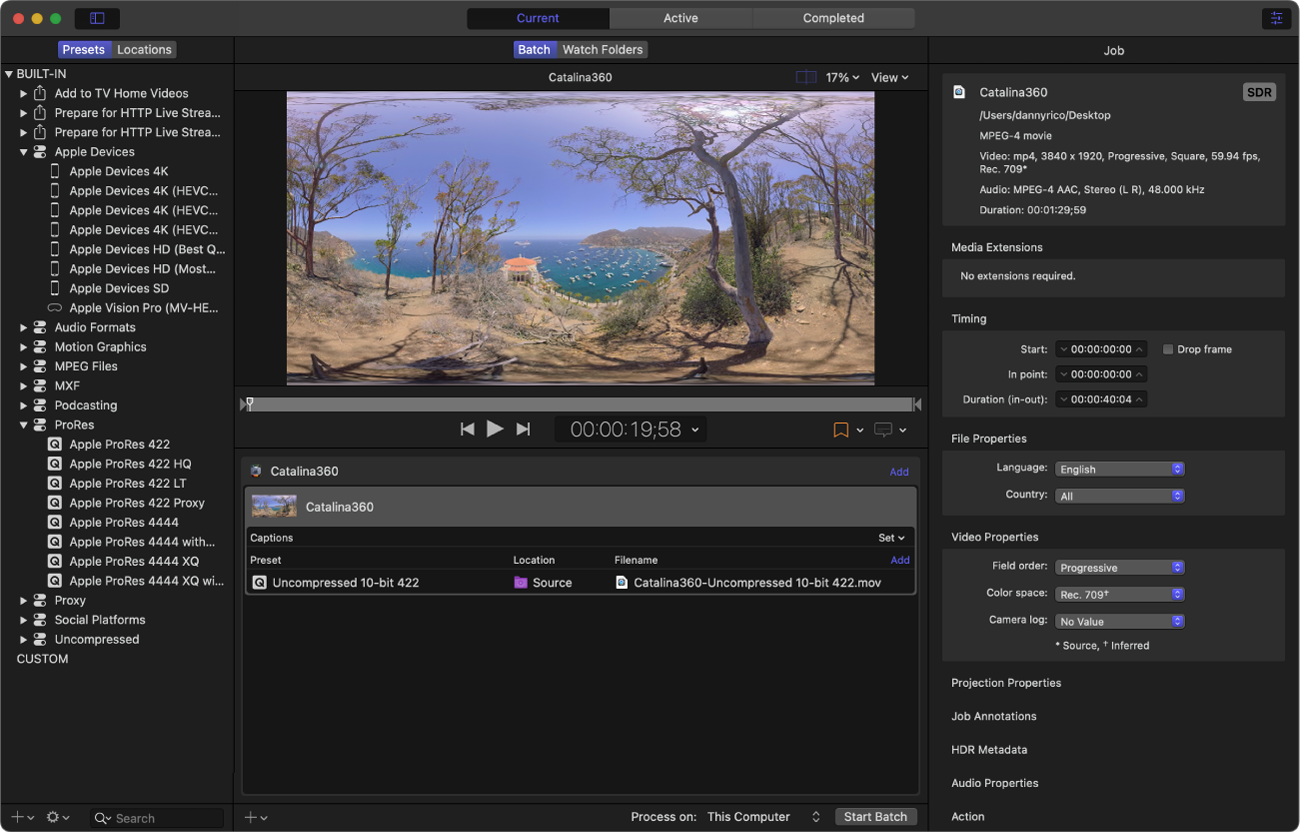
Job inspector: When you import a 360° video source file, Compressor detects any 360° metadata present in the file and displays that information in the Job inspector. If the source video has no 360° metadata or if that metadata is incorrect, you can assign it in the Job inspector.
Video inspector: When you apply a preset to a 360° video job, Compressor configures 360° properties for the transcoded file accordingly. If necessary, you can modify these properties in the Video inspector.
Adjust 360° properties of source media
When you import a 360° video source file, Compressor automatically tries to determine the associated 360° properties. You can set or override these properties in the Job inspector.
Select a 360° video job in the Compressor batch area.
In the Projection Properties area of the Job inspector, make sure Projection is set to 360°.
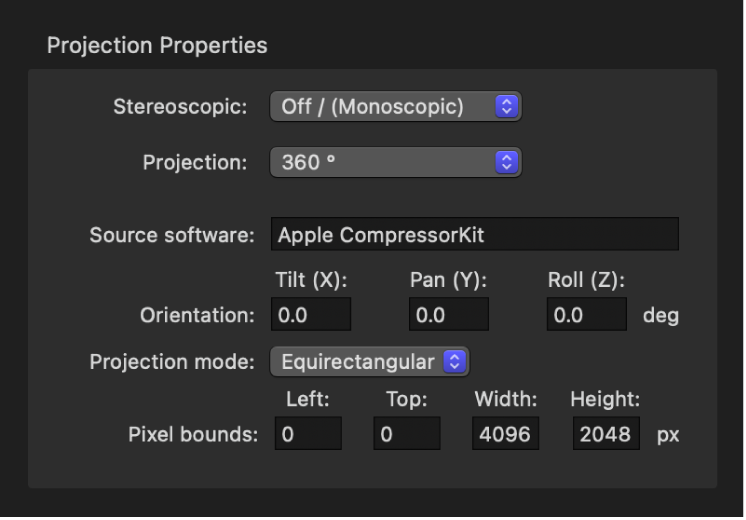
If necessary, add or modify the following 360° properties:
Source software: Identifies the software tool used to add metadata to the source file. If the source file had no metadata and you used Compressor to add it, this field displays “Apple CompressorKit.”
Orientation: Displays the coordinates—Tilt (X), Pan (Y), and Roll (Z), in degrees—of the source video’s view origin (the initial angle that viewers will see in a VR headset before they turn their heads). Enter new coordinates to change the initial orientation.
Projection mode: Sets the type of spatial mapping used to store the 360° video. There are two options:
Equirectangular: The most common form of spatial mapping for 360° video, equirectangular projection squeezes and distorts the spherical data like a flat map of the world represents the surface of the spherical earth.
Cubic: A less common form of spatial mapping, cubic projection represents the spherical data as an unfolded cube with six faces.
Pixel bounds: When “Projection mode” is set to Equirectangular, this property becomes available, allowing you to modify the boundaries of the equirectangular frame if necessary. Enter values in the Left and Top fields to crop a specific number of pixels from the left edge and top edge of the image. Enter new values in the Width and Height fields to change the dimensions of the equirectangular frame.
Layout and Padding: When “Projection mode” is set to Cubic, these fields become available, allowing you to adjust the six faces of the unfolded cube. The integer value in the Layout field specifies the order of the six unfolded cube faces (the default value of 0 specifies the face order used in the Spherical Video V2 metadata standard: right, left, up, down, front, back). The value in the Padding field specifies the width (in pixels) of borders around the edges of each cube face.
Note: If you modify 360° properties, the image in the Compressor preview area stays the same. The preview area displays the 360° source file’s video with its native properties.
Modify 360° properties of custom and applied presets
To configure the 360° properties of your transcoded output, you can modify the settings of an applied or custom preset in the Video inspector.
In Compressor, select a custom preset in the Presets pane or select an applied preset in the batch area.
In the Video Properties section of the Video inspector, click the “360° metadata” pop-up menu and choose an option:
Automatic: Compressor chooses the metadata format based on the properties in the Job inspector and the other settings of the preset. The format chosen is listed to the right of the pop-up menu.
None: No 360° metadata is attached to your output file.
Spherical Video V1: The 360° metadata format most commonly used by video sharing sites.
Spherical Video V2: A more up-to-date 360° metadata format.
Download this guide: PDF