Cut and switch camera angles in Final Cut Pro
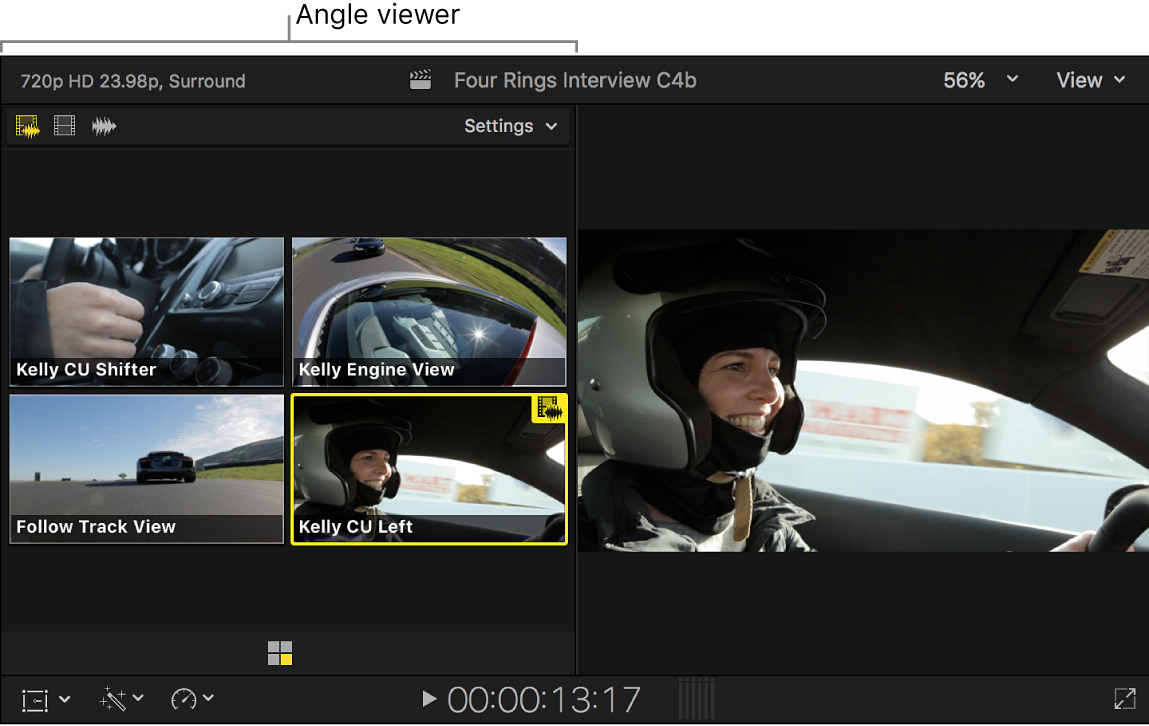
After you create a multicam clip, you can watch all angles simultaneously in the angle viewer while switching or cutting to different angles in real time. This allows you to cut an entire movie as if it were live, and then fine-tune your edits in the timeline just as you would for any other project.
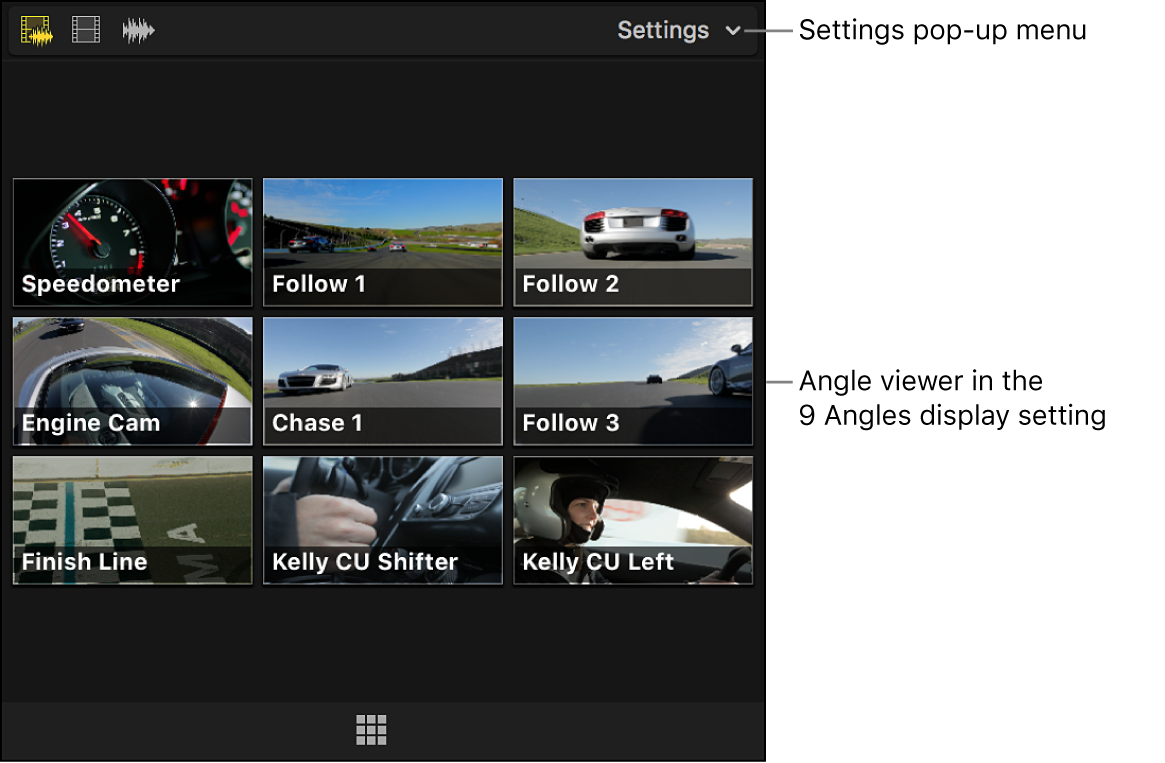
The angle viewer is both a display and an interactive interface for making quick cut and switch decisions as you play back your multicam clips and projects. Angles appear in banks of 2, 4, 9, or 16 angles.
Play back a multicam clip in the angle viewer
To open the Final Cut Pro angle viewer, do one of the following:
Choose View > Show in Viewer > Angles (or press Shift-Command-7).
Click the View pop-up menu in the top-right corner of the viewer and choose Show Angles.
If you’re viewing a multicam clip in the browser, you have the option to show the event viewer next to the viewer. To show multicam angles in the event viewer, do one of the following:
Choose View > Show in Event Viewer > Angles.
Click the View pop-up menu in the top-right corner of the event viewer and choose Show Angles.
Use the skimmer or the playhead to play back a multicam clip in the browser or the timeline.
The angle viewer appears in the upper part of the Final Cut Pro window.
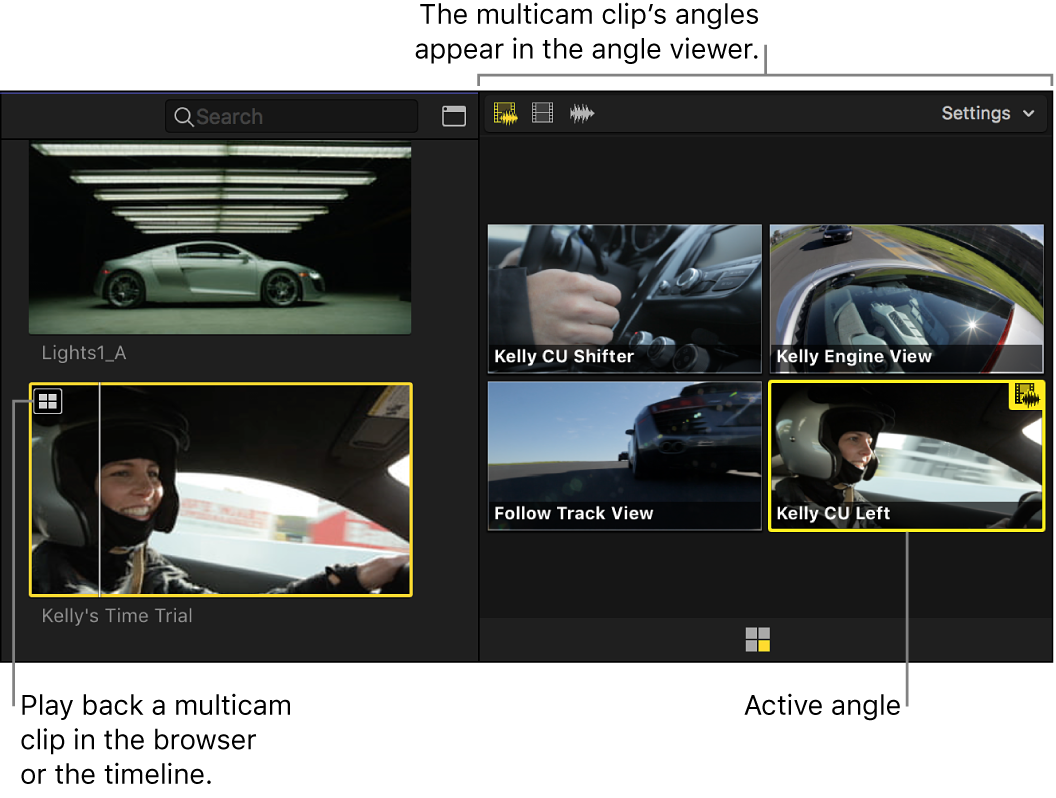
Cut and switch angles in the angle viewer
You can cut and switch angles “on the fly” (while playing back your project), or you can skim to specific points in the timeline and then cut and switch. You can also use a combination of those two methods.
To open the Final Cut Pro angle viewer, choose View > Show in Viewer > Angles (or press Shift-Command-7).
Add the multicam clip you want to cut and switch to the timeline.
Note: The cut and switch feature works on timeline clips only.
Do one of the following:
Position the playhead where you want playback to start, then press the Space bar to play back the multicam clip.
Skim the timeline to the frame where you want to cut and switch to a different angle.
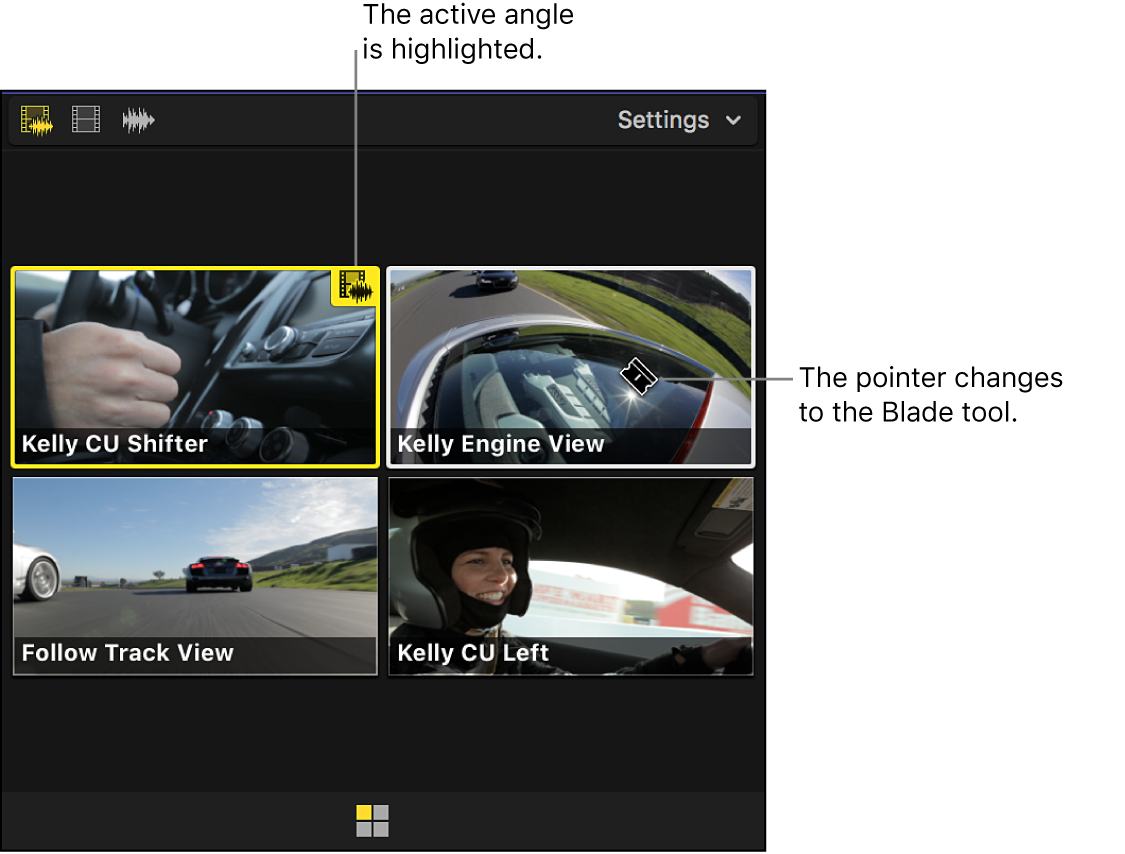
In the angle viewer, move the pointer over the angle that you want to switch to.
As you move the pointer over the angles in the angle viewer, the pointer changes to the Blade tool, indicating that a cut (and switch) will occur when you click.
Do one of the following:
Cut and switch: Click the angle you want to switch to. (Or press any number key to cut and switch to the corresponding angle of the current bank. For example, press 5 to cut and switch to angle 5 of the current bank.)
In the timeline, the current multicam clip is cut at the playhead position. The section of the clip to the right of the playhead is replaced with a new instance of the clip, with the angle you clicked as the active angle. A special through edit point appears at the timeline playhead position. See Edit multicam clips in Final Cut Pro.
Switch: Option-click the angle you want to switch to. (Or hold down the Option key and press any number key to switch to the corresponding angle of the current bank. For example, press Option-5 to switch to angle 5 of the current bank.)
Note: The pointer changes to a pointing hand icon when you hold down the Option key, indicating a switch-only edit.
In the timeline, the multicam clip under the playhead changes to show the angle you switched to as the active angle.
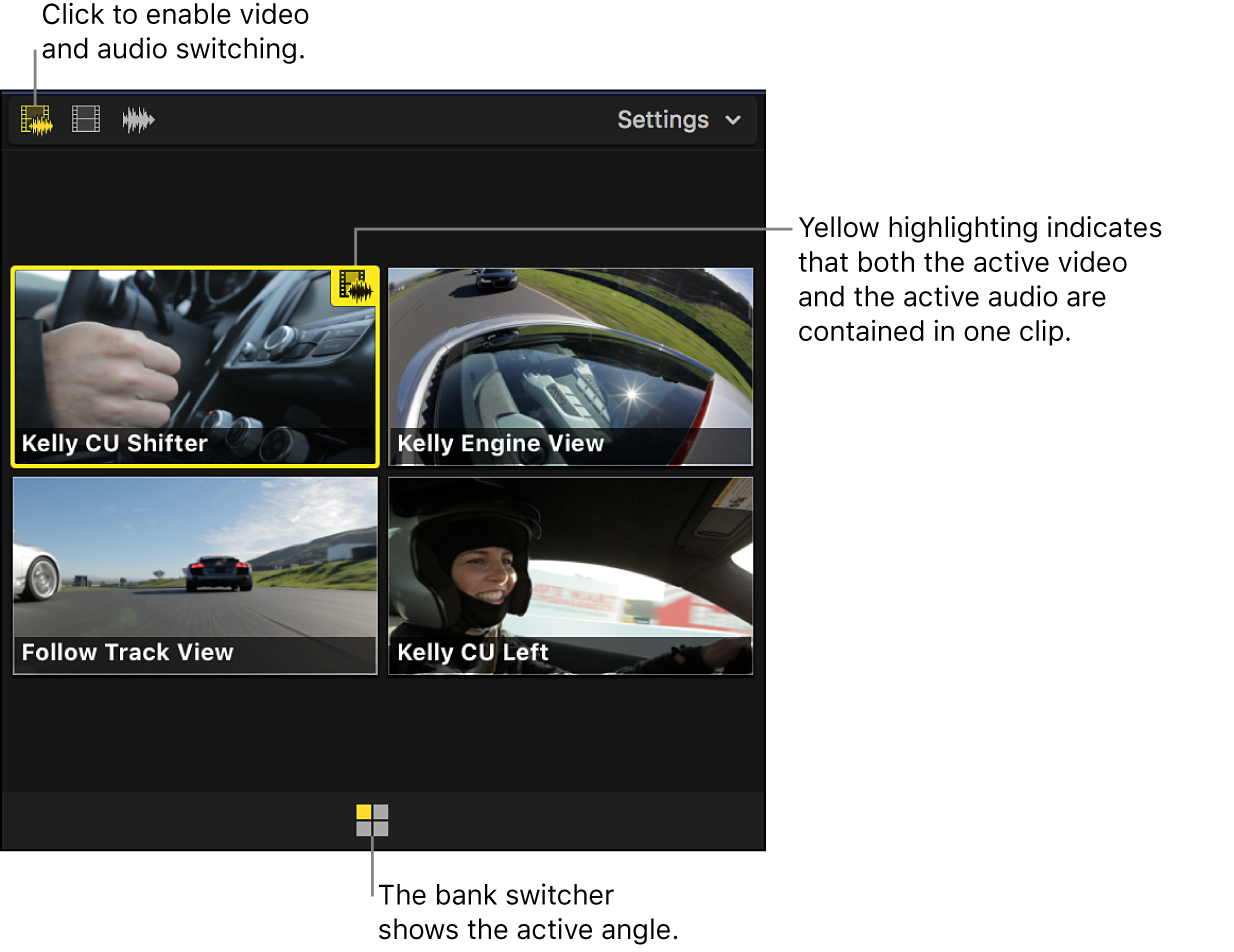
The viewer switches to the angle you selected. The active angle is highlighted in yellow, blue, or green, depending on the switch mode you’re using. See Switch video or audio separately, below.
Switch video or audio separately
By default, Final Cut Pro switches the video and audio of a multicam clip at the same time, but you can set Final Cut Pro to switch the video and audio separately.
To open the Final Cut Pro angle viewer, choose View > Show in Viewer > Angles (or press Shift-Command-7).
To change the switch mode, do one of the following:
Enable video and audio switching: Click the left switch mode button in the top-left corner of the angle viewer. This is the default setting.
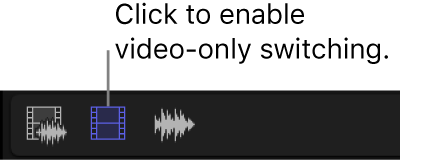
Enable video-only switching: Click the middle switch mode button. Only the video switches. The audio from the original angle remains active.
Enable audio-only switching: Click the right switch mode button. Only the audio switches. The video from the original angle remains active.

Do one of the following:
Cut and switch: Click an angle in the angle viewer.
Switch: Option-click an angle in the angle viewer.
If you selected the video-only or audio-only switch mode, blue highlighting indicates the active video angle and green highlighting indicates the active audio angle.
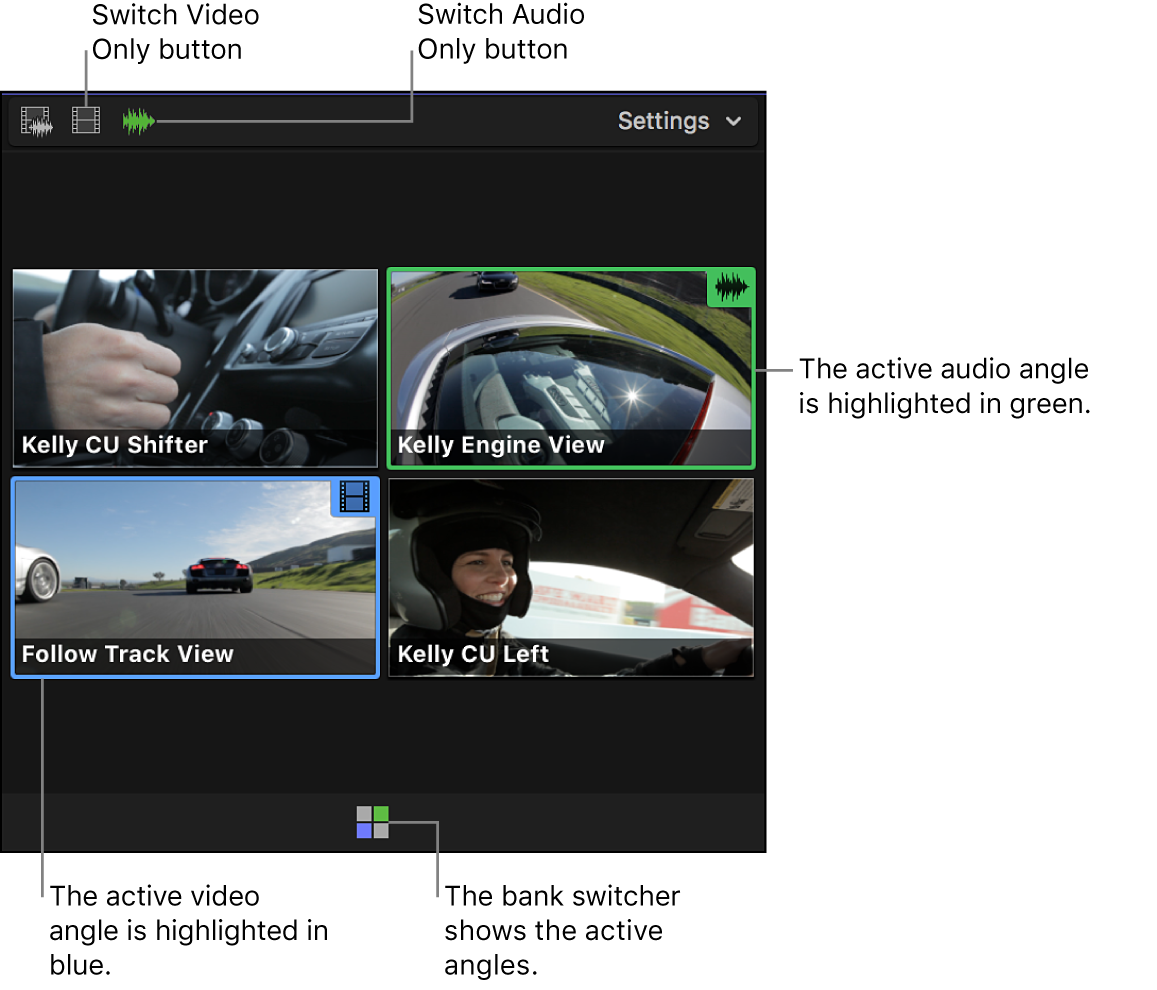
Tip: With audio-only switching enabled, you can add audio components from inactive angles to the active angle or remove audio components from the active angle. Simply Option-Command-click an inactive angle to add its audio to the active angle, or Option-Command-click an active angle to remove its audio. See Example: Enable or disable audio components in a multicam clip.
View and navigate banks of angles
Depending on the angle viewer display setting you choose, you can show 2, 4, 9, or 16 angles at once. These sets of angles are known as banks. You use the bank switcher to display and navigate banks of angles in a multicam clip.
To open the Final Cut Pro angle viewer, choose View > Show in Viewer > Angles (or press Shift-Command-7).
Position the skimmer or the playhead over a multicam clip in the browser or the timeline.
The bank switcher appears as a grid of squares at the bottom of the angle viewer. Yellow, blue, or green highlighting indicates the currently active angle.
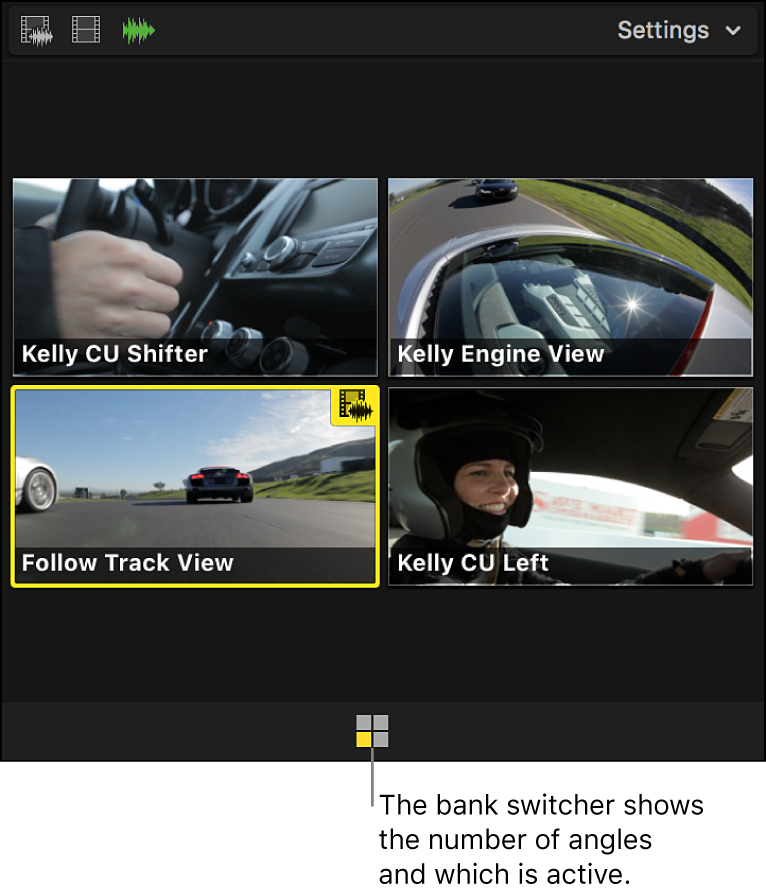
Click the Settings pop-up menu in the top-right corner of the angle viewer and choose the number of angles you want to display in each bank.
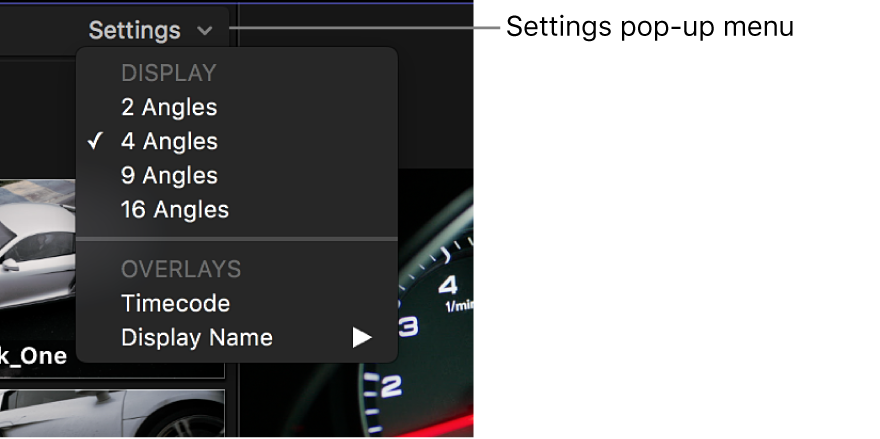
If the number of angles in your multicam clip exceeds the current angle viewer display setting, Final Cut Pro creates additional banks and displays them as separate grids of squares.
Here are a few examples of different angle bank combinations:
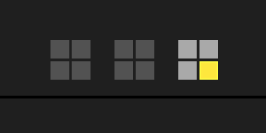
Three banks of 4 angles each. The last angle in the third bank is the active angle, and the third bank is the currently displayed bank.
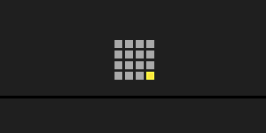
One bank of 16 angles. The last angle is the active angle.
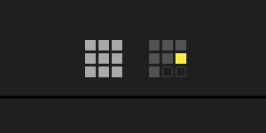
One bank of 9 angles and another bank of 7 angles. The first bank is the currently displayed bank.
To navigate banks of angles, do any of the following:
Display a bank’s angles in the angle viewer: Click the bank switcher icon for the bank.
Display the previous bank: Press Option-Shift-Semicolon (;).
Display the next bank: Press Option-Shift-Apostrophe (’).
Show overlays in the angle viewer
For each angle that appears in the angle viewer, you can display video overlays showing timecode and either the clip name or the angle name.
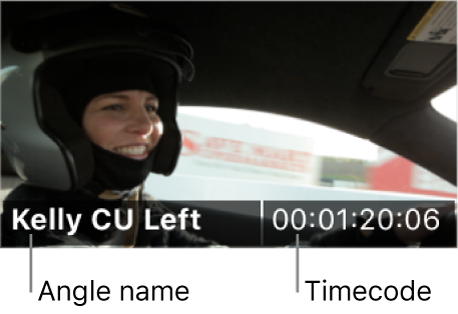
To open the Final Cut Pro angle viewer, choose View > Show in Viewer > Angles (or press Shift-Command-7).
To choose a display option, do one of the following:
Display timecode for the clips in each angle: Click the Settings pop-up menu in the top-right corner of the angle viewer and choose Timecode. (Choose Timecode again to turn off the timecode display.)

Display the names of the clips in each angle: Click the Settings pop-up menu and choose Display Name > Clip.
Display the name for each angle: Click the Settings pop-up menu and choose Display Name > Angle.
Turn off display names: Click the Settings pop-up menu and choose Display Name > None.
Adjust the angle viewer display
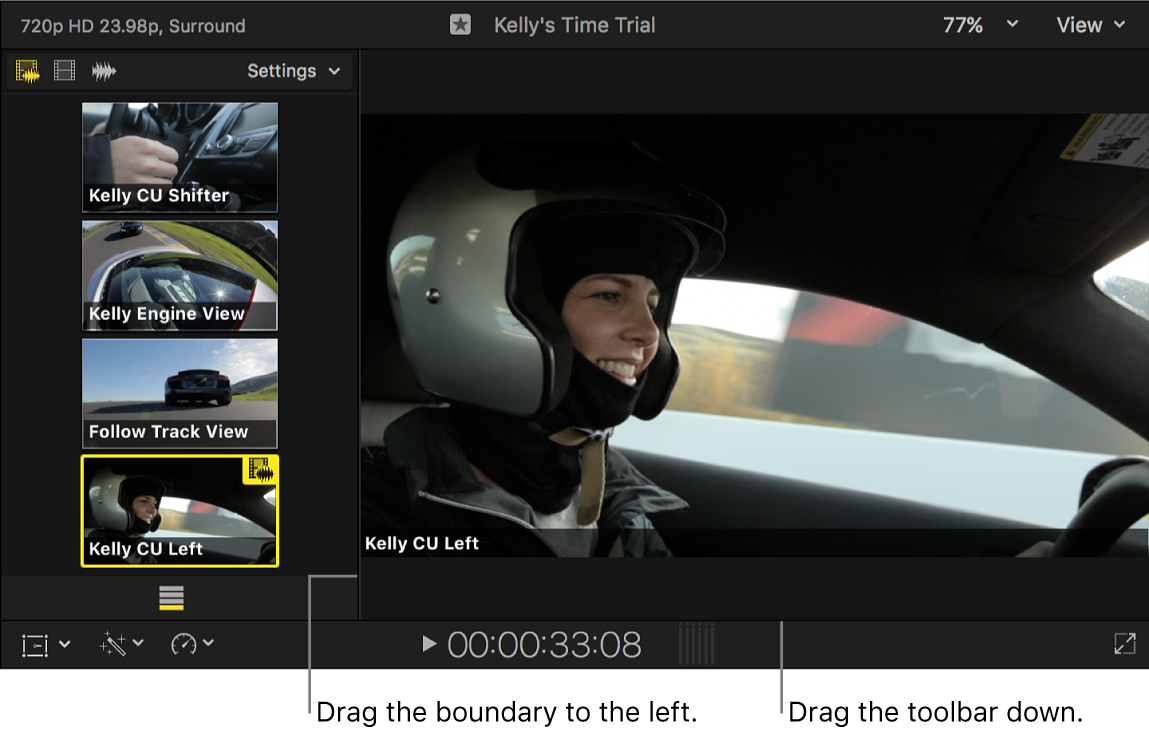
You can adjust the size of the angle viewer and even display it as a vertical column.
In Final Cut Pro, do any of the following:
Adjust the number of angles in the angle viewer: Click the Settings pop-up menu in the top-right corner of the angle viewer, then choose either 2 Angles, 4 Angles, 9 Angles, or 16 Angles.
Adjust the size of the angle viewer and the main viewer: Drag the boundary between them.
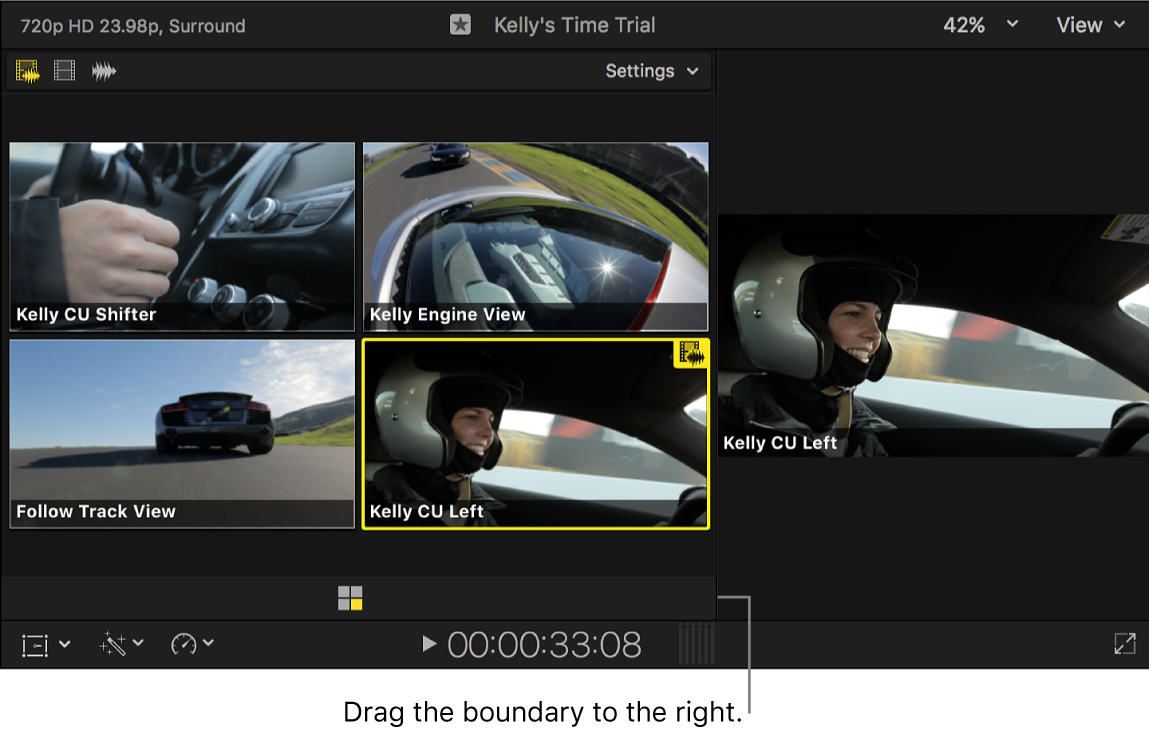
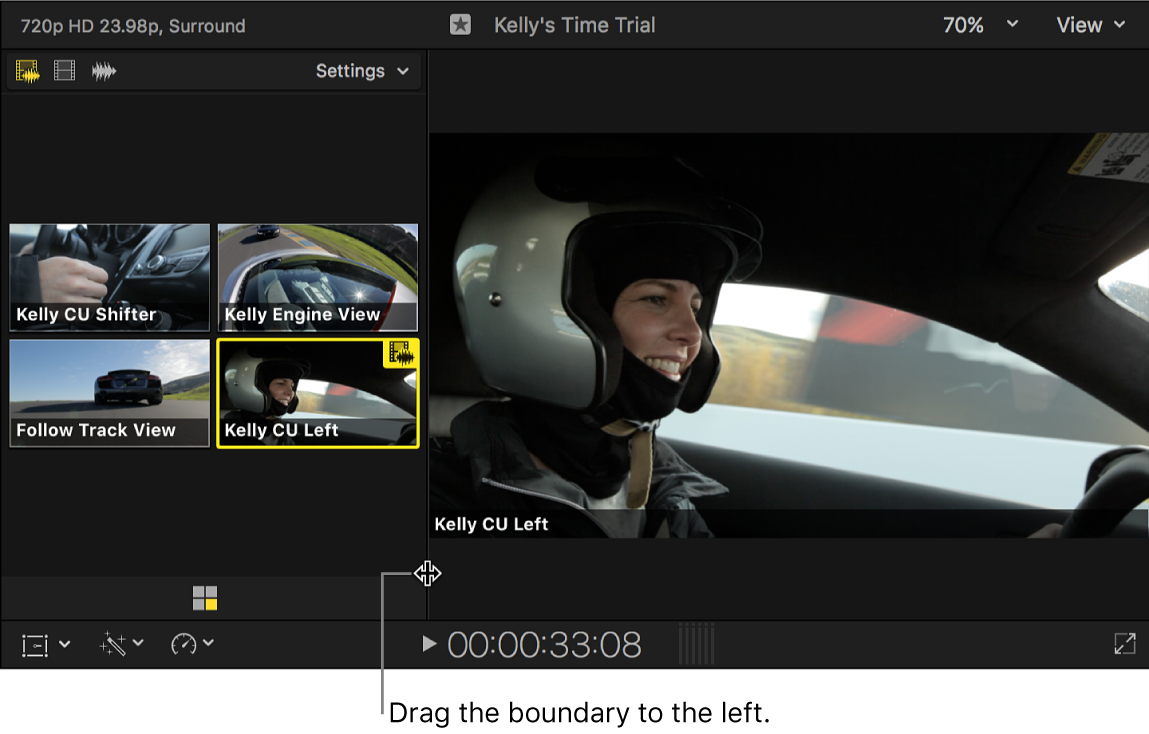
Make the angle viewer a vertical column: Drag the boundary to the left, then drag the border between the viewer and the timeline downward to expand the viewer quadrant vertically. (This vertical column view is available only in the 2 Angles and 4 Angles views.)
