
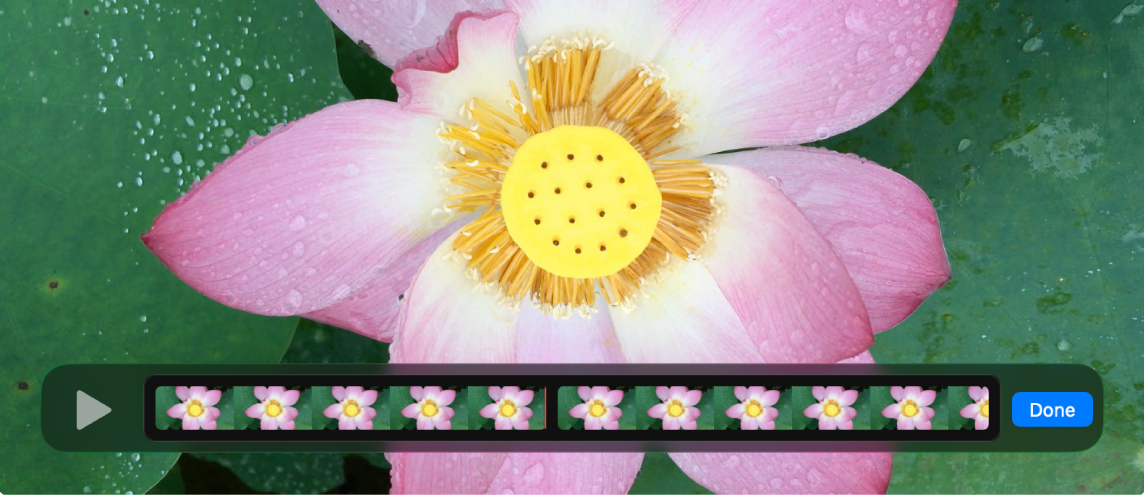
Edit a movie
Want to quickly edit a movie? QuickTime Player lets you make common movie edits like trim, rearrange, and rotate. You can also split a movie into multiple clips and manipulate each one individually.
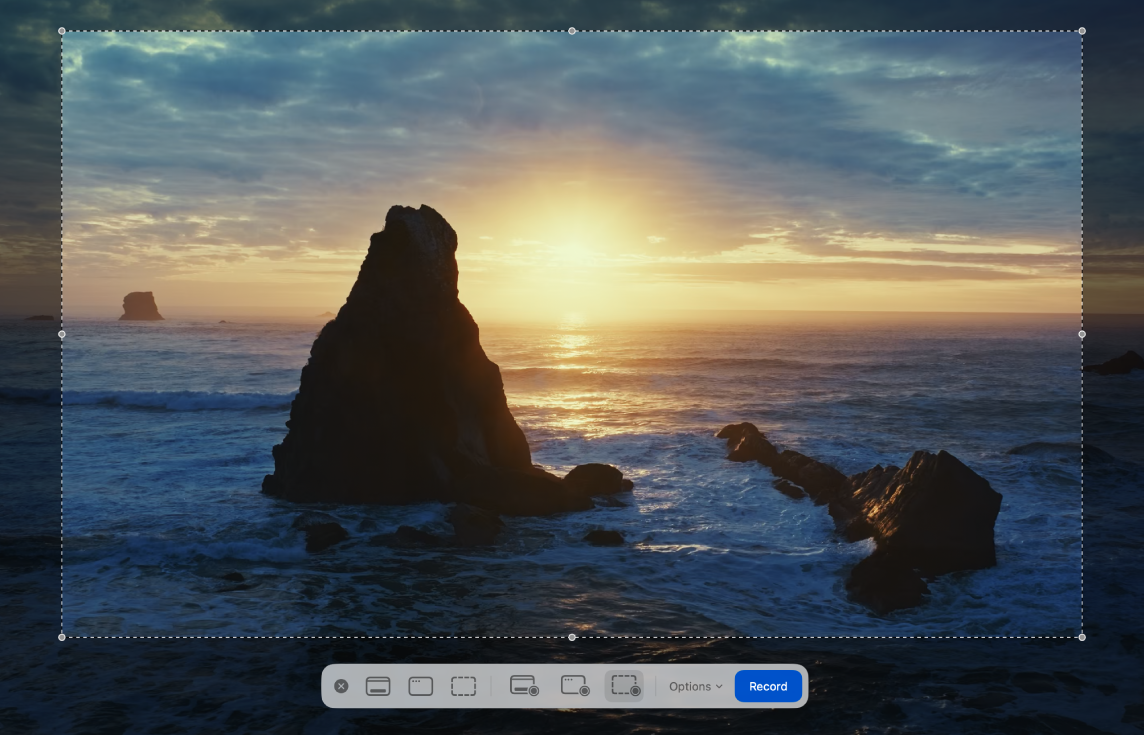
Record your Mac screen
Need a quick way to show someone how to do something on a Mac, or maybe just show another person what you’re seeing on your screen? Create a recording of your entire screen or select just a portion of it.

Capture your iPhone, iPad, or iPod touch screen
Maybe you want to brag about getting a new high score in a game on your iPhone or use the camera on your iPad to record a movie. You can capture exactly what you’re seeing on your device and save it as a movie file on your Mac.
To explore the QuickTime Player User Guide, click Table of Contents at the top of the page, or enter a word or phrase in the search field.