Final Cut Pro User Guide
- Welcome
-
- What’s new in Final Cut Pro 10.6
- What’s new in Final Cut Pro 10.5.3
- What’s new in Final Cut Pro 10.5
- What’s new in Final Cut Pro 10.4.9
- What’s new in Final Cut Pro 10.4.7
- What’s new in Final Cut Pro 10.4.6
- What’s new in Final Cut Pro 10.4.4
- What’s new in Final Cut Pro 10.4.1
- What’s new in Final Cut Pro 10.4
- What’s new in Final Cut Pro 10.3
- What’s new in Final Cut Pro 10.2
- What’s new in Final Cut Pro 10.1.2
- What’s new in Final Cut Pro 10.1
- What’s new in Final Cut Pro 10.0.6
- What’s new in Final Cut Pro 10.0.3
- What’s new in Final Cut Pro 10.0.1
-
- Intro to effects
-
- Intro to transitions
- How transitions are created
- Add transitions
- Set the default transition
- Delete transitions
- Adjust transitions in the timeline
- Adjust transitions in the inspector and viewer
- Merge jump cuts with the Flow transition
- Adjust transitions with multiple images
- Modify transitions in Motion
-
- Add storylines
- Use the precision editor
- Conform frame sizes and rates
- Use XML to transfer projects
-
- Glossary
- Copyright

Add preset materials to 3D text in Final Cut Pro
The quickest way to give your 3D title a naturalistic texture is to apply one of the preset materials built into Final Cut Pro.
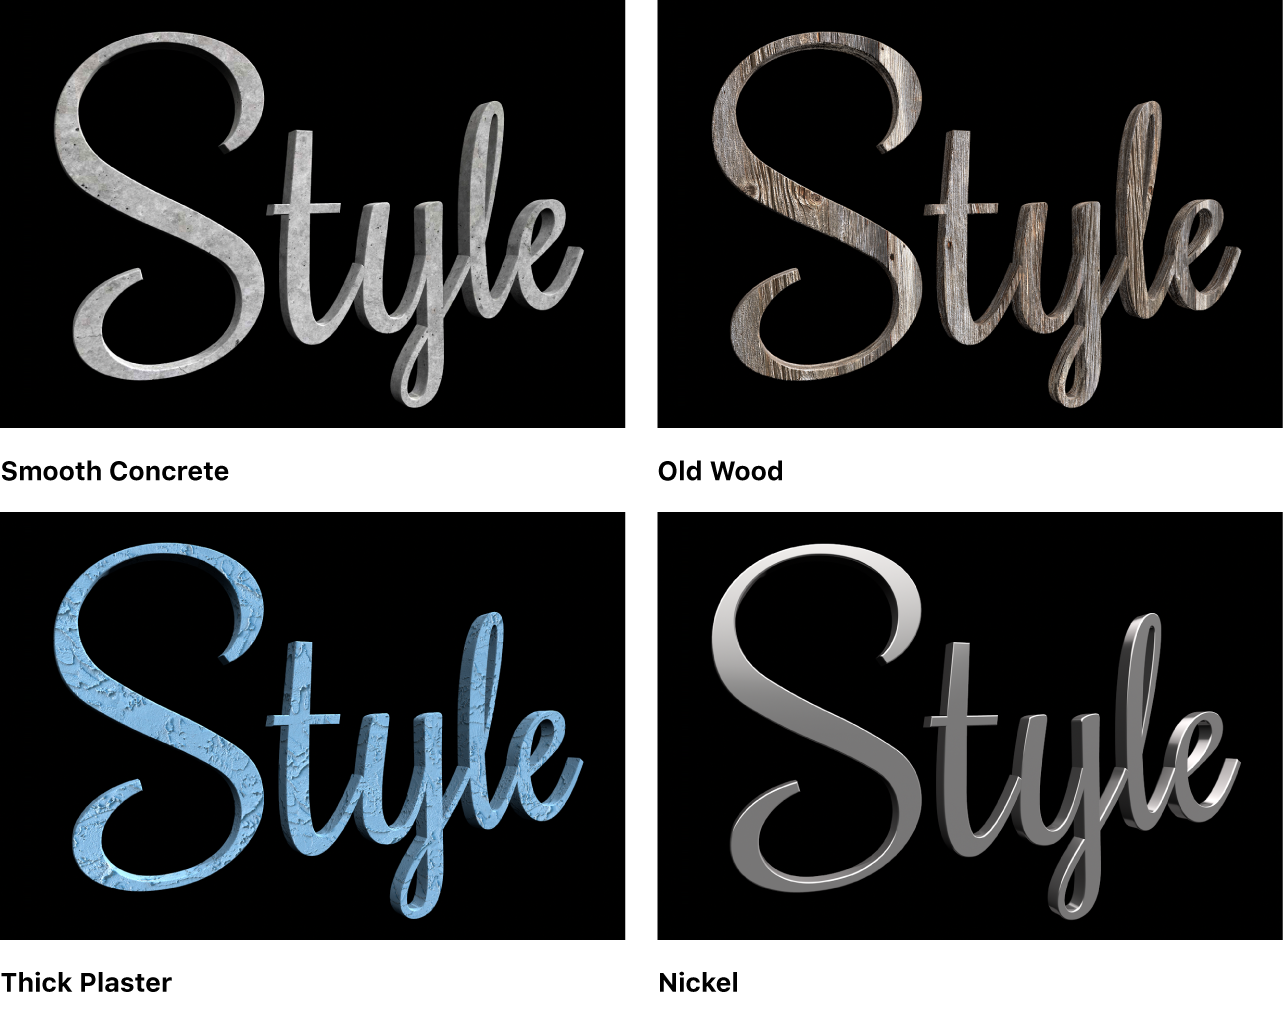
Below are some examples of the many preset 3D materials available in Final Cut Pro:

Add a 3D title to your Final Cut Pro project.
Double-click the 3D title clip in the timeline.
The title appears in the viewer, and the text in the first text object in the title clip is selected. To modify a different text object in the same title, select it in the viewer.
If the inspector isn’t already shown, do one of the following:
Choose Window > Show in Workspace > Inspector (or press Command-4).
Click the Inspector button on the right side of the toolbar.

Click the Text button at the top of the inspector.

Tip: Double-click the top bar of the inspector to switch between half-height view and full-height view.
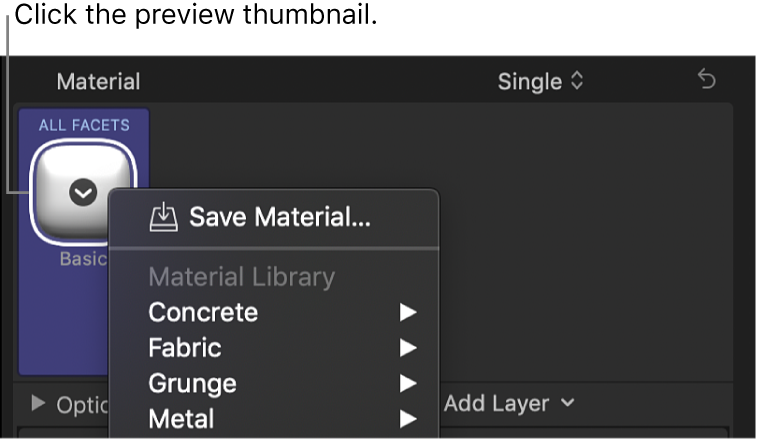
In the Material section of the 3D Text section, click the preview thumbnail.
A pop-up menu showing the material presets categories appears.

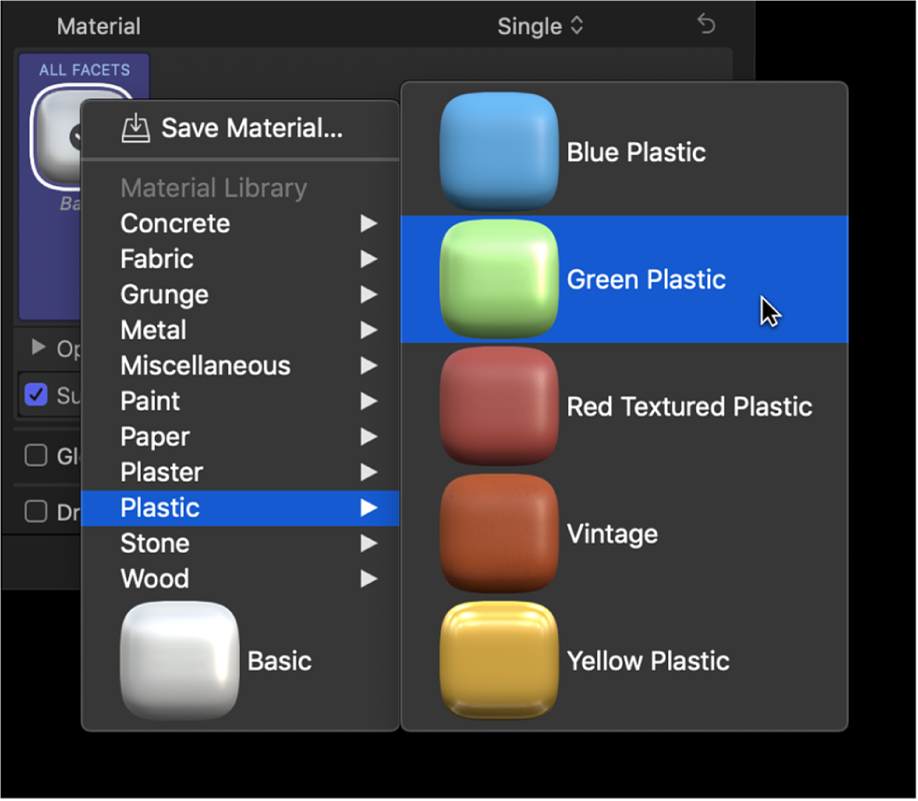
Click the pop-up menu and choose a material category, then click the submenu and choose a preset.

The preset 3D material is applied to the text object.
You can modify any of the preset materials or add new material layers to create custom textures. See Modify 3D text materials in Final Cut Pro and Work with 3D text material layers in Final Cut Pro.
Download this guide: Apple Books | PDF