Final Cut Pro X User Guide
- Welcome
-
- What’s new in Final Cut Pro 10.4.9
- What’s new in Final Cut Pro 10.4.7
- What’s new in Final Cut Pro 10.4.6
- What’s new in Final Cut Pro 10.4.4
- What’s new in Final Cut Pro 10.4.1
- What’s new in Final Cut Pro 10.4
- What’s new in Final Cut Pro 10.3
- What’s new in Final Cut Pro 10.2
- What’s new in Final Cut Pro 10.1.2
- What’s new in Final Cut Pro 10.1
- What’s new in Final Cut Pro 10.0.6
- What’s new in Final Cut Pro 10.0.3
- What’s new in Final Cut Pro 10.0.1
-
- Intro to effects
-
- Intro to transitions
- How transitions are created
- Add transitions
- Set the default transition
- Delete transitions
- Adjust transitions in the timeline
- Adjust transitions in the inspector and viewer
- Merge jump cuts with the Flow transition
- Adjust transitions with multiple images
- Modify transitions in Motion
-
- Add storylines
- Use the precision editor
- Conform frame sizes and rates
- Use XML to transfer projects
-
-
- Intro to media management
-
- View a clip’s information
- Override a clip’s metadata
- Locate source media files
- Relink clips to media files
- Consolidate projects and libraries
- Back up projects and libraries
- Create optimized and proxy files
- Create a proxy-only project
- Manage render files
- View background tasks
- Convert incompatible media
- Create camera archives
- Glossary
- Copyright

Create camera archives in Final Cut Pro
You can make a camera archive (backup copy) of the contents of your camera or camcorder. (You can’t make an archive from a live video signal, such as the signal produced by an iSight camera.)
Because you can import media into Final Cut Pro from an archive, archiving the media on your device can be useful if you want to:
Quickly empty the contents of your camera or camcorder so that you can record more media right away, rather than wait for it to be imported into Final Cut Pro.
Import the archived media on multiple computers without having to keep it on the camcorder
Keep a browsable, “near-line” archive of media from a camera without having to import the media into Final Cut Pro
For information about importing media into Final Cut Pro from a camera archive, see Import into Final Cut Pro from an archive or disk image.
Archive the media on your file-based camera or camcorder
If you want to save the archive to an external storage device, connect it to your Mac.
Connect the camera or camcorder to your Mac using the cable that came with the device, and turn on the device.
See Memory cards and cables used with Final Cut Pro.
If you’re using a camcorder, set it to PC Connect mode. The name of this transfer mode may be different on your device. Your camcorder may automatically go into “connect” mode if you turn it on in playback mode while it’s connected to your Mac. See the documentation that came with your camcorder.
Note: Connecting a DVD camcorder to your Mac can cause the DVD Player app to open. If that happens, simply close DVD Player.
In Final Cut Pro, do one of the following:
Choose File > Import > Media (or press Command-I).
Click the Import Media button on the left side of the toolbar.

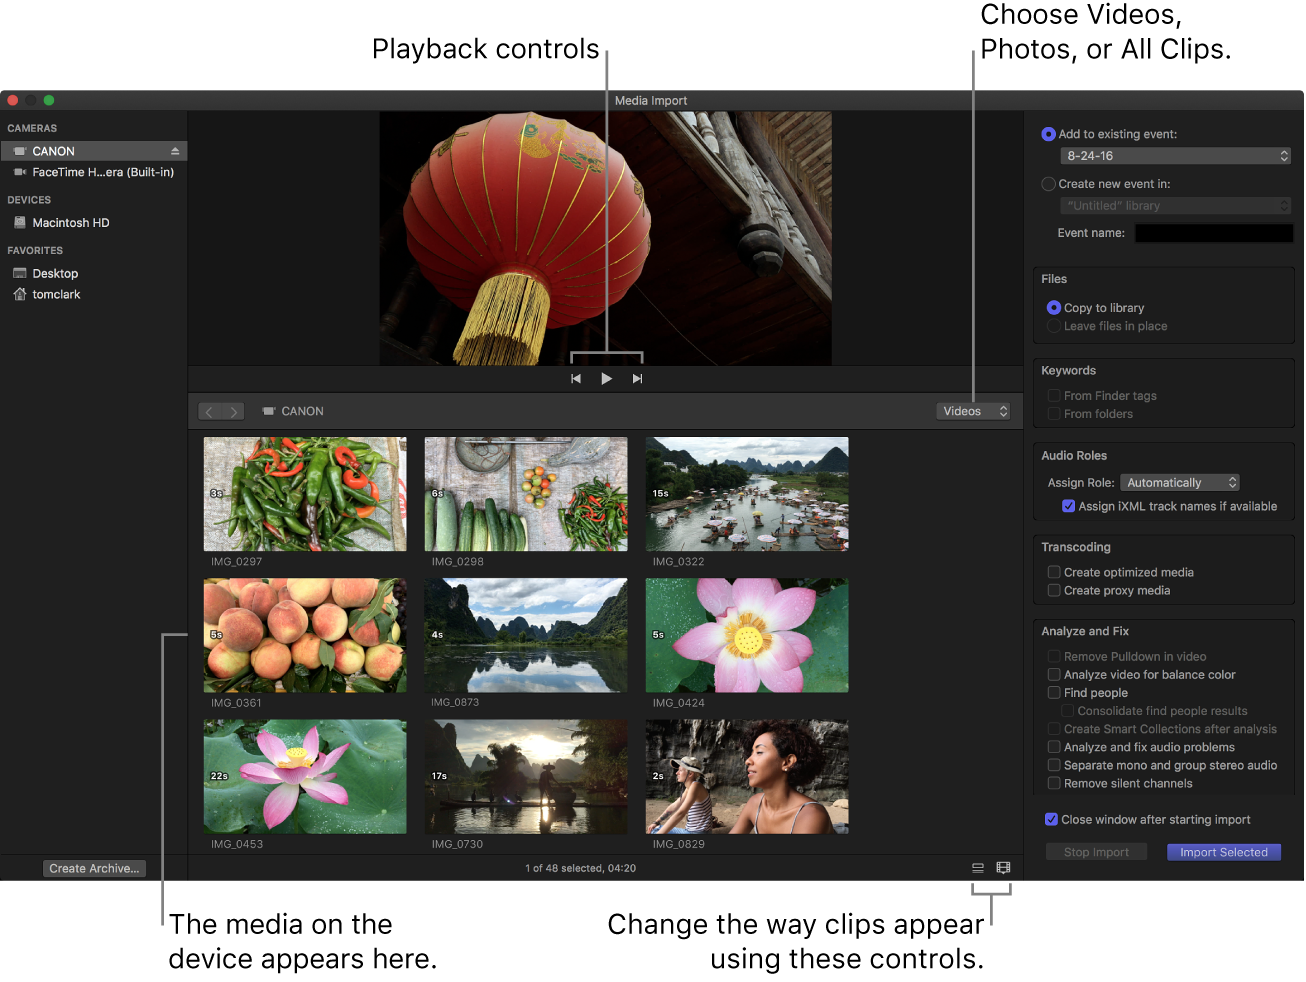
Select your device in the list of cameras on the left side of the Media Import window.

Click the Create Archive button at the bottom-left corner of the window.
In the “Create Camera Archive as” field, type a name for the archive.
Click the Destination pop-up menu and choose a location to save the archive, then click OK.
Note: It’s a good idea to save your archive to a disk or partition different from the one where you store the media files used with Final Cut Pro.
The camera archive is stored at the location you chose. You can mount the archive as if it were a file-based camcorder and browse the archive’s contents, or you can import the media on the camera archive into Final Cut Pro.
Archive the media on your tape-based camera or camcorder
If you want to save the archive to an external storage device, connect it to your Mac.
Connect the camera or camcorder to your Mac using the cable that came with the device, and turn on the device.
See Memory cards and cables used with Final Cut Pro.
If you’re using a camcorder, set it to PC Connect mode. The name of this transfer mode may be different on your device. Your camcorder may automatically go into “connect” mode if you turn it on in playback mode while it’s connected to your Mac. See the documentation that came with your camcorder.
In Final Cut Pro, do one of the following:
Choose File > Import > Media (or press Command-I).
Click the Import Media button on the left side of the toolbar.

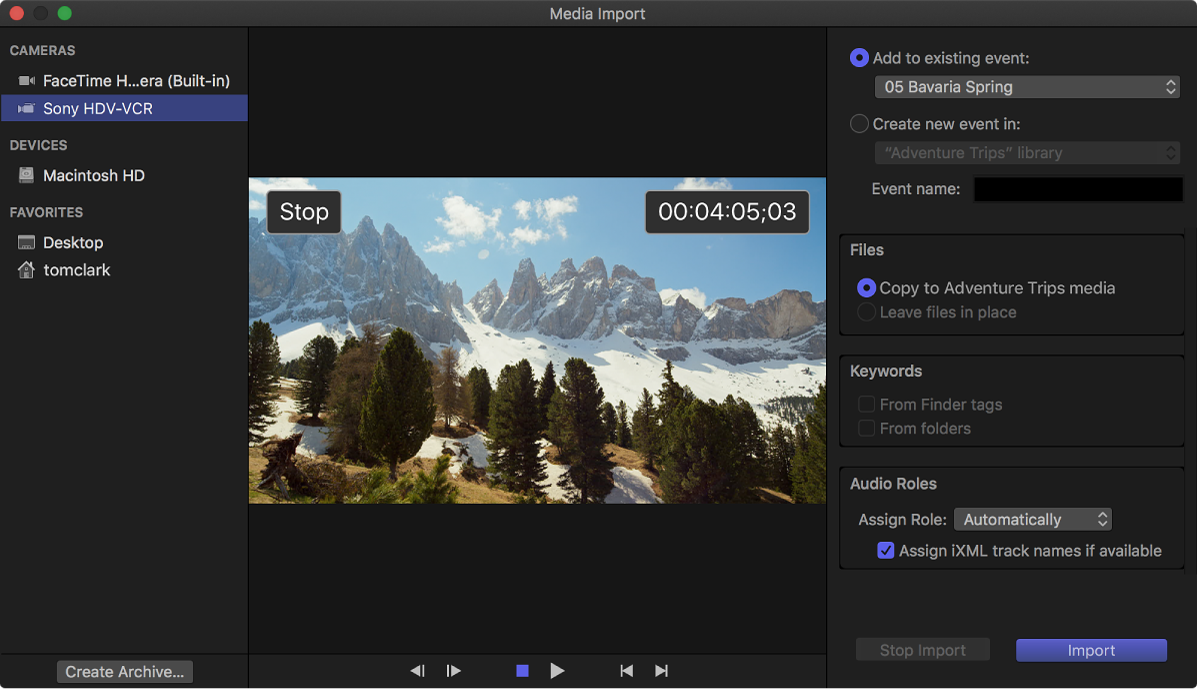
Select your device in the list of cameras on the left side of the Media Import window.

Click the Create Archive button at the bottom-left corner of the window.
In the “Create Camera Archive as” field, type a name for the archive.
Click the Destination pop-up menu and choose a location to save the archive, then click OK.
Note: To protect your media, it’s a good idea to save your archive to a disk or partition different from the one where you store the media files used with Final Cut Pro.
Final Cut Pro begins archiving from the current location on the tape. Archiving continues until one of the following occurs:
The end of the tape is reached.
You stop the archiving process by clicking Stop Import or Close (to close the Media Import window).
The camera archive is stored at the location you chose. You can mount the archive as if it were a file-based camcorder and browse the archive’s contents, or you can import the media on the camera archive into Final Cut Pro.
Move or copy a camera archive
In the Finder, select the camera archive that you want to move or copy.
Do one of the following:
Move the camera archive on your local disk: Drag the camera archive to a new location.
Copy the camera archive on your local disk: Hold down the Option key and drag the camera archive to a new location on your local disk.
Copy the camera archive to an external storage device: Drag the camera archive to a location on the external storage device.
Delete a camera archive
Camera archives are very small relative to other media files, and often don’t warrant being deleted. However, you can delete a camera archive at any time.
Control-click the camera archive in the Finder, then choose Move to Trash.
Control-click the Trash icon in the Dock, then choose Empty Trash.
Important: Emptying the Trash permanently deletes the camera archive.