Find your favorite GarageBand features in Logic Pro for iPad
Logic Pro for iPad includes all of your favorite GarageBand for iOS features, like a huge library of sounds, software instruments you can play on-screen, tools for beat creation, plug-ins to shape sounds, and a lot more.
Find sounds in the Sound Browser
Like with GarageBand, Logic Pro for iPad includes a lot of content like patches for factory installed software instruments, rhythmic and melodic loops, plug-in presets, and more. You can search for and preview this content in the Sound Browser.
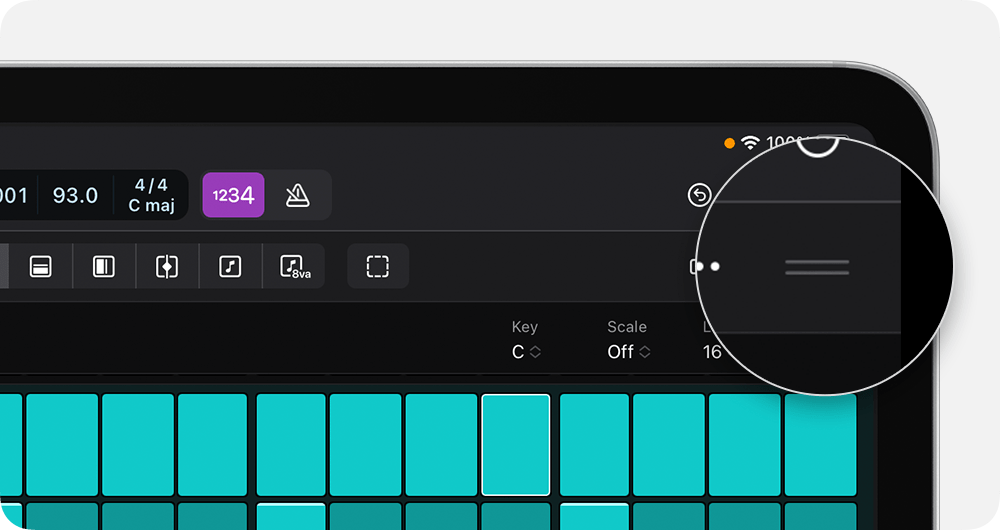
With a project open, tap the Sound Browser button
 .
.Tap the type of content you want to browse, like Instrument Patches for software instrument patches, Loops for Apple Loops, or Audio Patches for content like guitar amp presets.
To search for content, tap a filter. For example, if you’re looking for keyboard sounds like pianos and organs, tap the Keyboard filter button. You can tap other filters to further refine your search.
To preview a sound, tap the icon next to a patch or sound in the list.
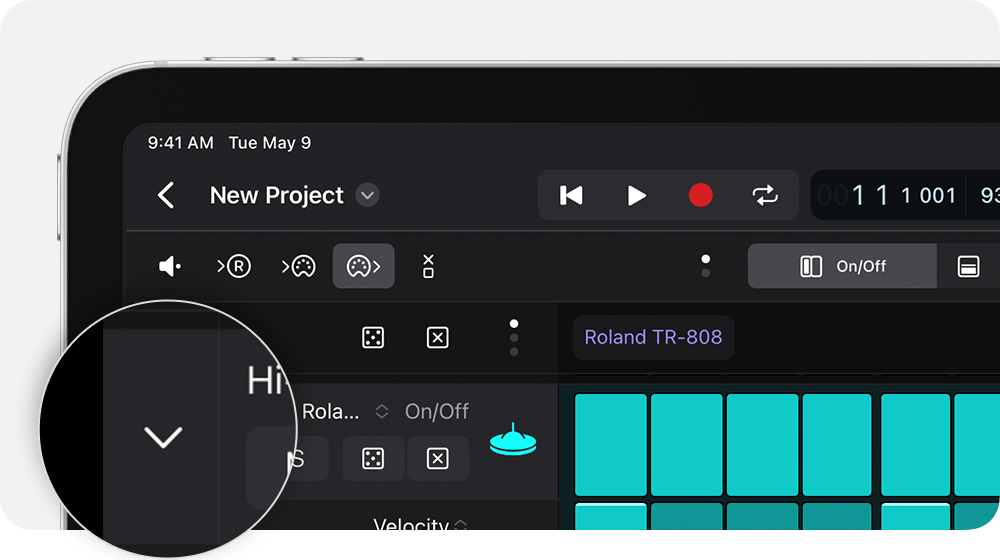
To start a new search, tap Clear All, then tap other filters. Or tap the Back button
 to return to the top level of the Sound Browser, where you can choose a different category to browse.
Create tracks
You can create tracks in the track header or from the Sound Browser:
Tap the Add Tracks button
 above the track headers, then tap Audio to create an audio track, or tap MIDI, Drummer, or Pattern to create a software instrument track with that default region type. For more detailed track settings, tap the More button
 for the type of track that you want to create.
Drag a patch or sound from the Sound Browser to the empty area below the track headers.
Drag an Apple Loop or a sample from the Sound Browser to the Tracks Area or a cell in Grid View to create a new track with a new region.
Play software instruments
In Logic Pro for iPad, you use Play Surfaces to play software instruments, just as you’d use Touch Instruments in GarageBand.
Select a software instrument track in the track header.
Tap the Play Surfaces button
 . An appropriate Play Surface appears depending on the type of track you selected. For example, if you selected a keyboard track, the Keyboard Play Surface appears. If you selected a drum track, the Drum Pads Play Surface appears.
 If you want to use a Play Surface other than the default one, tap the Play Widget Keyboard pop-up menu on the left side of the Play Surface toolbar, then choose an option.
To hide a Play Surface, tap the Play Surface button again.
Learn more about Play Surfaces
Create beats, grooves, and melodic sequences
To quickly create beats and grooves in Logic Pro for iPad, you can use the Step Sequencer and Drummer.
Use Step Sequencer
Step Sequencer is similar to Beat Sequencer in GarageBand for iOS with even more capabilities and options.
Tap the Add Tracks button
.To add a Step Sequencer track, tap Pattern, then do the following to quickly create a pattern:
Tap in the Step Sequencer grid to create your own pattern.
To listen to the pattern, tap the Preview button
 in the Step Sequencer.
 To resize the Step Sequencer window, drag the resize handle.
To edit additional parameters like velocity or octave for a specific kit piece or note, tap the disclosure button for the row you want to edit.
To use a preset pattern, tap Patterns in the Browser, tap a category like Bass or Drums, then tap a pattern.
To change sounds of the whole pattern, tap Instrument Patches in the Browser, then tap a patch.
To close the Step Sequencer window, or to open it for further editing when you've selected a Step Sequencer track, tap the Editors button
 .
.
You can also use edit modes to control different attributes of the note or event triggered by a step, change the length of a pattern, record sequences live, and more. Learn more about Step Sequencer
Use Drummer
Drummer in Logic Pro for iPad includes the same set of drummers and kits, but with updated controls.
Tap the Add Tracks button
.To add a Drummer track, tap Drummer, then do the following to customize the beat:
To change the sound of the kit, tap a patch in the Browser.
To change the drum pattern, tap the Preset pop-up menu in the Drummer editor and choose a preset.
To customize the pattern, adjust the Complexity and Intensity sliders, tap individual kit pieces like the bass drum and snare to turn those pieces on or off, and adjust the Fills slider. Tap Details for finer parameter adjustments.
To close the Drummer window, or to open it for editing when you've selected a Drummer track, tap the Editors button
.
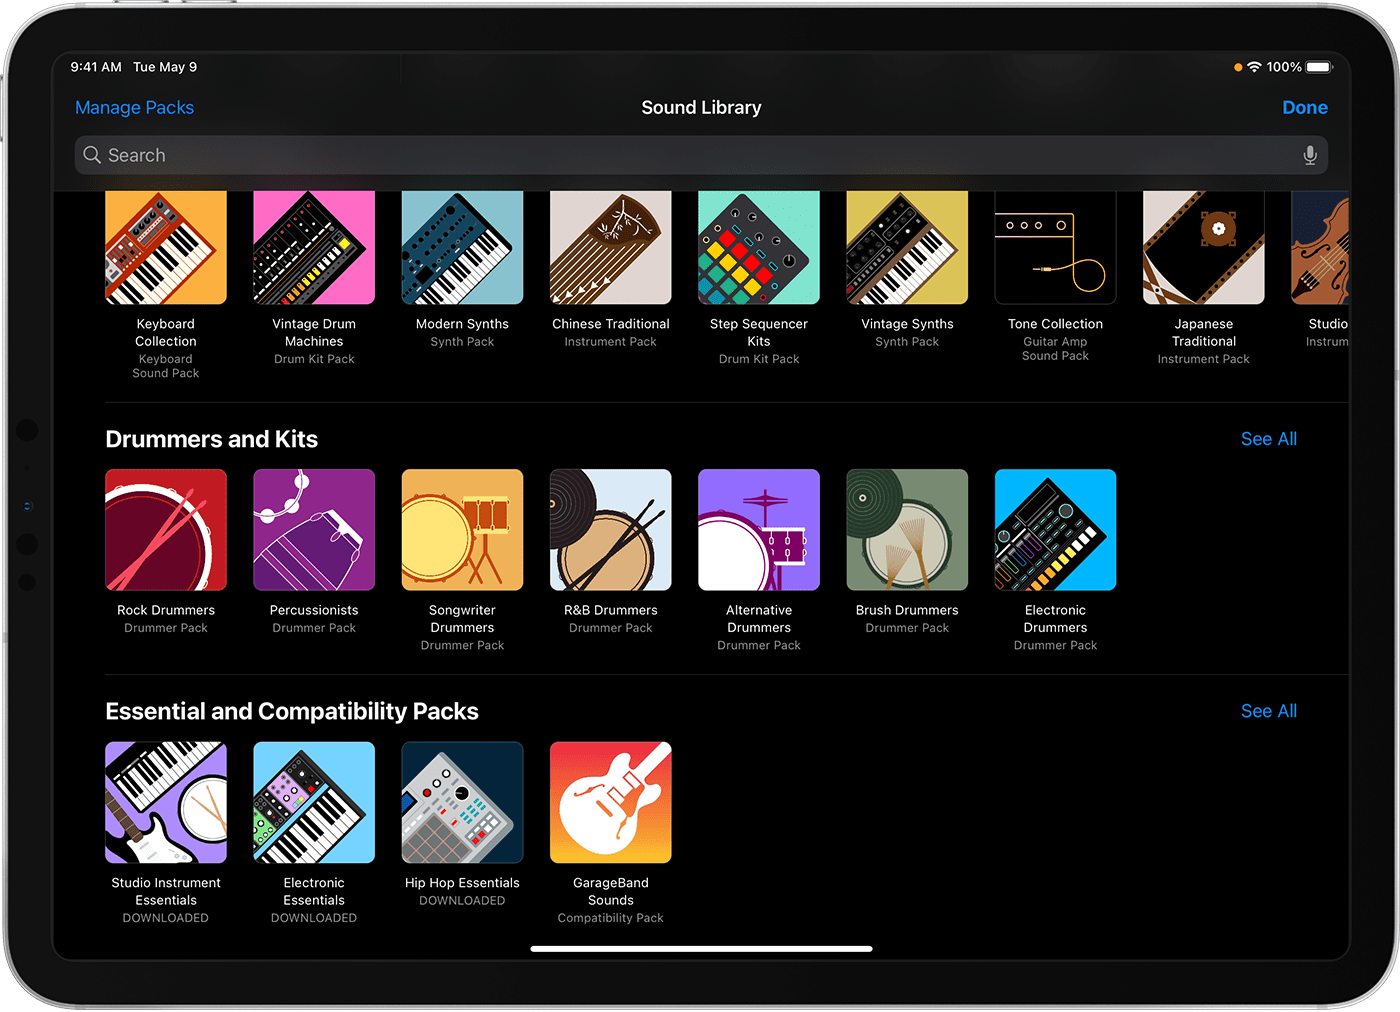
Download additional sounds
You can download sound packs in the Sound Library. Sound packs include a variety of patches, Apple Loops, plug-in presets, and more, with each pack based around a specific theme or genre of music.
In the Browser, tap Sound Library.
Tap a Sound, Artist, or Producer Pack.
Tap Preview to hear a sample of the sounds.
Tap Get to download the pack.
Tap Done to close the Sound Library.
If you want to find sounds you’re used to hearing in GarageBand for iOS, scroll down to the Essential and Compatibility Packs section, then tap GarageBand Sounds. This pack is essential if you’re opening GarageBand for iOS songs in Logic Pro that use software instruments.
Adjust effects on a track
To quickly change the sound of a track, like with EQ, compression, or other effects, use the Plug-ins area:
Select the track whose plug-ins you want to adjust.
Tap the Plug-ins button
 at the bottom of the window. Or double-tap the track header.
 Adjust controls on the plug-in tiles, which appear at the bottom of the window. Each plug-in has its own tile.
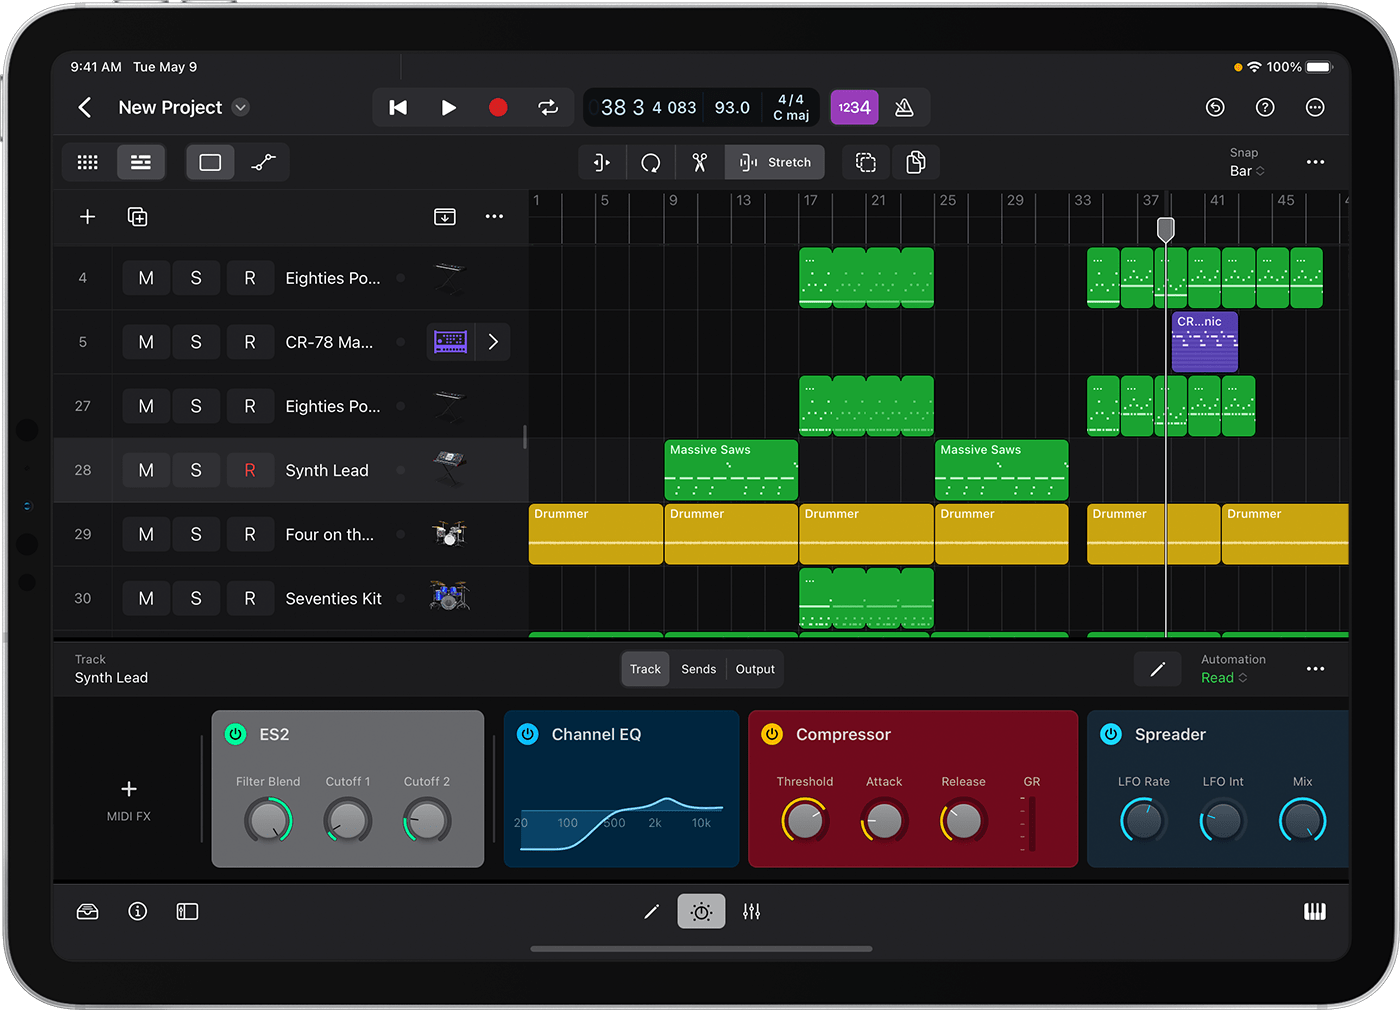
For more detailed controls, double-tap the name of the plug-in on the tile. Tap the Back button
to return to the plug-in tiles.To add a plug-in to the selected track, tap the Add Audio FX or Add MIDI FX button in the Plug-in area, then choose a category or plug-in.
Audio FX includes plug-ins for processing audio like EQ, compression, reverb, and delay.
MIDI FX includes effects for instrument and MIDI tracks, like Arpeggiator.
To replace or remove a plug-in, touch and hold a plug-in tile, then choose an option.
You can also create effect send and returns in Logic Pro for iPad. Add a send, then use the Mixer to insert the plug-in on the corresponding Aux channel strip.
Access Remix FX
Looking for Remix FX?
Tap the Input, or Output button at the top of the Plug-ins area, depending on where you want to insert Remix FX.
To insert the plug-in on the selected track, tap Input.
To have Remix FX affect the entire mix, tap Output to insert the plug-in on the Stereo Out channel.
If the current project doesn’t have Remix FX inserted, tap the Add Audio FX button, choose Multi Effects from the menu, then choose Remix FX.
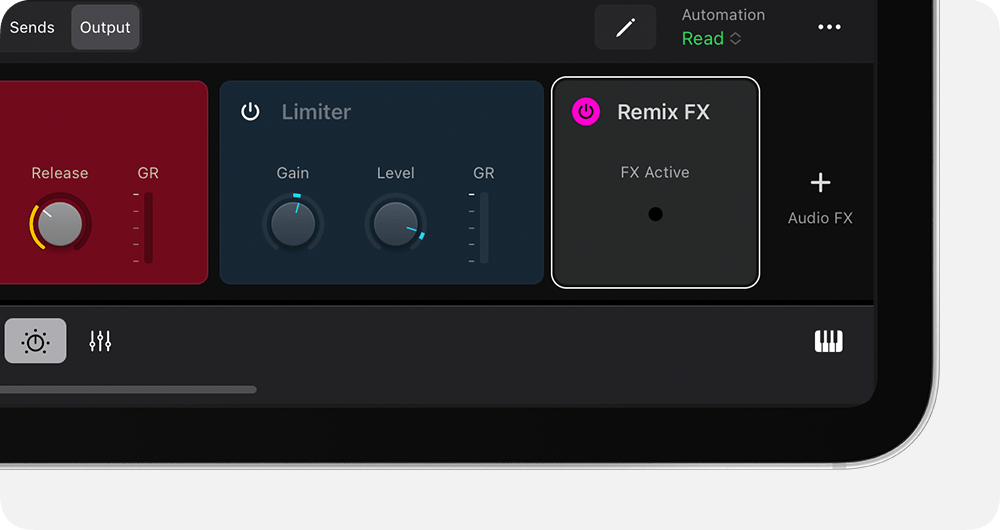
Remix FX controls work in Logic Pro for iPad the same way as in GarageBand.
Adjust your project’s main volume level
You can adjust the volume with the Volume buttons on the iPad. Within the Logic Pro for iPad app, you can control the main volume in the Mixer. This is different from GarageBand, which has a main volume control on the control bar.
To open the Mixer, tap the Mixer button
 at the bottom of the window. Each individual track has its own volume control slider, as do the bus returns and the main volume.
Scroll to the left until you see Master, then adjust the slider.
You can also mute, solo, insert plug-ins, set automation modes, and more on individual tracks in the Mixer.
Learn more about using the Mixer
Edit regions
You can trim and move regions using Trim mode in Logic Pro for iPad, just as you can in GarageBand. To access edit modes like Loop and Split, use the buttons above the Tracks area:
To move a region, drag the region left or right in the Tracks area.
To edit a region, tap a region to select it, then do any of the following
To trim a region, tap the Trim button
 , then drag the right or left side of the region. Trim is the default edit mode.
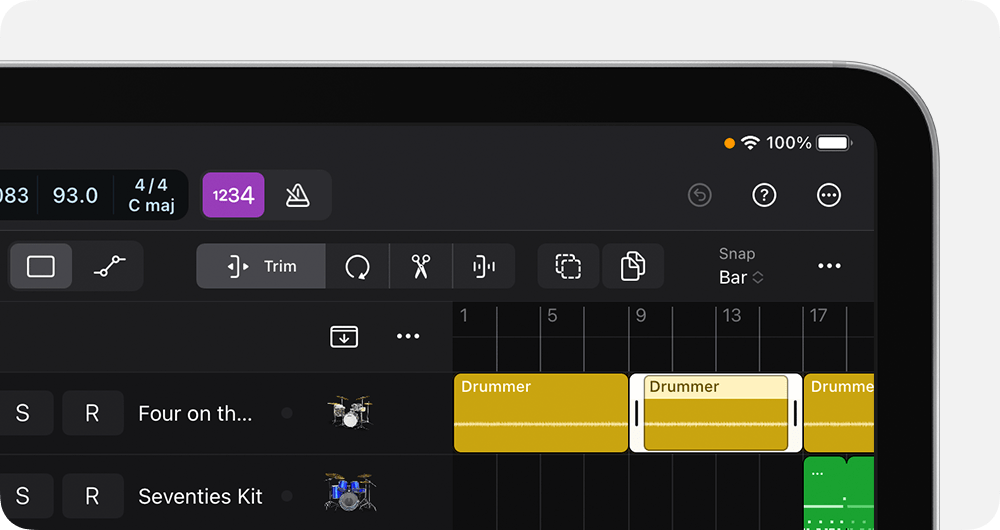
To loop a region, tap the Loop button
 then drag the end of the region.
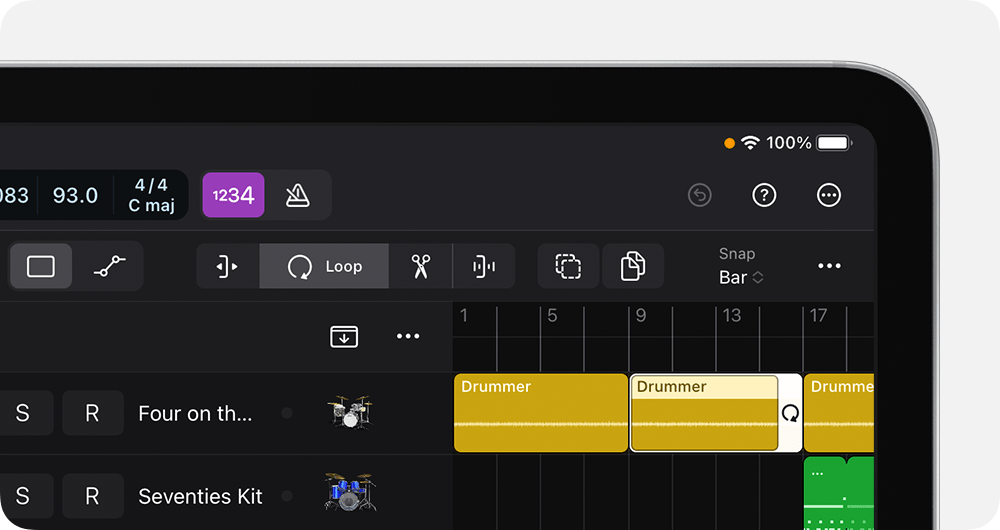
To split a region, tap the Split button
 , drag the Scissors tool where you want to split the region, then swipe down.
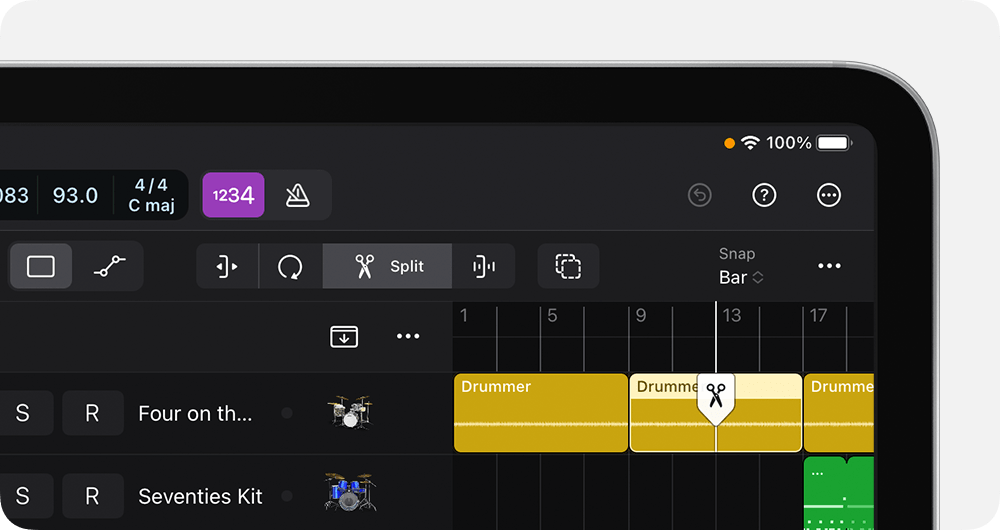
To time stretch a region, tap the Stretch button
 , then drag either end of the region.
You can also edit regions in the Audio Editor