
Stabilize controls in Motion
The Stabilize behavior uses motion analysis to track every pixel from one frame to the next, considering horizontal, vertical, or horizontal and vertical movement in the clip, as well as position, scale, and rotation in order to remove unwanted movement in a clip.
After you apply a Stabilize behavior to an object in your project, adjust the behavior using the parameter controls in the Behaviors Inspector:
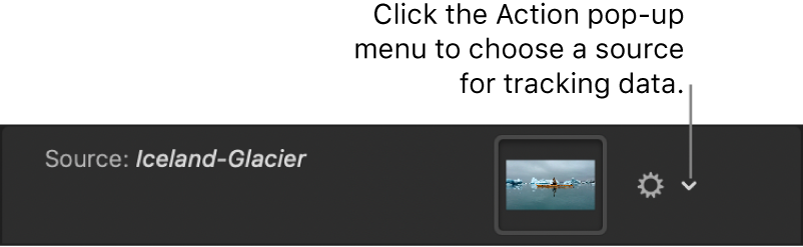
Source: A well to designate the source object supplying the tracking data used to stabilize the clip. By default, the clip you apply the Stabilize behavior to appears in this well, ready to be analyzed. However, you can manually drag a different source object into the well—another Stabilize behavior in your project or even a different footage object in your project. To clear a Source well, drag the thumbnail away from the well and release the mouse button.
Action pop-up menu: A pop-up menu (with a gear icon) to manually assign tracking data (from other tracking behaviors in your project).
Analyze: Three buttons used for the motion tracking analysis:
Left arrows: A button that analyzes the portion of the clip before the playhead position.
If you haven’t added a tracker, the left arrow button is not available.
Analyze: A button that analyzes the entire clip.
Right arrows: A button that analyzes the portion of the clip after the playhead position.
If you haven’t added a tracker, the track begins at the start of the clip, rather than the current playhead position.
Quality: A pop-up menu to define the level of detail in the motion analysis. There are two options:
Faster: Allows for a faster operation, but motion analysis is less detailed.
Better: Provides a more detailed analysis, but is slower. This is the recommended option when the clip contains rotation.
Track Region: A checkbox that lets you manually define an area in the frame to be analyzed. A red overlay appears in the canvas. The area outside this overlay is ignored by the analysis. The track region’s onscreen controls are similar to a shape’s onscreen controls, allowing you to modify the size, shape, and position of the track region.
For more information on setting a track region, see Stabilize a shaky clip.
Method: A pop-up menu to define how the stabilization is applied to the clip. There are two options:
Smooth: Smooths the apparent motion of the camera, while allowing the general movement in the frame to proceed. Use this method to remove camera jitter.
Stabilize: Attempts to lock the motion of the principal subject in the shot to eliminate motion. As a result, the background appears to move around the subject being tracked.
Translation Smooth: A slider (available when Method is set to Smooth) to smooth motion in the X and Y positions.
Rotation Smooth: A slider (available when Method is set to Smooth) to smooth image rotation.
Scale Smooth: A slider (available when Method is set to Smooth) to smooth an uneven zoom.
Note: Don’t set the Scale Smooth value above 0 unless you’re positive the clip is being zoomed.
Borders: A pop-up menu to set how moving border artifacts are handled. When you stabilize a clip, the resulting transformations may cause moving black borders to appear around the edges of the clip. There are two Borders options:
Normal: Maintains the size of the stabilized footage. The moving black borders remain around the edges of the clip.
Zoom: Expands the clip to fill the canvas. This prevents black borders from appearing around the edges, but scales up the stabilized clip, which may degrade image quality.
Direction: A pop-up menu to specify the dimensions in which the recorded movement are applied—Horizontal and Vertical (X and Y), Horizontal (only X), or Vertical (only Y).
Adjust: Three buttons to set the type of transformation applied. Select any combination of the three:
Position: Stabilizes the position of the analyzed image.
Scale: Stabilizes the scale of the analyzed image.
Rotation: Stabilizes the rotation of the analyzed image.
Tracker: A row that contains an Add button to add onscreen trackers to the Stabilize behavior. You can add a maximum of two trackers to the Stabilize behavior. The first tracker is the Anchor tracker, used to analyze changes in X and Y position. The second tracker is the Rotation-Scale tracker, used to analyze changes in rotation and scale.
Note: When another behavior is used as the source for the stabilization, you cannot add trackers to the Stabilize behavior.
When you add trackers, the following occurs:
The Track Region parameter is no longer available.
The Reverse checkbox becomes available, allowing you to analyze a clip backwards from the playhead position (in reverse).
The Tracker Preview, Offset Track, Auto-Zoom, Auto-Zoom Mode, Look Ahead Frames, and track list controls become available.
For more information about the Anchor and Rotation-Scale controls, see “Anchor/Rotation-Scale” in Match Move controls.
Download this guide: PDF