
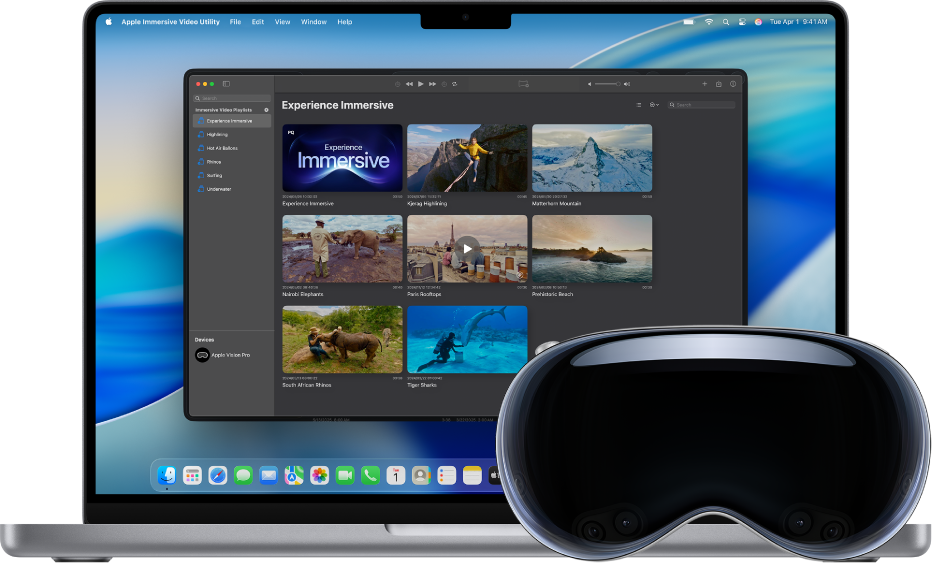
Apple Immersive Video Utility User Guide
Import, organize, and preview Apple Immersive Video
Get started
Make sure you have everything you need to start using Apple Immersive Video Utility on your Mac and Apple Vision Pro.
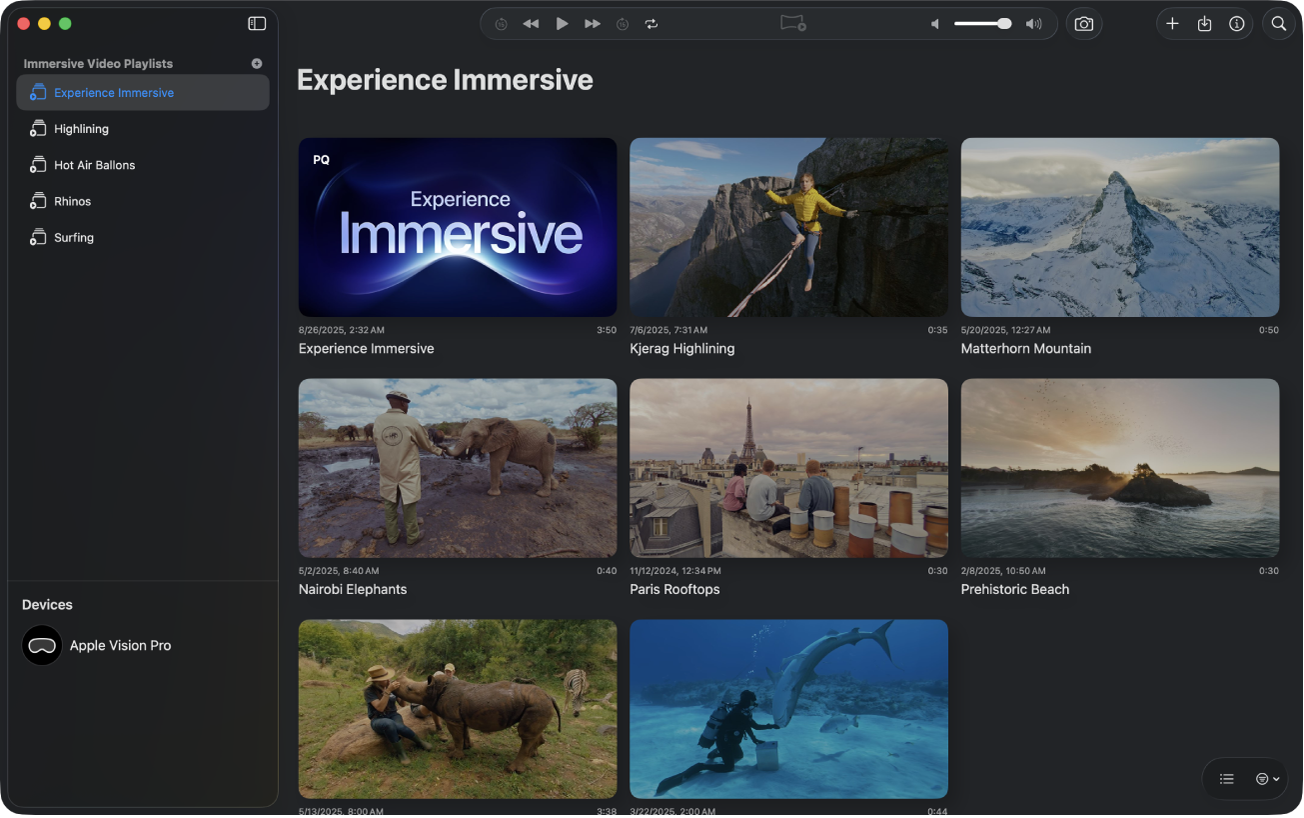
Import media and create AIVU files
You can import video to your library in Apple Immersive Video Utility at any point in the production process. You can also create Apple Immersive Video Universal (AIVU) files to review and test different combinations of metadata.
Share the experience
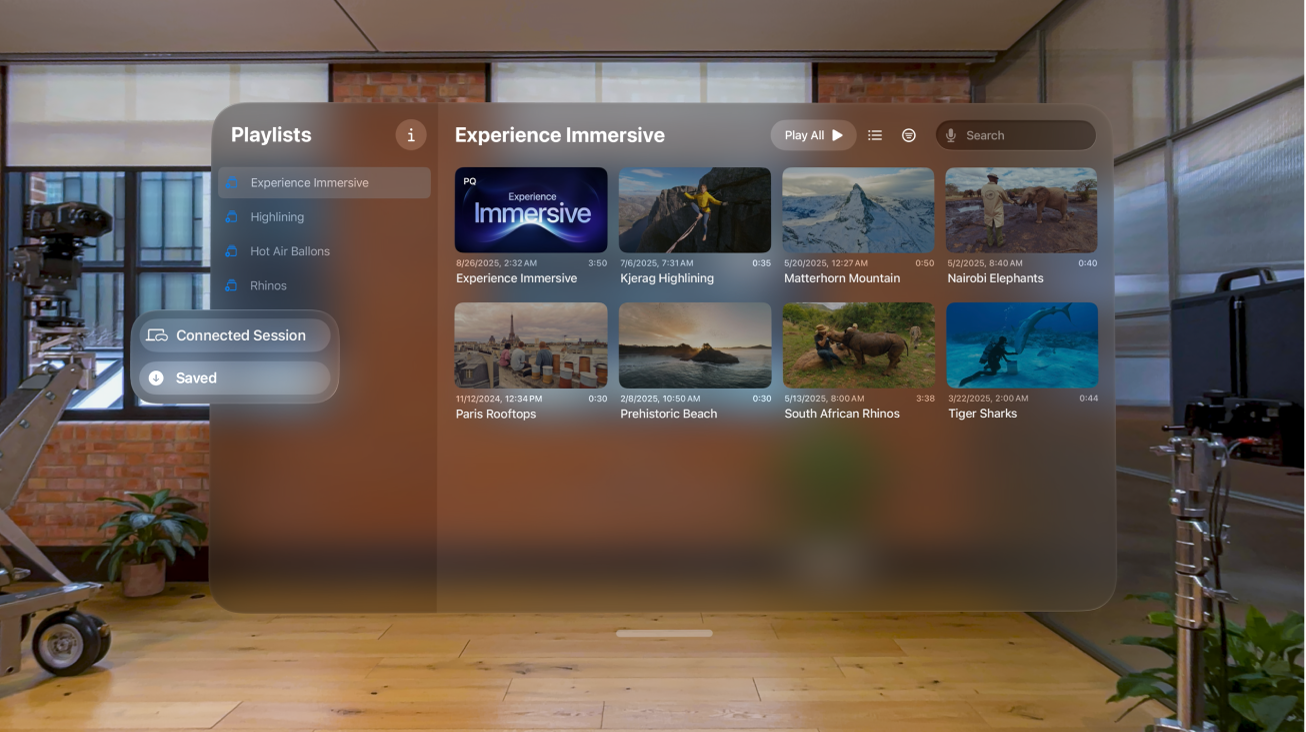
To see your library on Apple Vision Pro, connect one or more devices to your Mac with USB-C or Wi-Fi. Once you’re connected, you can review clips on Apple Vision Pro in a stereoscopic view.
To explore the Apple Immersive Video Utility User Guide, click Table of Contents at the top of the page, or enter a word or phrase in the search field.