Adjust volume, pan and sends with Logic Remote on iPad
You use the Logic Remote Mixer controls to adjust a channel strip’s volume level, pan position and send levels. You can also control the overall project volume.
Adjust a channel strip’s volume
In Logic Remote, do one of the following:
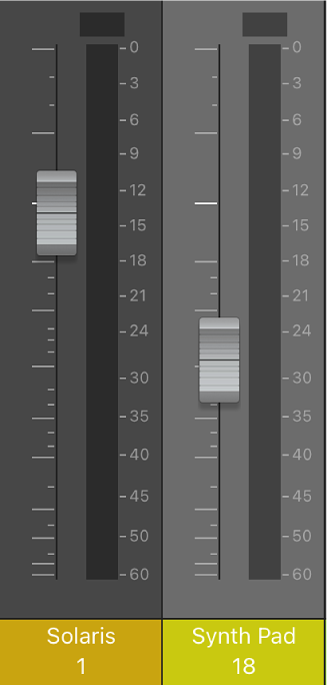
Drag the Volume fader up or down to raise or lower the volume.

Double-tap the Volume fader (or the area above or below the fader) to reset the volume to a neutral setting (0 dB).
Tap the peak level display above one of the level meters to reset all the peak level displays.
Tip: To check the volume level at any point, tap the area above or below the Volume fader. The volume level momentarily replaces the channel strip number.
Adjust the overall volume of a project
In Logic Remote, do one of the following:
Drag the Master Volume fader up or down to raise or lower the volume.

Double-tap the Master Volume fader (or the area above or below the fader) to reset the volume to a neutral setting (0 dB).
Note: This fader corresponds to the Master Volume slider in the Logic Pro control bar.
Tap the Master Mute button
 to mute the entire project.
Tap the Master Dim button to set the overall project volume to a level set in the Logic Pro > Preferences > Audio > General pane.
Adjust a channel strip’s pan position
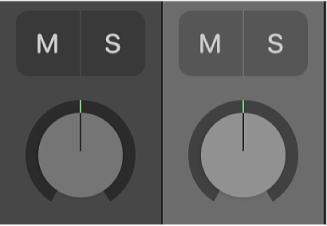
In Logic Remote, tap Pan & Volume to access the Pan/Balance knobs, then do one of the following:
Drag the Pan/Balance knob left or right.

Double-tap the Pan/Balance knob to reset it to the centre position.
On channel strips with a Stereo Pan knob, pinch the Pan knob to change the positions of the left and right signals.
Adjust a channel strip’s send level
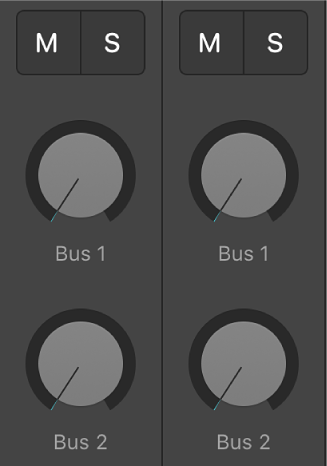
In Logic Remote, tap Sends 1 - 4 or Sends 5 - 8 to access the Send Level knobs.
Note: Sends 5-8 is only available if there are more than four sends on any track.
Drag the Send Level knob up to increase the level, or down to decrease the level.

Choose a send destination
In Logic Remote, touch and hold a send, then choose a destination from the pop-up menu.