Change the look of your iMovie project
Change the way your movie looks with effects, such as video filters, colour adjustment tools and the Ken Burns effect.
Change the look of your iMovie project on iPhone or iPad
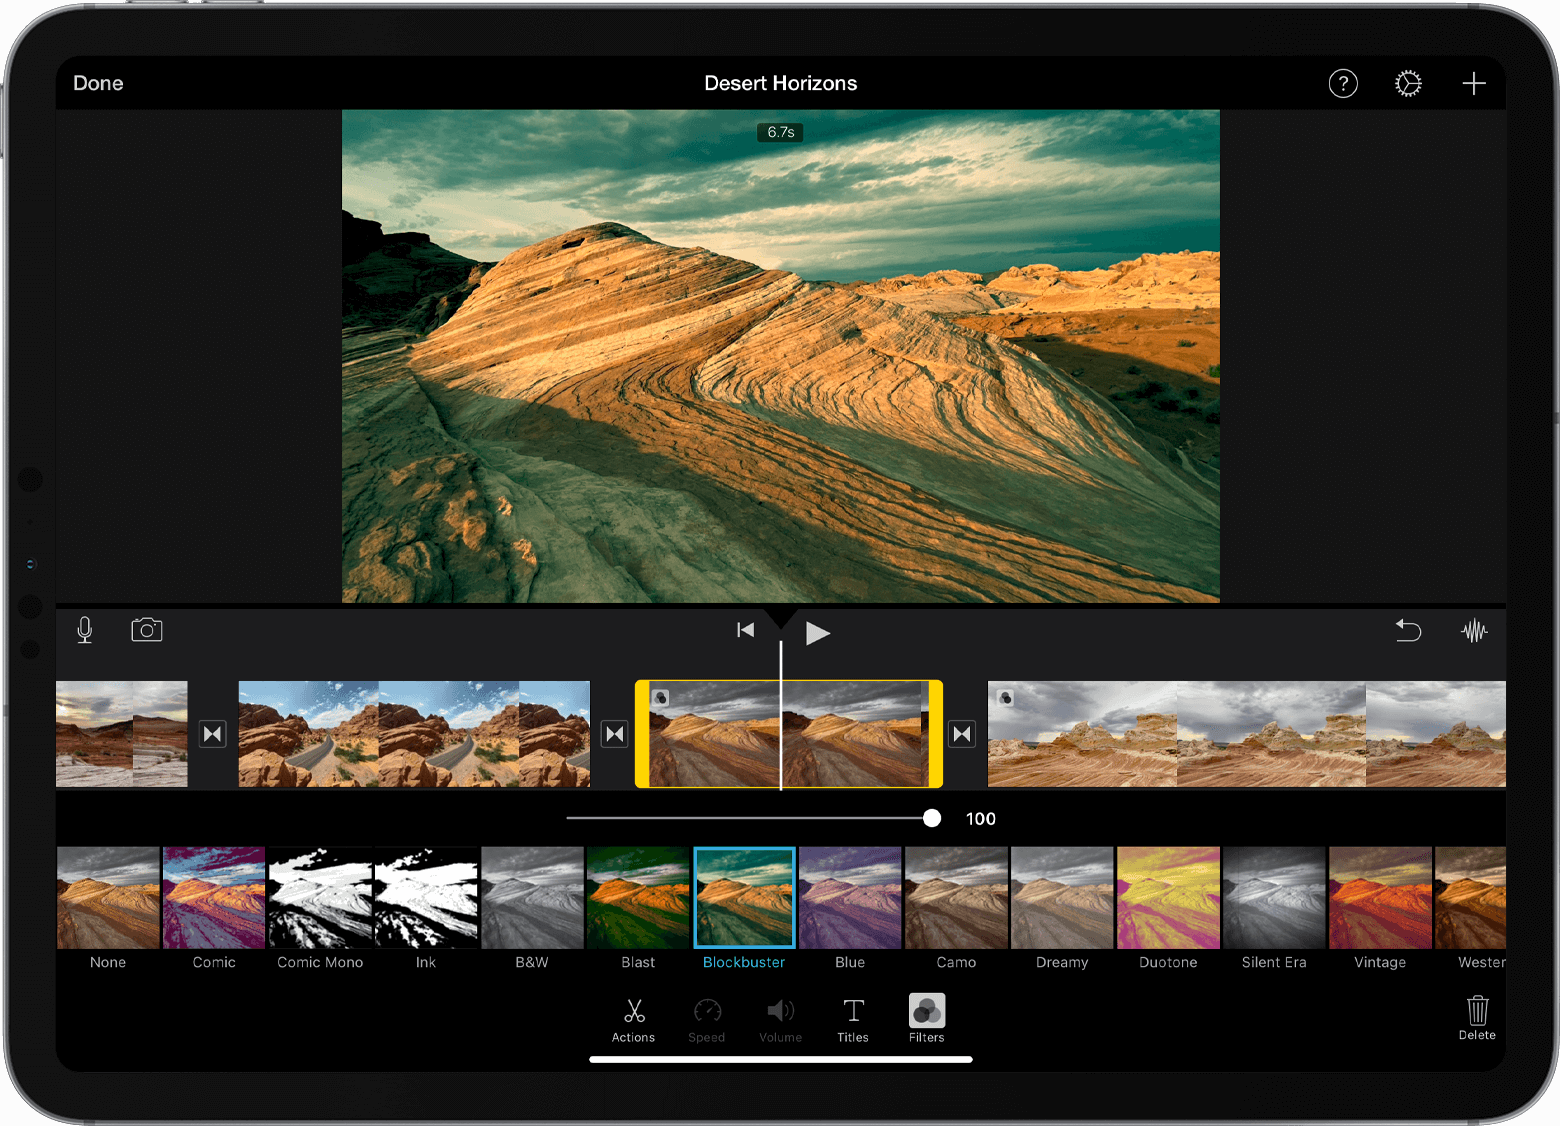
iMovie includes effects that can change the way your clips look. If you want a particular look, use a preset filter like B&W (black and white) or Sepia. And for any photos in your iMovie project, you can adjust the Ken Burns effect that sweeps across and zooms in and out on the image.
You can use the green screen effect in iMovie to add green screen content as an overlay.
Use filters in iMovie on iPhone, iPad or iPod touch
Add a filter to a single video clip in a project:
Tap a video clip in the timeline to select it.
Tap the, then tap a filter to preview it in the viewer.

Tap outside the filter to apply the filter, or tap None if you don’t want to use a filter.
You can also add a filter to an entire project:
Open a project.
Tap the , tap a filter, then tap Done. Filters are applied to all the video clips in the project, but not to photos or other still images.
If you want to add a filter to a photo, use the Photos app to apply a filter, then add the photo back into the timeline of your project. The Photos app includes many of the same filters as iMovie.
Adjust the Ken Burns effect
iMovie automatically applies the Ken Burns effect to any photos added to an iMovie project. You can adjust the effect or turn it off altogether.
In the timeline, tap the photo you want to adjust.
Tap the to show the Ken Burns effect controls in the viewer.
To set the way the photo is framed at the beginning, tap the , then pinch to zoom in or out and drag the image in the viewer.
To set the way the photo is framed at the end, tap the , then pinch to zoom in or out and drag the image in the viewer.
To turn off the Ken Burns effect for the photo, tap .
Change the look of your iMovie project on Mac
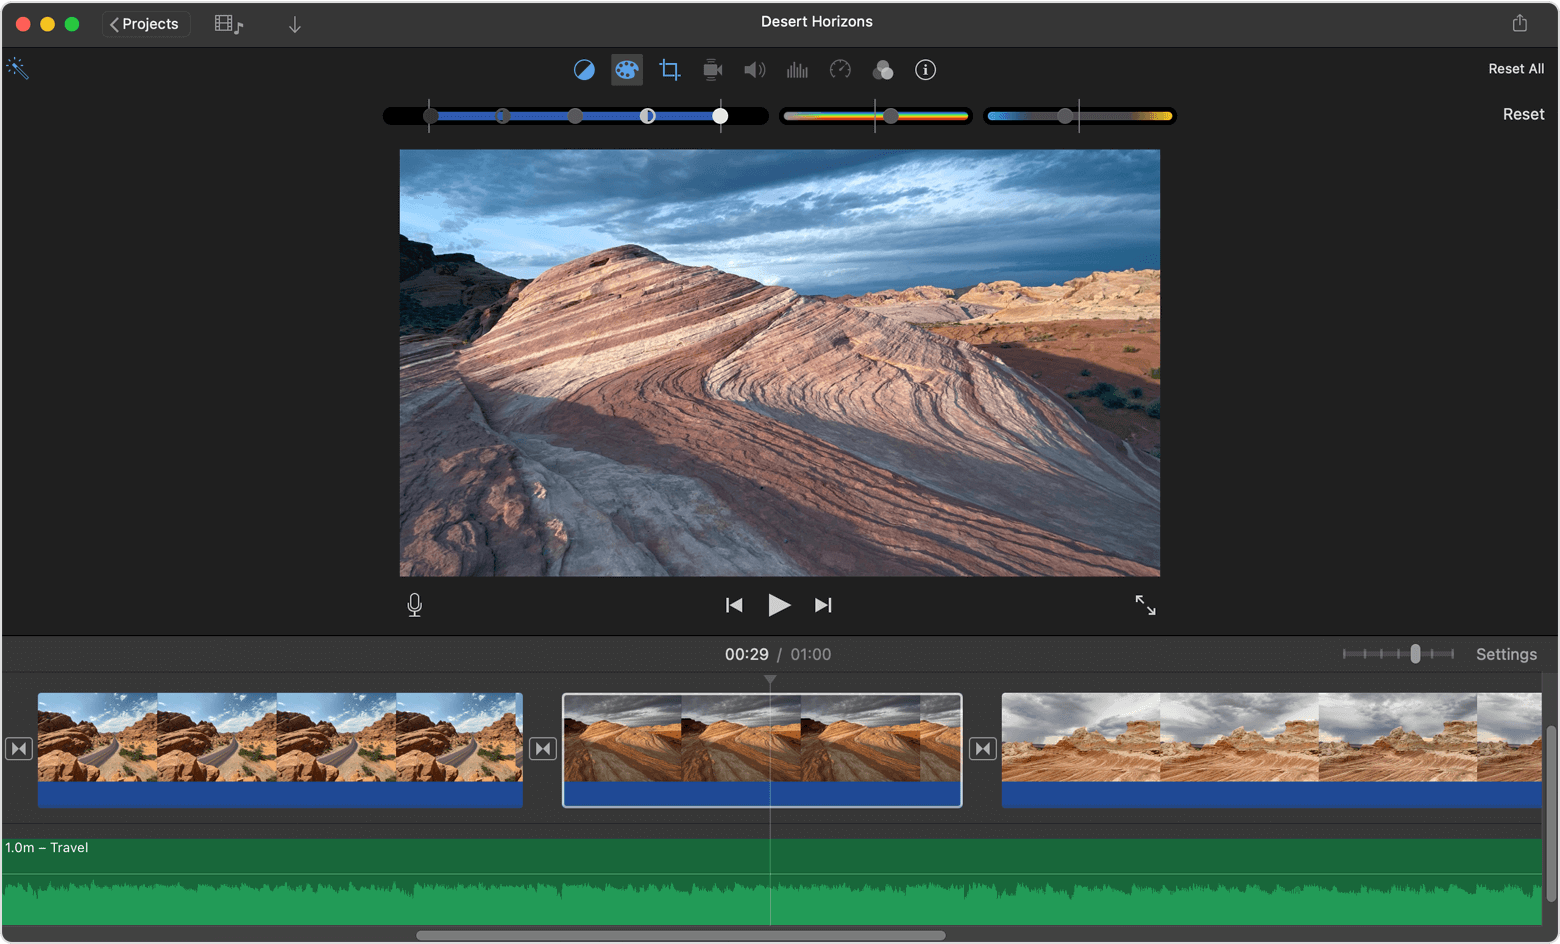
iMovie includes effects that can change the way your clips look. You can quickly improve the way a clip looks and sounds. If you want a particular look, use a preset filter like Black and White or Sepia. Adjust colours, match colours between clips, fix whites or greys, and more with the built-in automatic colour adjustment tools. Or make manual colour adjustments.
You can use the green screen effect in iMovie to add green screen content as an overlay.
Quickly improve the way a clip looks and sounds in iMovie on Mac
To quickly improve the way a clip looks and sounds, select the clip in the browser or timeline, then click the above the viewer.
Use a preset filter in iMovie on Mac
Select one or more clips in the browser or timeline, then click the Clip Filter and above the viewer.
Click the Clip Filter button.
In the window showing the different filters, hold the pointer over a filter to preview the filtered clip in the viewer, then click a filter to apply it to the selected clips.
To turn off a filter, click the Clip Filter and , then click Reset.
Automatically change video colours in iMovie on Mac
Select one or more video clips in the browser or timeline.
Click the above the viewer, then choose an option:
To make automatic colour adjustments, click Auto.
To match colours between clips, click Match Colour, drag your pointer (which is now an eyedropper) over another clip that you want to match with the selected clip, then click when you’ve found a frame that you want to use as the source for the colour match.
To fix the whites or greys in a clip, click the White Balance button, then click the part of the clip that should be white or grey in the viewer.
To use skin tone to change the colour of a clip, click the Skin Tone Balance button, then click an exposed part of someone’s skin in the clip in the viewer.
When finished, click the . To turn the effect on or off, drag the switch. Or click the to remove the change.
Manually change video colours in iMovie on Mac
With the built-in colour correction tools in iMovie, you can make clips look as natural as possible, or you can completely alter the colours of clips. Select one or more clips in the browser or timeline, then click the above the viewer to show the colour correction controls:

To adjust shadows, brightness, contrast or highlights, drag the sliders in the multislider control on the left.
To adjust saturation (the intensity of the colour), drag the Saturation control in the middle.
To adjust colour temperature, drag the Colour Temperature control on the right.