Adjust video speed in iMovie on iPhone
You can adjust the speed of video clips in iMovie. You can even fine-tune speed adjustments for a single clip by dividing it into ranges, each with its own speed. For example, you could set multiple ranges so that a clip slows down, speeds up, and then slows down again.
You can also freeze a single frame in your movie so that it looks like time has stopped.
Note: If you change the speed of a Cinematic mode video clip, you’ll no longer be able to edit any of the Cinematic effects.
Adjust speed
With your project open, tap a video clip in the timeline to reveal the inspector at the bottom of the screen.
Tap the Speed button
 .
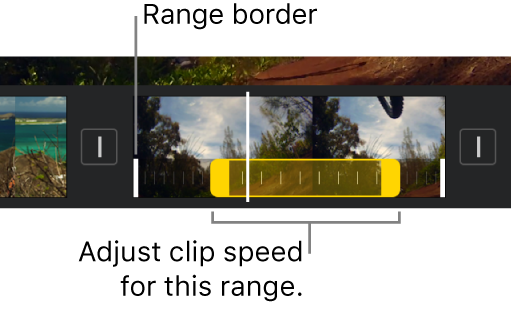
.A yellow bar appears at the bottom of the clip, with range handles at each end.
To create ranges within a clip, do one of the following:
Drag either yellow range handle.
Tap Add in the inspector to create another range.
In the inspector, drag the slider right to increase the speed, or left to decrease it.
As you drag, the relative speed is displayed below the clip (2x means twice the normal speed, 1/2x means half the normal speed, and so on).
If you want to create additional ranges, tap a portion of the clip outside of the currently selected range, or tap Add in the inspector to create a range border at the playhead position.
Drag the yellow range handles to adjust the range, then adjust the range’s speed using the slider.
Each range you create is indicated by a vertical white line at the bottom of the clip.

To reset the entire clip to normal speed, tap Reset in the inspector.
When you’re finished, tap anywhere outside of the inspector to dismiss it.
By default, iMovie preserves the pitch of audio clips that are sped up or slowed down. To change this, tap the Project Settings button ![]() , then tap to turn on “Speed changes pitch.” This allows a recorded voice to be higher when sped up or lower when slowed down.
, then tap to turn on “Speed changes pitch.” This allows a recorded voice to be higher when sped up or lower when slowed down.
Add a freeze frame
You can edit the duration of a freeze frame, or remove it and restore the clip to its original length.
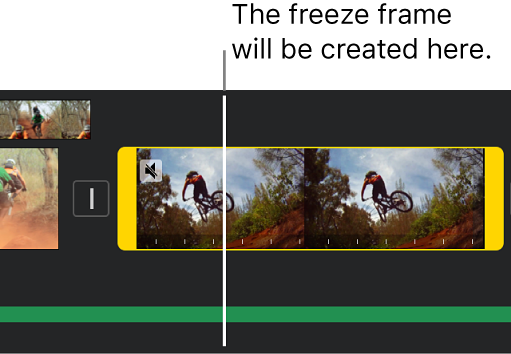
With your project open, touch and hold a clip in the timeline, then swipe left or right to find the frame you want to freeze.
Tap the video clip in the timeline to reveal the inspector at the bottom of the screen.

Tap the Speed button
 .
.A yellow bar appears at the bottom of the clip, with range handles at each end.
In the inspector, tap Freeze.
The frame at the playhead position is frozen, and remains attached to the source clip at either end. Drag the yellow range handles to adjust the length of the freeze frame.

To remove the freeze frame, tap anywhere in the freeze-frame range of the clip, then tap Freeze in the inspector.
When you’re finished, tap anywhere outside of the inspector to dismiss it.
Note: The freeze-frame portion of the clip contains no audio.