Final Cut Pro User Guide
- Welcome
-
- What’s new in Final Cut Pro 10.5
- What’s new in Final Cut Pro 10.4.9
- What’s new in Final Cut Pro 10.4.7
- What’s new in Final Cut Pro 10.4.6
- What’s new in Final Cut Pro 10.4.4
- What’s new in Final Cut Pro 10.4.1
- What’s new in Final Cut Pro 10.4
- What’s new in Final Cut Pro 10.3
- What’s new in Final Cut Pro 10.2
- What’s new in Final Cut Pro 10.1.2
- What’s new in Final Cut Pro 10.1
- What’s new in Final Cut Pro 10.0.6
- What’s new in Final Cut Pro 10.0.3
- What’s new in Final Cut Pro 10.0.1
-
- Intro to effects
-
- Intro to transitions
- How transitions are created
- Add transitions
- Set the default transition
- Delete transitions
- Adjust transitions in the timeline
- Adjust transitions in the inspector and viewer
- Merge jump cuts with the Flow transition
- Adjust transitions with multiple images
- Modify transitions in Motion
-
- Add storylines
- Use the precision editor
- Conform frame sizes and rates
- Use XML to transfer projects
-
- Glossary
- Copyright

Resize, move, and rotate clips in Final Cut Pro
You can resize, move, and rotate an image using the Transform built-in effect. This effect is commonly used on a clip placed over a primary storyline clip, which becomes the background of the resized clip. It’s also often used to zoom in on a clip, allowing you to reframe a shot if needed.
You can adjust the Transform effect using controls in the viewer and Video inspector. However, some controls are found only in one or the other.
Select a clip in the Final Cut Pro timeline.
Position the playhead over the clip in the timeline so that the clip’s video is displayed in the viewer.
To access the Transform controls, do one of the following:
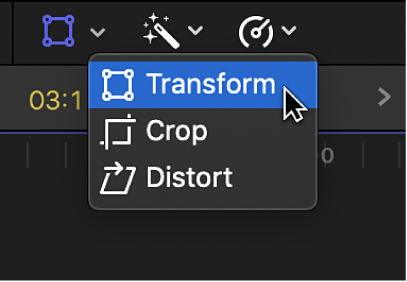
Click the pop-up menu in the lower-left corner of the viewer and choose Transform (or press Shift-T).

Control-click in the viewer and choose Transform.
The Transform onscreen controls appear in the viewer.
Adjust the Transform effect using the onscreen controls:
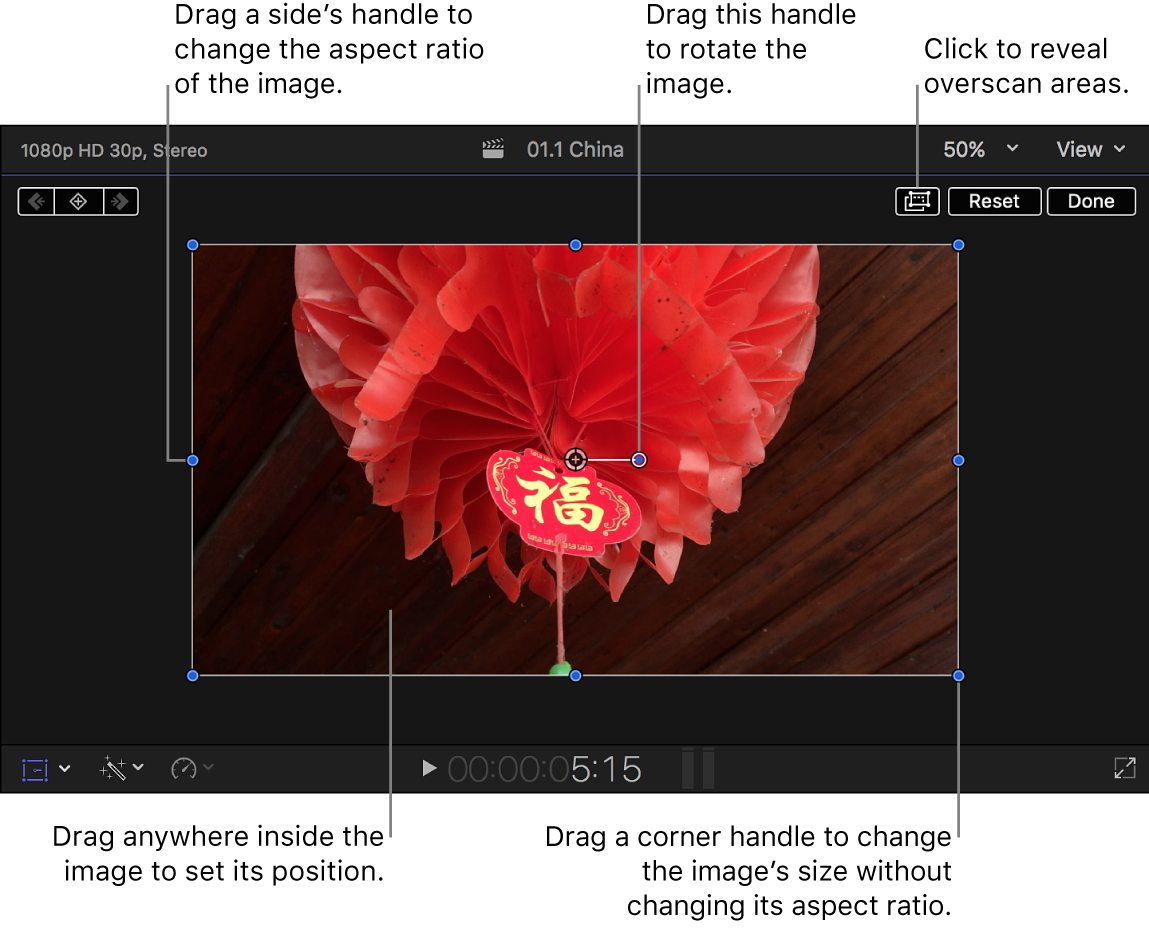
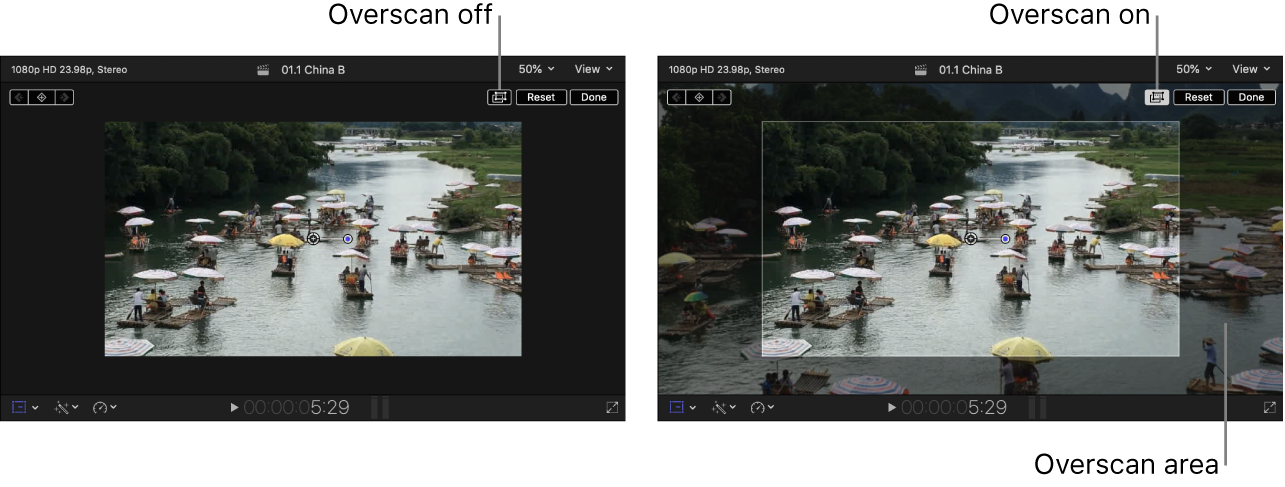
Overscan button in the upper-right corner of the viewer: Click to reveal the overscan areas (areas of a clip that extend beyond the edges of the viewer).
Blue handles at each corner: Drag these to adjust the image’s size while maintaining its current aspect ratio.
Blue handles in the middle of each side: Drag these to independently adjust the vertical and horizontal image size, changing the aspect ratio of the image.
Note: These controls aren’t available in the Video inspector.
White circle in the center: Shows the rotation anchor point. Drag anywhere inside the image to adjust the image’s position.
Blue handle extending from the center circle: Drag this to rotate the image.
Tip: For finer precision when rotating the image, drag the rotation handle farther away from the anchor point in the center.

Use the Transform controls in the Video inspector as follows:
Position X and Y: Move the image left and right (X) and up and down (Y).
Rotation: Rotate the image around its anchor point.
Scale: Change the image’s size.
Note: When you increase the video image size with the Scale parameter, some peripheral areas of the image may fall outside of the boundary of the visible program. Click the Overscan button at the top of the viewer to reveal areas outside of the viewer frame.

Anchor X and Y: Move the image’s center point (the point that the image rotates around).
Note: This control isn’t available in the onscreen controls.
When you’re finished adjusting the effect, click Done (in the upper-right corner of the viewer).
You can animate the Transform effect and have it appear over a background. See Work with built-in effects in Final Cut Pro.