If Logic Pro for Mac isn't working
Learn what to do if Logic Pro won’t open, you can’t play or record in a project, or you’re having another issue.
Before you begin
If you just updated Logic Pro or macOS and Logic Pro isn't working, any third-party Audio Units plug-ins or external hardware like an audio interface you're using might not be compatible. Take note of all the third-party Audio Units and hardware you're using with your Mac, then contact the developers to make sure their products are compatible with the Logic Pro and macOS updates that you want to install.
Back up the currently installed version of Logic Pro and your Logic Pro projects.
If you are using an external storage device to store your projects or your Logic Pro Sound Library, make sure it's formatted as APFS. If you have to reformat your storage device, you'll have to copy any contents of the drive that you don't want to lose before you reformat the storage device. If your Sound Library is on the storage device, you can reinstall it after you reformat your drive.
Troubleshoot Logic Pro for Mac
After trying each step below, test Logic Pro again to see if you've fixed your issue.
1. Restart your Mac
Choose Restart from the Apple menu .
2. Update Logic Pro
Choose Apple menu > App Store, then click Updates in the App Store sidebar. If a Logic Pro update is available, click the Update button to download and install it.
3. Check device and software compatibility
If you're using an external audio interface, MIDI interface, storage system, control surface, or plug-in not made by Apple, make sure that it’s compatible with the latest version of Logic Pro. Contact the manufacturer for support. If an update is available, follow the manufacturer’s instructions to update the device or software.
4. Disconnect external devices
Disconnect external devices—such as MIDI devices and audio interfaces—from your Mac one at a time. Test after each device is disconnected. If the issue only occurs when a particular external device is connected, you might need to update or service the device. Contact the manufacturer for support.
5. Use built-in audio with Logic Pro
If you’re using an external audio interface, try using the built-in audio on your Mac instead of the interface.
Unplug your external audio interface from your Mac.
Open Logic Pro, then choose Logic Pro, then choose Settings (or Preferences).
In the Settings window, choose Audio, then choose Devices.
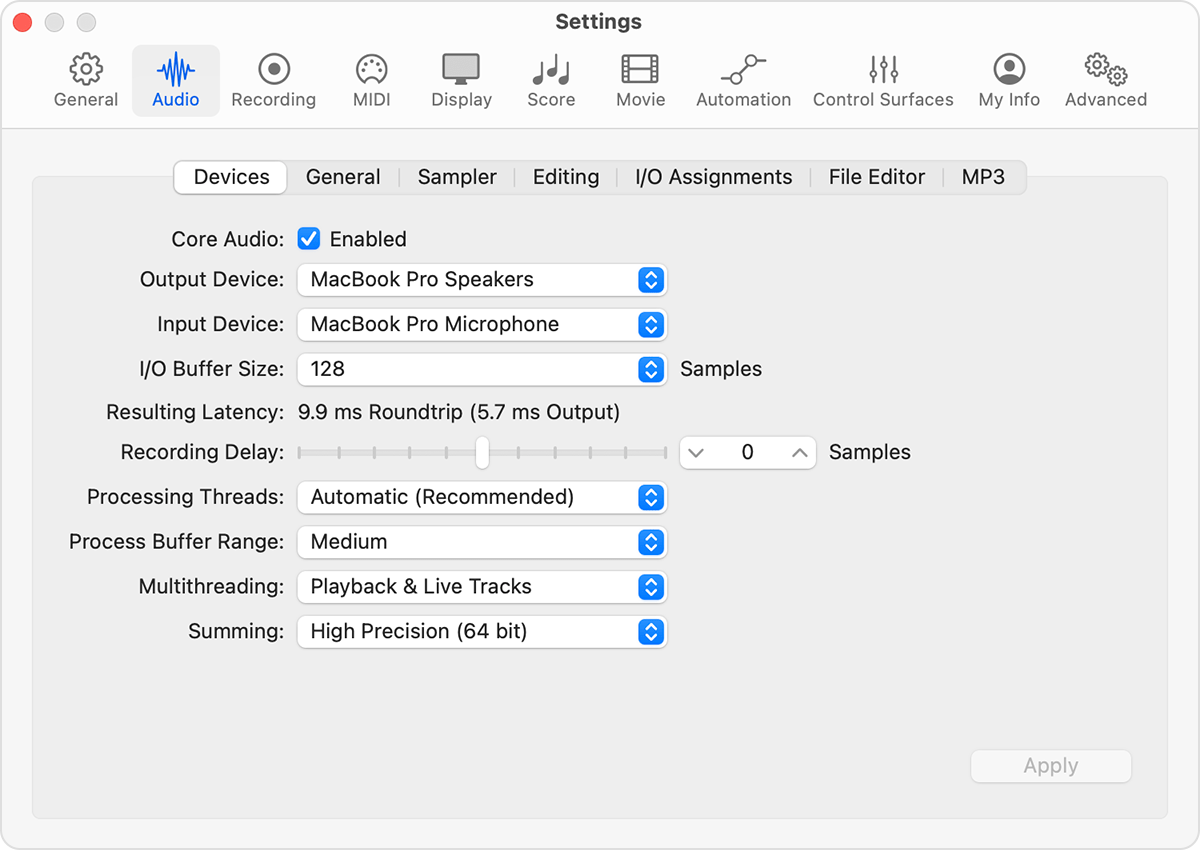
Choose Built-In Output from the Output Device pop-up menu.
Choose Built-in Microphone (or Built-in Input, depending on your computer) from the Input Device pop-up menu.
Open and play back a project that's been experiencing issues.
If the project opens and plays back properly, you might need to update or service your audio interface. Contact the manufacturer for support.
If you aren’t using an external audio interface, try bypassing third-party Audio Units plug-ins.
6. Open Logic Pro without audio input and output
Open Logic Pro and immediately press and hold the Control key before a project opens.
In the alert, click Don’t Launch.
If Logic Pro opens, you might need to update or service your external audio interface. Contact the manufacturer for support. It can also mean a third-party Audio Units plug-in might be damaged, or it might not be compatible with your version of Logic Pro. You can try bypassing plug-ins to troubleshoot your issue.
7. Check the Mic Mode on your Mac
If your audio sounds different than you expect when recording audio on your Mac, check that Mic Mode is set to Standard.
8. Bypass all third-party Audio Units plug-ins
To bypass all third-party Audio Units plug-ins:
Quit Logic Pro if it's open.
Open Logic Pro and immediately press and hold the Control key before a project opens.
In the alert, click Launch Without Audio Units.
If the issue doesn't occur after bypassing all third-party Audio Units plug-ins, you can bypass individual plug-ins and do further troubleshooting of Audio Units plug-ins.
9. Test with a new project
You can create a new project and test to check if the issue is with your project or Logic Pro app.
If Logic Pro is open, quit the app.
Open Logic Pro, then press Shift-Command-N to create a new empty project.
Add Apple Loops to the new project.
Try to recreate the issue you were having. For example, if the project you're having an issue with uses a particular third-party plug-in, add it to the test project. If the problem reappears, the plug-in might be damaged or might need to be updated.
10. Test with a new user account
Create another standard or administrator user account on your Mac, then try to recreate the issue in the new user account. If the issue doesn't occur in the new user account, settings or files in the original account might be causing the issue.
11. Reset the preferences file for control surfaces
If you use a control surface with Logic Pro, try resetting the preferences file for control surfaces.
Quit Logic Pro.
From the menu bar in the Finder, choose Go > Go to Folder.
Enter ~/Library/Preferences.
Select the “com.apple.logic.pro.cs” file in the Preferences folder, then choose File > New Folder with “com.apple.logic.pro.cs.”
Restart your Mac.
Open Logic Pro.
Depending on your control surface, you might need to add the control surface again to use it with Logic Pro.
If you're using Logic Remote, you're prompted to reconnect Logic Remote when you open the Logic Remote app for the first time after deleting the PLIST file.
If you're using a device that supports the EuCon protocol, you don't have to add it within Logic Pro.
12. Reset Logic Pro settings
Resetting Logic Pro settings doesn’t affect your project files, presets, or patches. However, you do lose any custom preference settings that you might have made.
Choose Logic Pro > Settings (or Preferences)
Note any specific settings that you’ve made.
In the Logic Pro Settings (or Preferences) menu, choose Reset All Settings (or Preferences) Except Key Commands. This affects the settings as follows:
Resets user defined global settings
Resets Control Bar settings to defaults
Turns off Advanced Settings
Resets defaults for the Track header
Resets New Tracks dialog defaults
After resetting, open your project and try to reproduce the issue. You might have to turn Advanced Settings back on. If the issue no longer occurs, open Logic Pro settings and reapply your custom settings.
13. Reset the Logic Pro plist file
Global app-wide settings for Logic Pro are stored in a plist file. If you have the one-time purchase version of Logic Pro and you've also subscribed to and downloaded the Apple Creator Studio version, your existing custom settings are copied to a new plist file when you first open the subscription version.
This means that you'll have two plist files—one for each version of the app. When troubleshooting, make sure to choose the plist file that corresponds to the version of Logic Pro that you're troubleshooting.
In Logic Pro, note any custom preference settings that you’ve made, and save any custom key commands that you've created.
Quit Logic Pro.
From the menu bar in the Finder, choose Go > Go to Folder.
Enter ~/Library/Preferences, then click Go.
Choose one of the following files depending on which version of Logic Pro you're troubleshooting:
For the one-time purchase version of Logic Pro, select the "com.apple.logic10.plist" file in the Preferences folder, then
For the Apple Creator Studio version, select "com.apple.mobilelogic."
With the file selected, choose File > New Folder with "com.apple.logic10.plist" or "com.apple.mobilelogic."
If you upgraded from Logic 9 or earlier to Logic Pro, move the "com.apple.logic.pro" file into the new folder created in the previous step.
Restart your Mac.
After moving the original plist files to a new folder, open your project and try to reproduce the issue. If the issue no longer occurs, then the issue is most likely caused by a Logic Pro setting that you've applied or the plist file is damaged. Reapply custom settings one at a time to try to isolate the setting that is causing your issue.
14. Reinstall Logic Pro for Mac
To remove and reinstall Logic Pro:
In the Finder, choose Go > Applications.
Locate the Logic Pro app and drag it to the Trash.
Reinstall Logic Pro from the App Store for Mac, or restore it from a backup. When restoring a copy of the Logic Pro app from a backup, you can either drag it from its storage location to your Applications folder or restore Logic Pro from a Time Machine backup.
Learn more
Information about products not manufactured by Apple, or independent websites not controlled or tested by Apple, is provided without recommendation or endorsement. Apple assumes no responsibility with regard to the selection, performance, or use of third-party websites or products. Apple makes no representations regarding third-party website accuracy or reliability. Contact the vendor for additional information.