Create and deliver 360° video in Motion
In Motion 5.4 and later, create and deliver immersive 360° motion graphics with live output to a VR headset.
You can create 360º motion graphics in a wide range of formats and frame sizes. While working in Motion, you can view your 360° video in a VR headset and simultaneously monitor the 360° video in the Motion canvas. When you’ve finished creating your motion graphics, you can export your project and share it to a variety of video-sharing and social media websites, including the YouTube VR channel, Facebook 360 and Vimeo 360.

This image was acquired from Getty Images, Inc. All rights reserved.
Before you begin
To work with 360º video in Motion, make sure that your Mac meets the system requirements for 360º video and Motion 5.4 or later. If you want to monitor with a VR headset while editing, make sure that you’re using a supported VR headset and you’ve installed the necessary software.
You can record 360° footage using multiple cameras mounted in a special rig. You can also use a single 360° camera with multiple lenses. Each lens records a different, but overlapping camera angle.
Before importing 360° footage into Motion, you must create a single, seamless 360° image. Some 360° cameras do this automatically, so you can start editing straight away. If you use a rig with multiple cameras, then you have to stitch the camera angles together using third-party software before you can import the footage into Final Cut Pro.
To use 360º footage in Motion, the stitched image must be a 360º monoscopic or stereoscopic video in equirectangular projection. An equirectangular image looks like a world map that depicts the globe as a two-dimensional (2D) rectangle.
Create a 360º project
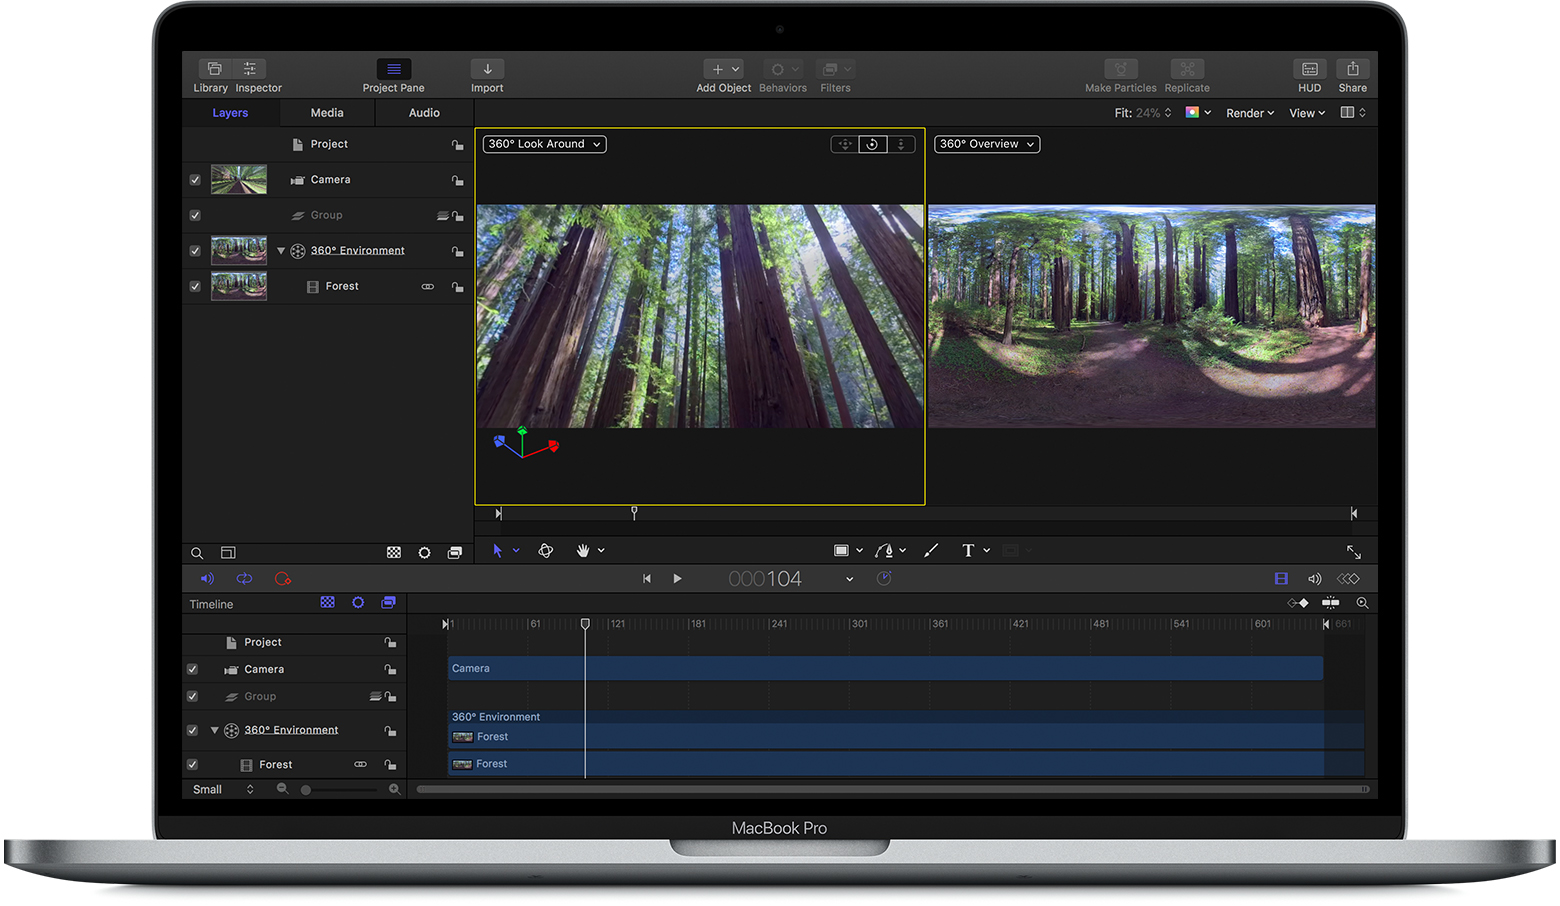
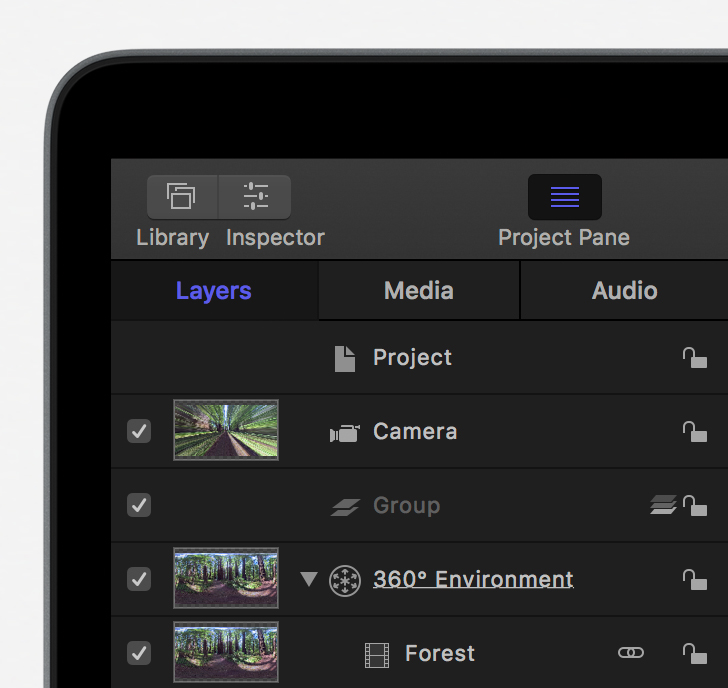
To create a new 360º-ready project in Motion, choose File > New (or press Command-N). From the Preset pop-up menu, choose the 360º Video option that matches either the resolution of your 360º source footage or the resolution of the output you want to share. Click Open. Motion automatically creates a project with the following objects in the Layers list:
A 3D Group
A Viewpoint Camera
A 360º Environment
Add media to a 360º project
Your 360º project can contain a variety of media, including 360º clips, as well as standard media like graphics, videos and still images.
To import 360º media, choose File > Import and select your clip. Make sure to select "Import as 360º," then click Import. Motion automatically adds your 360º clip to the 360º Environment layer. The 360º clip appears in the right viewport (the 360º Overview view) as an equirectangular view. You can view and navigate a spherical view of the clip in the left viewport (the 360º Look Around view).
If your 360º clip doesn’t appear in the 360º Environment layer, you need to manually add it. To appear as a 360º image, 360º clips need to appear in the 360º Environment layer.

Add standard media to a 360º project
You can add standard media like still images and graphics to a 360º project and place them anywhere in the 360º space as a flat element. To add standard media as a flat element, choose File > Import, then select your clip. Motion automatically adds standard media to the 3D Group layer. You can animate standard media in a 360º project as you would in a standard Motion project.
Navigate the 360º view
You can pan around the 360º view in the 360º Look Around view. Click the and drag in any direction to pan or tilt the camera. To reset the view to its default orientation, double-click . You can also change the master orientation of the video with the 360º Reorient filter.
When you navigate in the left viewports, standard media imported into a 360º project appear flat. Media converted to equirectangular views conform to the 360º sphere.
Add effects and particles
Motion includes filters and generators optimised for 360º video, including blur, glow and sharpen filters. If you use non-optimised 360º effects, you'll see visible seams and other unwanted artifacts in your 360º project.
When you add an effect, select the effect in Layers list, then choose Window > Show Inspector > Filters. If the filter includes a 360º Aware checkbox, make sure to select it.
You can also add particles to a 360º project to create sophisticated effects that involve large numbers of automatically animated objects. With particles, you can create simulations of snow or smoke that appear in the 360º sphere. Learn how to work with particles in Motion.
Create 360º Motion templates for Final Cut Pro projects
After you’ve created your 360º Motion project, you can save it as a custom Final Cut Pro transition, Final Cut Pro title, Final Cut Pro effect or Final Cut Pro generator that you can use in your Final Cut Pro project.
You can convert any Motion project to a Final Cut Pro template or you can start by using one of the default templates available in Motion. To use one of the default templates, choose File > New From Project Browser. Select Blank from the left column, then choose one of the Final Cut Pro template types. Choose a 360º Video option from the Preset menu then click Open.
When you save a Motion project as a Final Cut Pro template, you can access it in the designated category in the appropriate browser or sidebar in Final Cut Pro.
Use 360º media in a 3D project
You can export a 360º equirectangular video with a single field of view and add it to a standard Motion project. In the 360º project, set up the camera to configure the angle of view of the image. Then use the 360º Reorient filter to frame the part of the 360º sphere you want to export. You can even animate the pan, tilt and zoom of the camera to include it in the exported footage.
Convert a normal project into a 360º project
When you convert a normal project to a 360º project, Motion projects the footage onto a flat plane in the 360° space. You’ll need to adjust other objects for them to be projected into the 360º sphere. For example, if the project contains a generator that you want projected onto the 360º sphere, move the generator into the 360º Environment layer.
In your existing project, add a 360º Environment to the bottom of the Layers list. Then, add 360º media or effects to the 360º Environment layer. If your project doesn’t contain a camera, choose Object > New Camera, then set it to Viewpoint in the Camera Inspector.
You can split the canvas into two viewports. Click the box in the right-corner of the canvas, then choose the two-up, split-view option. Choose 360º Look Around from the Camera pop-up in the left viewport. Choose 360º Overview from the Camera pop-up in the right viewport.
Need more help?
Tell us more about what’s happening and we’ll suggest what you can do next.