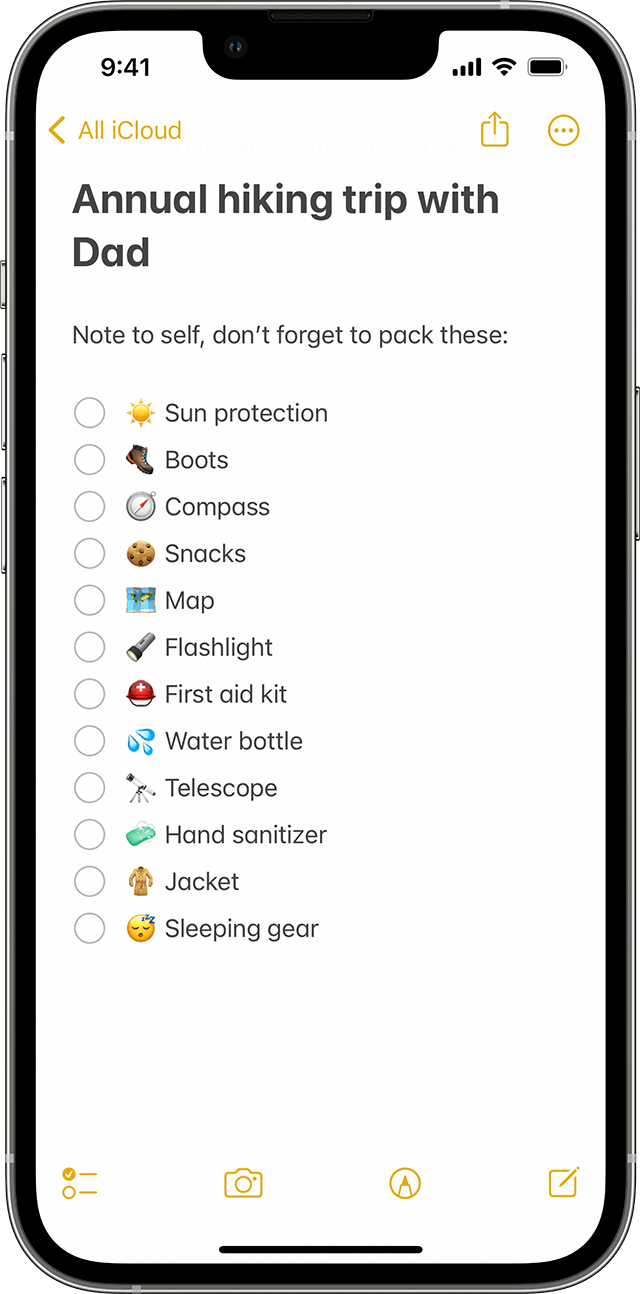
Create a checklist with Notes
Learn how to create checklists on your iPhone, iPad, or iPod touch.
Before you begin
Make sure that your iPhone, iPad, or iPod touch has the latest version of iOS or iPadOS.
To use the latest features of Notes, make sure that you set up Notes with iCloud or have your notes saved on your device. To set up Notes with iCloud, go to Settings > Apps > Notes > Default Account, then select iCloud. To set up Notes on your device only, go to Settings > Notes, then select "On My [device]" Account. Many features won't work with other email providers.
How to create a checklist
Open the Notes app.
Tap the to create a new note.
Enter a title and tap return.
Tap the to start the list. Each time you tap return, a new item is added to the list.
Tap the empty circle to mark an item as complete.

To create a list in an existing note, place the cursor where you want to start. Then tap the and create your list.
How to organize your checklists
When you create a checklist list, it's easy to organize it. Here are a few things you can do:
Reorder items with drag and drop. Just drag the item in the list to the place you want.
Swipe to indent items. Swipe the list item right to indent and left to reverse the indent.
Move checked items to the bottom automatically. Go to Settings > Apps > Notes, tap Sort Checked Items, then tap Manually or Automatically.
Check items as you complete them or uncheck all items to start over.
How to share a checklist
Open the Notes app.
Go to the note with the list, then tap the .
Choose Collaborate, then choose how you want to send your invitation.
Do more with Notes
Learn more about Notes on your iPhone, iPad, and iPod touch.
