
Change a printer’s name on Mac
You can enter a new name and location for your printer so that other users can find it more easily. This information appears in Printers & Scanners preferences.
Change a printer’s name and location
On your Mac, choose Apple menu
 .
.Select the printer in the list at the left.
Click Options & Supplies, then click General.
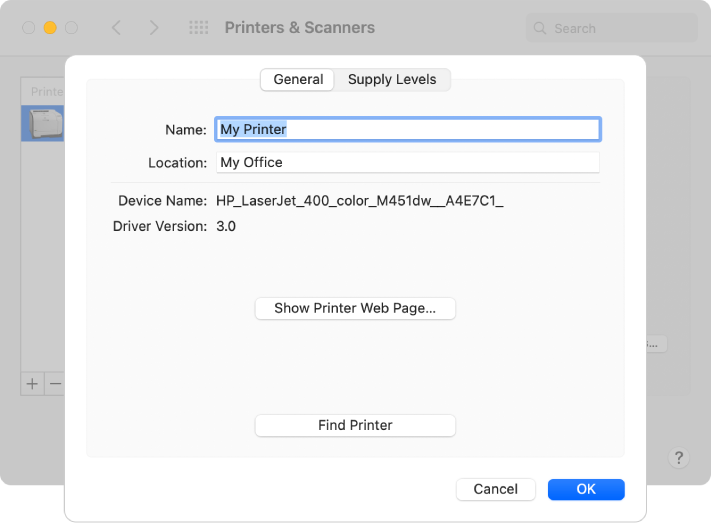
Type the new name and location in the Name and Location fields.
Name: Enter a descriptive name for the printer (for example, Color Laser Printer).
Location: Enter the printer’s location (for example, “outside my office”).
Show Printer Web Page: Click this button to see web information about your printer. (Not available for all printers.)
Find Printer: If you have multiple printers with similar names and are unsure which printer you’re using, click this button to display a message on the printer’s screen or have the printer make a sound. (Not available for all printers.)

Tip: To quickly rename a printer, Control-click a printer in the Printers list in Printers & Scanners preferences, choose “Rename printer” from the shortcut menu, enter a name and location, then click OK.