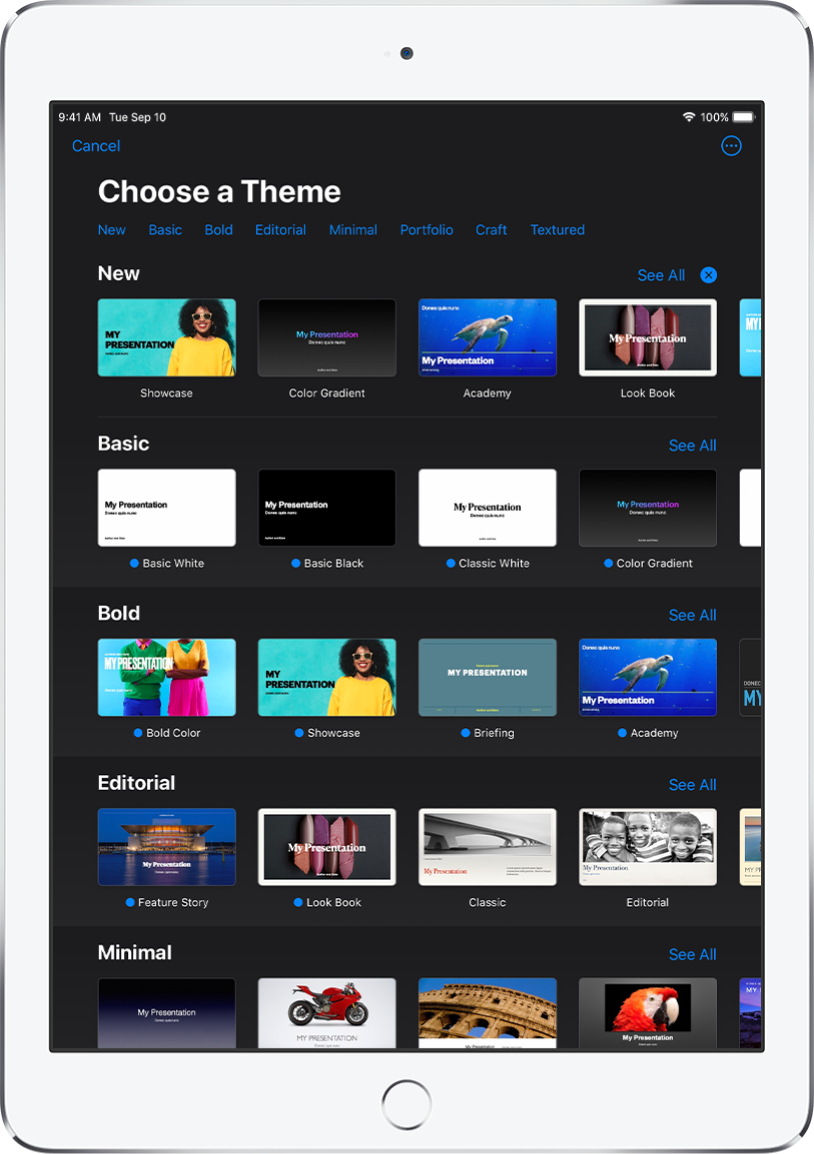
Get started with a theme
All presentations begin with a theme—a set of predesigned slide layouts you can use as a starting point. Replace the theme’s images and text with your own, then add more slides as needed.
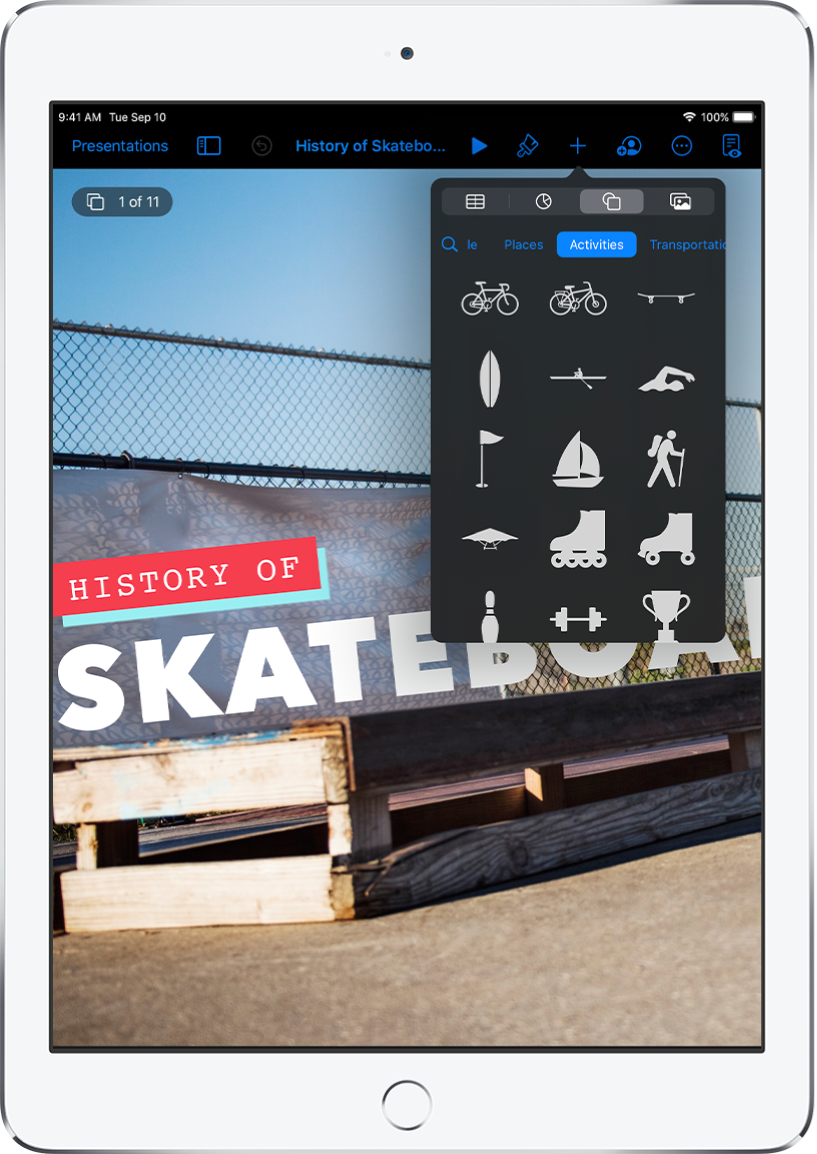
Add text, photos, drawings, and more
Add objects like text boxes, tables, charts, shapes, and media (images, audio, and video) to any slide. You can layer objects, resize them, and link them to webpages or other slides in your presentation.
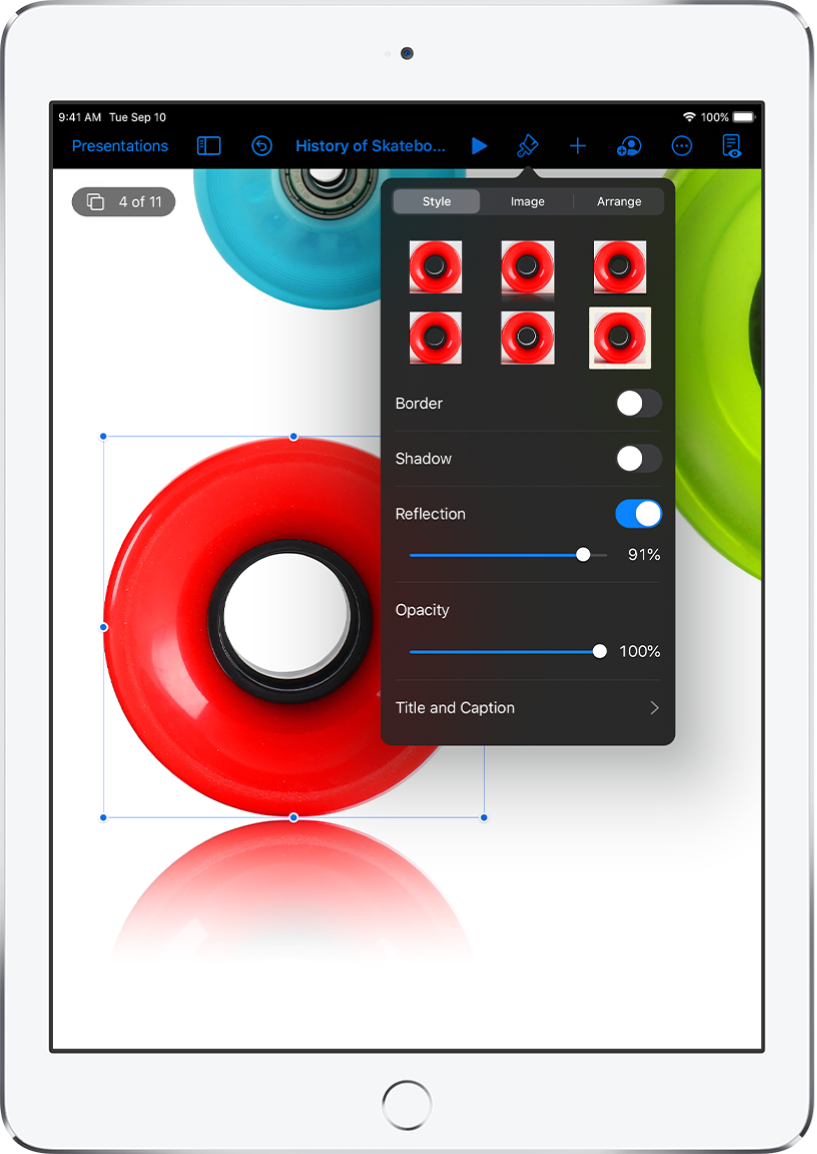
Customize every detail
Customize the appearance of anything you add to a slide. Choose a new color, add a drop shadow, change the transparency, and more.
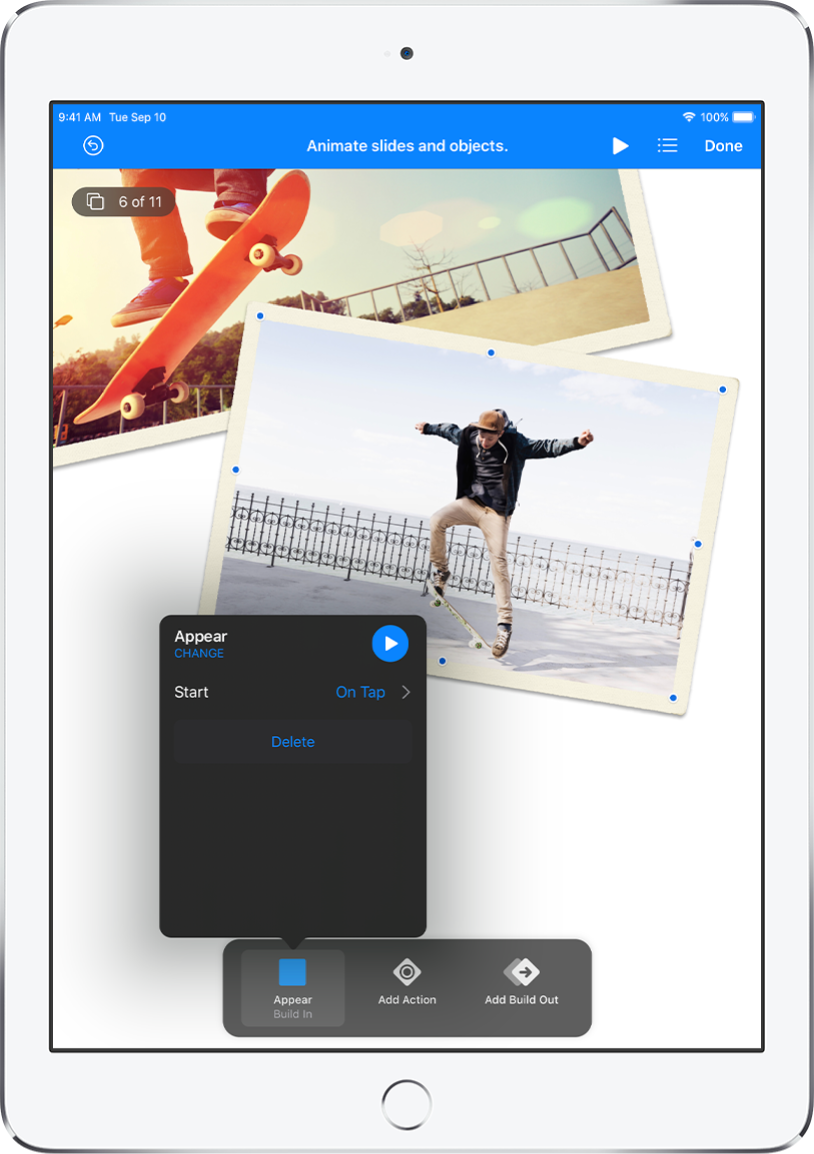
Wow them with animation
Add visual effects or animations to captivate your audience. For example, add a transition so each slide dissolves into the next, or make each word in a title bounce onto the slide.
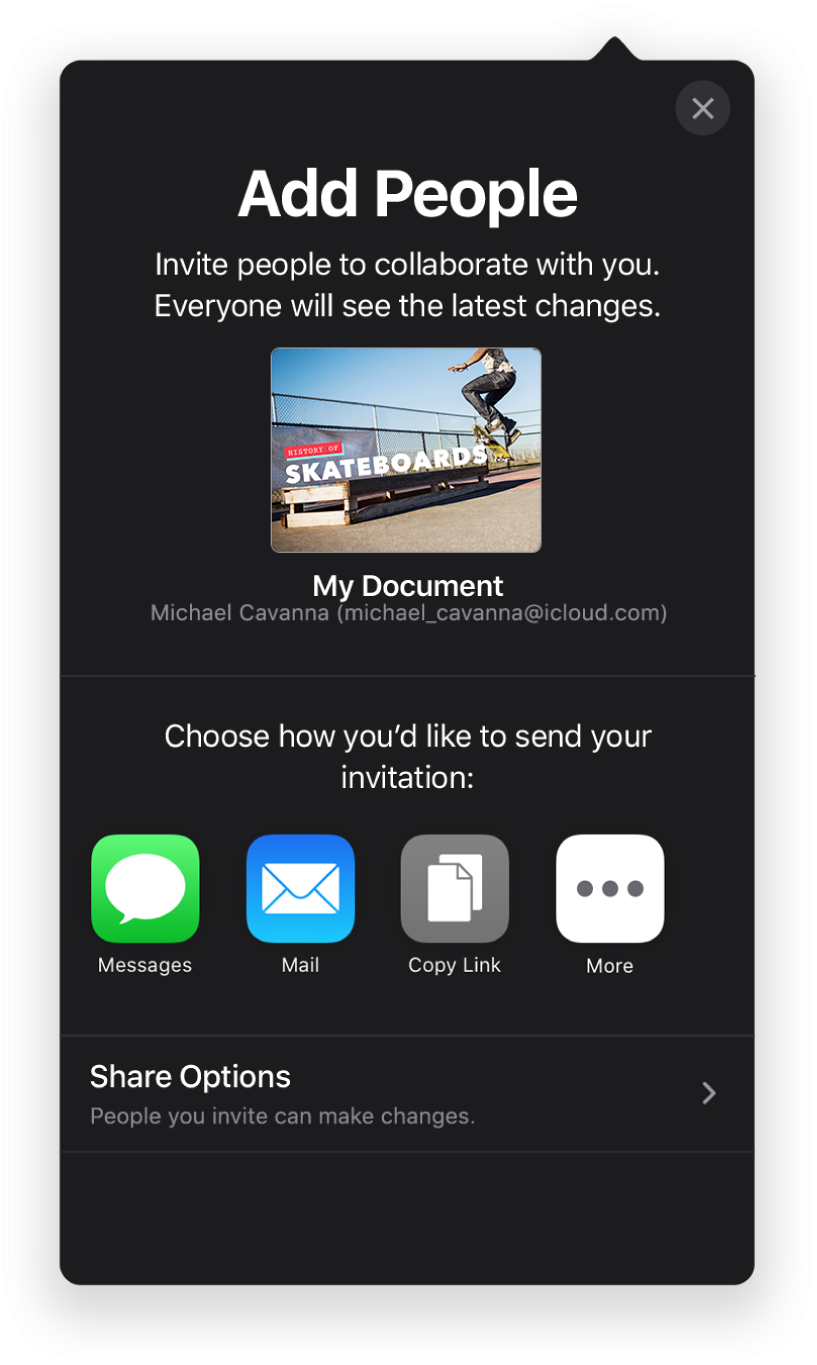
Collaborate in real time
Invite others to work with you on your presentation. Everyone you invite can see changes as they’re made, but you control who can edit or only view the presentation.
This guide helps you get started using Keynote 10.1 on your iPad. To see the version of Keynote on your iPad, go to Settings ![]() > Keynote. To browse this guide, tap Table of Contents near the top of this page. You can also download the guide from Apple Books (where available).
> Keynote. To browse this guide, tap Table of Contents near the top of this page. You can also download the guide from Apple Books (where available).
If you need more help, visit the Keynote Support website.
Keynote User Guide for iPad
- Welcome
-
- Intro to Keynote
- Intro to images, charts, and other objects
- Create your first presentation
- Open a presentation
- Save and name a presentation
- Find a presentation
- Print a presentation
- Copy text and objects between apps
- Basic touchscreen gestures
- Use Apple Pencil with Keynote
- Create a presentation using VoiceOver
- Copyright