Remove or switch the SIM card in your iPad
Learn how to remove or transfer the SIM card in your iPad (Wi-Fi + Cellular models).
Some iPad models don't have a SIM tray or physical SIM card. Learn how to set up an eSIM instead.
Open the SIM tray by inserting a paper clip or a SIM-eject tool into the hole beside the tray. Push in, toward the iPad, but don't force it. If you're having difficulty ejecting the SIM tray, take your device to your carrier or an Apple Store for assistance.
After you remove your SIM card from the tray, observe the notch in one corner of the new SIM card. The new SIM card fits into the tray only one way, because of the notch. Insert the tray into the device completely and in the same orientation that you removed it. The tray also fits only one way.

The SIM tray is on the right side, near the bottom for:
iPad mini (6th generation)
iPad Pro 11-inch (all models)
iPad Pro 12.9-inch (6th generation)
iPad Pro 12.9-inch (5th generation)
iPad Pro 12.9-inch (4th generation)
iPad Pro 12.9-inch (3rd generation)
iPad (10th generation)
iPad Air (5th generation)
iPad Air (4th generation)
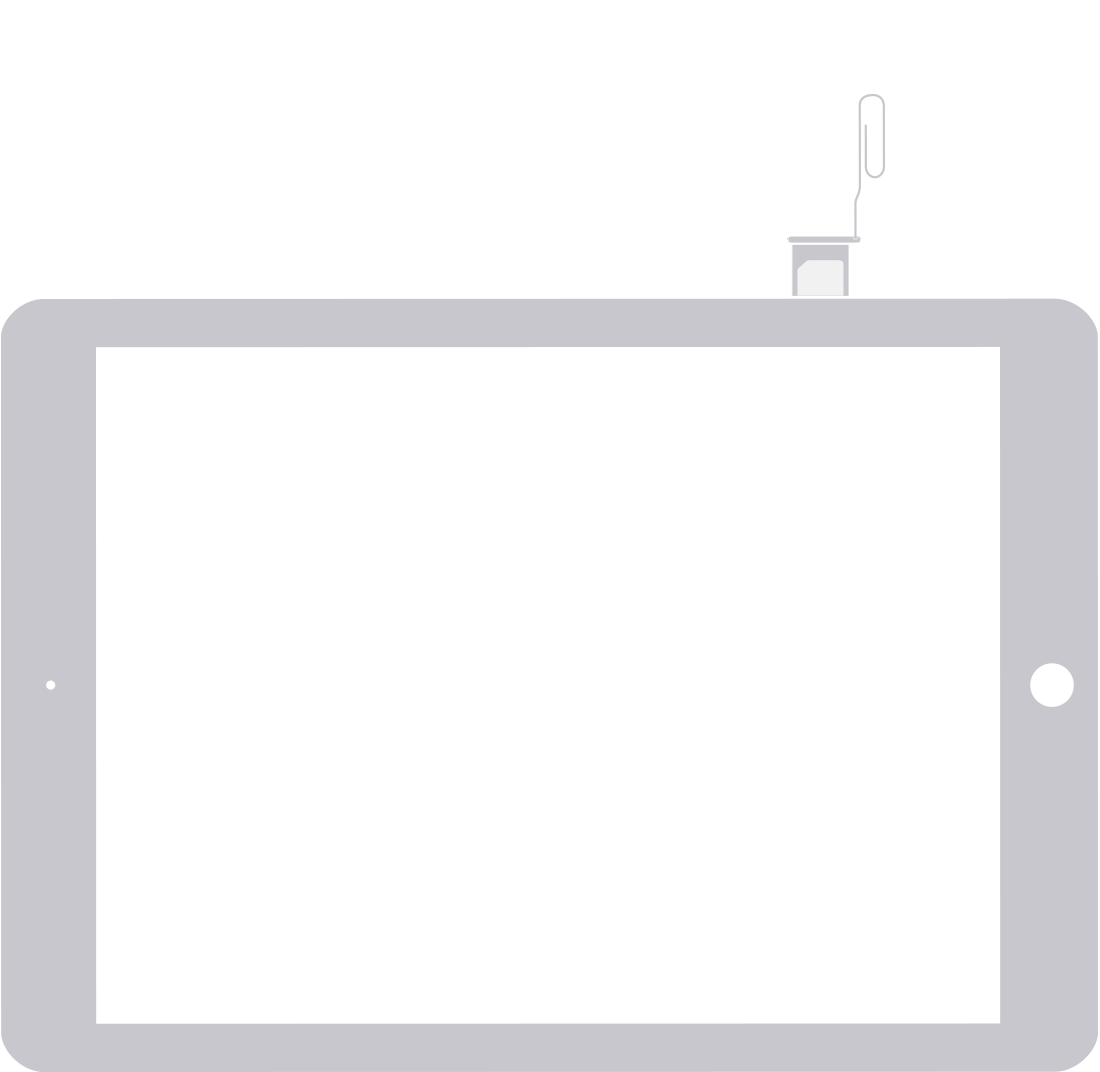
The SIM tray is on the right side, near the bottom for:
iPad Pro 12.9-inch (2nd generation)
iPad Pro 12.9-inch (1st generation)
iPad Pro (10.5-inch)
iPad Pro (9.7-inch)
iPad (9th generation)
iPad (8th generation)
iPad (7th generation)
iPad (6th generation)
iPad (5th generation)
iPad Air (3rd generation)
iPad Air 2
iPad Air
iPad mini (5th generation)
iPad mini 4
iPad mini 3
iPad mini 2
iPad mini
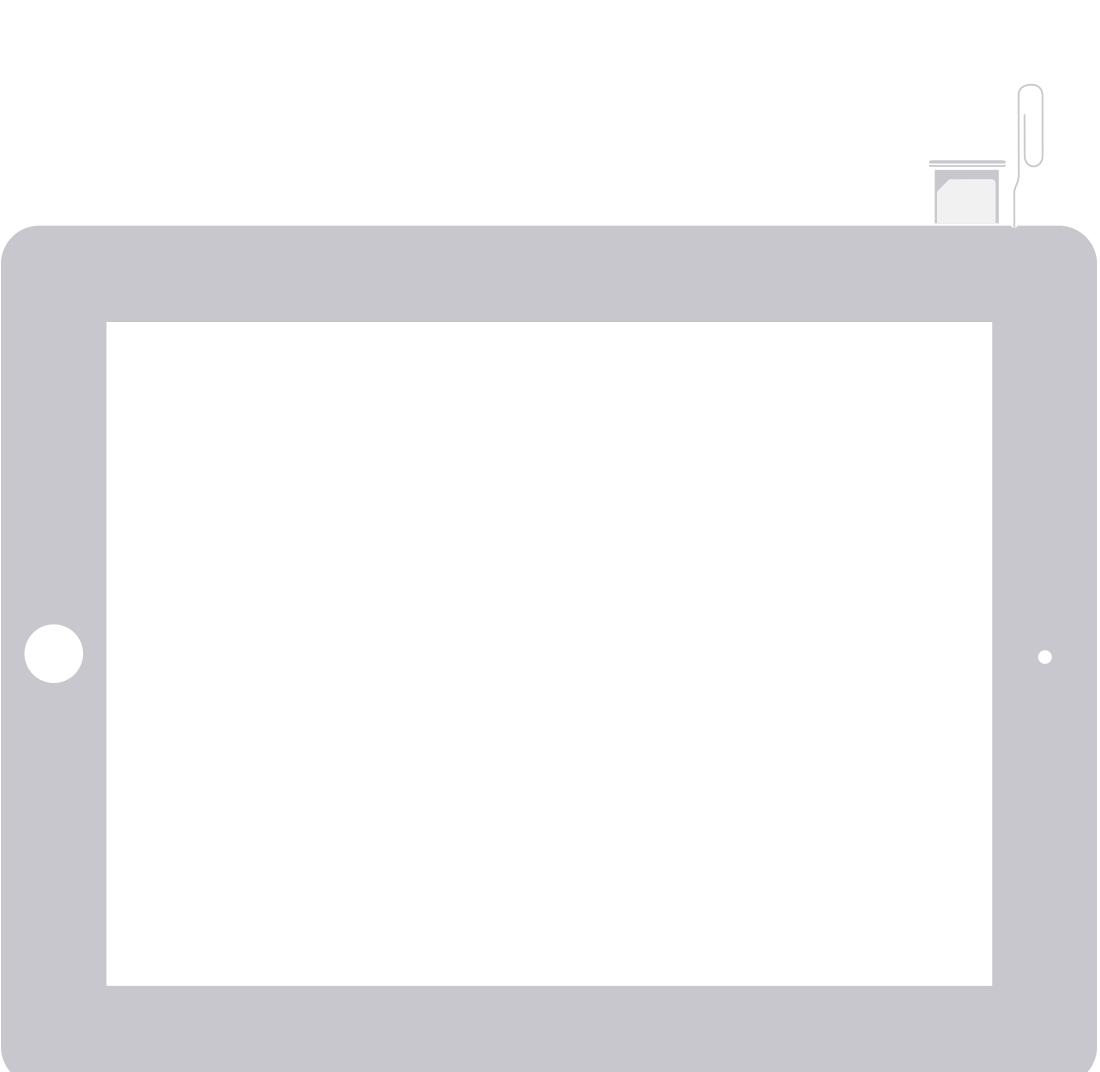
The SIM tray is on the left side, near the top for:
iPad (4th generation)*
iPad (3rd generation)*
iPad 2 Wi-Fi + 3G (GSM model)*
* When you insert your paper clip or included SIM-eject tool, use a 45° angle.
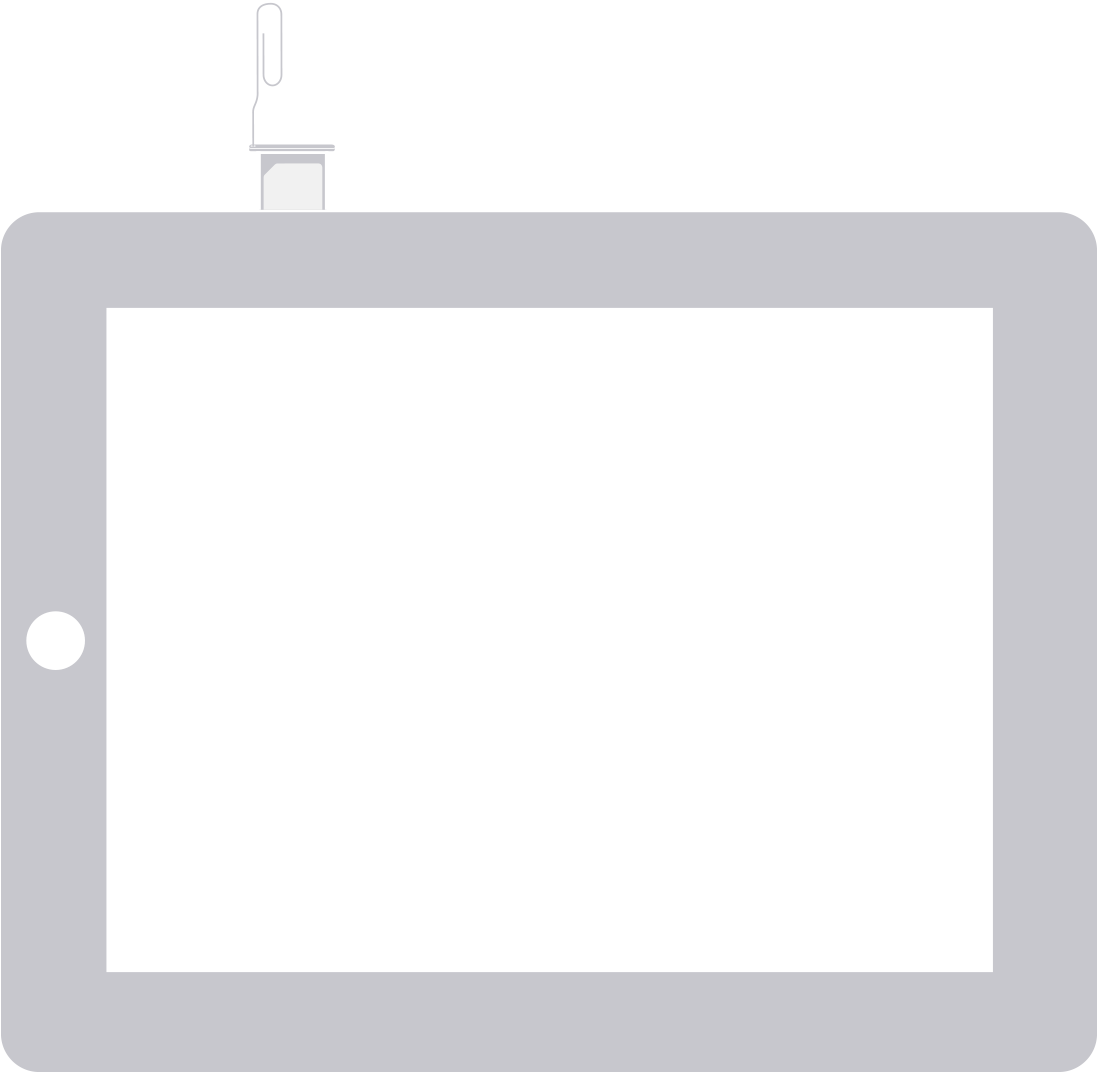
On iPad Wi-Fi + 3G, the SIM tray is on the left side, near the bottom.
Need more help?
Tell us more about what's happening, and we’ll suggest what you can do next.