
Control your iPhone from your Mac
You can use iPhone Mirroring to control your iPhone from your nearby Mac. When iPhone Mirroring is turned on, you can also receive iPhone notifications on your Mac and keep track of Live Activities, so you don’t miss a thing.
Note: Some iPhone features such as the camera and microphone aren’t compatible with iPhone Mirroring. Also, some Continuity features, like Continuity Camera and AirPlay, aren’t available on your Mac when using iPhone Mirroring.
Before you begin
Make sure of the following:
You’re signed in to the same Apple Account on both devices.
Your devices are within 30 feet (10 meters) of each other.
Your Mac has macOS 15 Sequoia or later and your iPhone has iOS 18 or later.
Both devices meet minimum system requirements for iPhone Mirroring.
If you’re using a VPN, make sure its configuration doesn’t prevent local networking, as that may interfere with some Continuity features.
To use iPhone Mirroring, it must be available in your country or region. iPhone Mirroring isn’t currently available in the European Union.
If iPhone Mirroring isn’t available in your country or region, iPhone Mirroring tells you that it’s unable to connect to your iPhone for that reason.
Set up iPhone Mirroring on your Mac
Make sure your iPhone is turned on and nearby, with the screen locked.
Go to the iPhone Mirroring app
 on your Mac.
Click Continue.
Enter your iPhone passcode. You may also have to choose one of the following options:
Ask Every Time: Receive a prompt for Touch ID, Face ID, or your iPhone passcode each time you use iPhone Mirroring.
Authenticate Automatically: Automatically connect to iPhone Mirroring without needing to authenticate.
Note: If you see an alert on your iPhone that says Trust This Computer? tap Trust. You may be asked to enter your device passcode to proceed. If you see an alert on your Mac that says “Allow accessory to connect?” click Allow.
Choose whether or not to Allow Notifications from iPhone.
Choose which iPhone to use with iPhone Mirroring
You can set up more than one iPhone to use with iPhone Mirroring on your Mac, but you can only connect to one iPhone at a time.
Go to the iPhone Mirroring app
on your Mac.Click iPhone Mirroring Settings, then click Change iPhone.
Under Widgets, click the iPhone pop-up menu, then choose your iPhone.
You can also open the System Settings app ![]() on your Mac and click General in the sidebar (you may need to scroll down), then click AirDrop & Continuity. Under Widgets & iPhone Mirroring, choose your iPhone from the iPhone pop-up menu.
on your Mac and click General in the sidebar (you may need to scroll down), then click AirDrop & Continuity. Under Widgets & iPhone Mirroring, choose your iPhone from the iPhone pop-up menu.
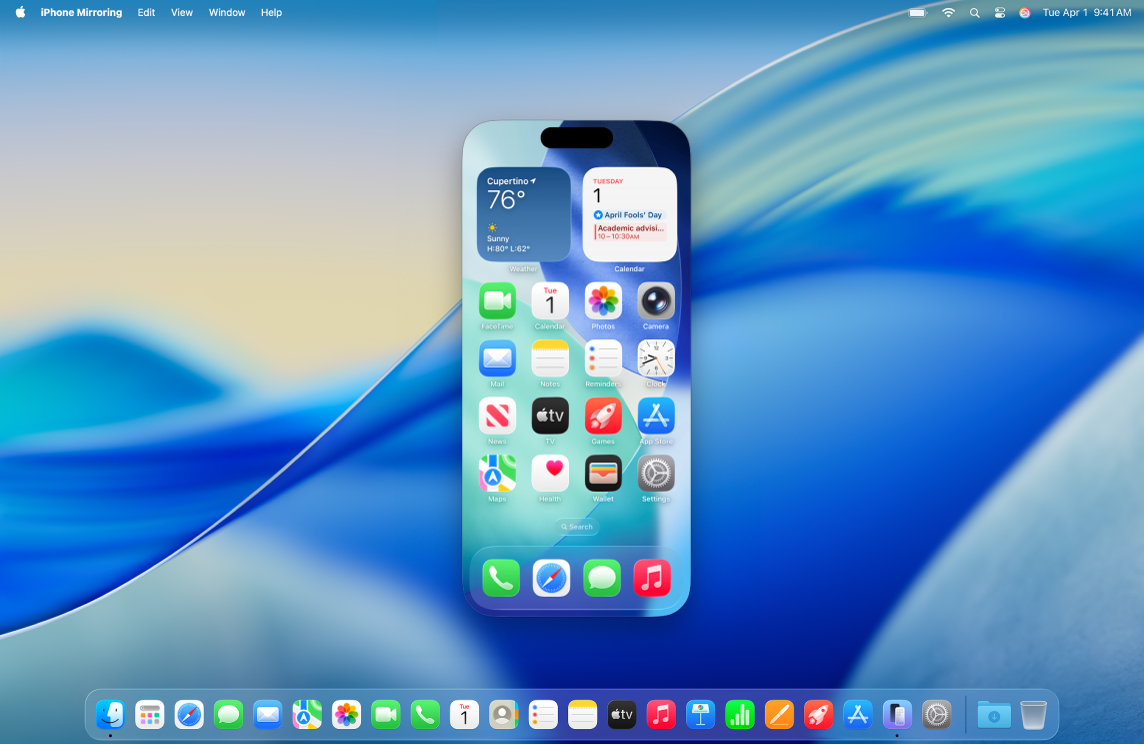
Use iPhone Mirroring on your Mac
Make sure your iPhone is turned on and nearby, with the screen locked.
Go to the iPhone Mirroring app
on your Mac.Do any of the following:
Click to tap: Click your mouse or trackpad to tap. You can also swipe and scroll in the iPhone Mirroring app, and use your keyboard to type.
Open the App Switcher: Move your pointer to the top of the iPhone Mirroring app until the title bar appears, then click
 to open the App Switcher.
Go to the Home Screen: If you’re in an app and want to return to the Home Screen, move your pointer to the top of the iPhone Mirroring app until the title bar appears, then click
 .
.Rearrange your Home Screen and perform quick actions: On the Home Screen, Control-click any app, then click Edit Home Screen. You can also Control-click an app and choose to turn some apps into widgets or to perform quick actions, like creating a new note in Notes or sending your location in Maps.
When you open an iPhone widget on your Mac, it opens in the iPhone Mirroring app.
Get iPhone notifications on your Mac
When you set up iPhone Mirroring, you can also turn on iPhone notifications. iPhone notifications appear on your Mac with an iPhone badge, so you know which notifications are from your iPhone.
Note: Your iPhone doesn’t have to be nearby for its notifications to appear on your Mac, but it must be turned on.
If you chose not to turn on iPhone notifications when you set up iPhone Mirroring and you’d like to turn it on, or if you want to choose which apps send notifications to your Mac, do the following:
On your iPhone: Go to Settings
 > Notifications, choose any app, then turn “Show on Mac” on or off.
On your Mac: Choose Apple menu
 in the sidebar (you may need to scroll down), then click “Allow notifications from iPhone.” Under Mirror iPhone Notifications From, turn the option on or off for any app.

View Live Activities from iPhone on your Mac
When you set up iPhone Mirroring, Live Activities from your iPhone appear in the menu bar on your Mac.
On your Mac, click the Live Activity in the menu bar to view more information.
Do any of the following:
Double-click the Live Activity to open the relevant app in the iPhone Mirroring app on your Mac.
Click outside of the Live Activity to close it, but continue to see it in the menu bar.
Move the pointer over the Live Activity, then click
 to close the Live Activity and remove it from the menu bar.
Transfer files using iPhone Mirroring
You can transfer files, photos, videos, and more between your Mac and iPhone in supported apps using iPhone Mirroring. To transfer a file, simply drag and drop it from your Mac to the iPhone Mirroring app window, or vice versa.
Turn off iPhone Mirroring
On your iPhone, go to the Settings app
.Tap General, tap AirPlay & Continuity, then tap iPhone Mirroring.
Tap Edit in the top right, then select a Mac to remove.
If iPhone Mirroring isn’t working
Make sure that you’re signed in to the same Apple Account on both devices.
Make sure that your iPhone and Mac have Wi-Fi, Bluetooth, and Handoff turned on.
Your devices must be within 30 feet (10 meters) of one another.
If you have more than one iPhone set up for iPhone Mirroring, you can choose which iPhone you want to use. On your Mac, go to iPhone Mirroring Settings, click Change iPhone, then choose your iPhone.
For additional troubleshooting steps, see “If you need help” at the bottom of the Apple Support article iPhone Mirroring.