Fill objects with color or an image in Numbers for iCloud
You can fill some objects—text boxes, shapes, and chart backgrounds—with a solid color, a gradient (two colors that blend into one another), or an image.
Fill with a color or gradient
The fill choices include a number of preset colors that are designed to go with the current template, or you can create custom color fills using the color wheel and other color controls.
Select a shape (other than a line), text box, or chart.
Do one of the following:
For a shape or text box: Click Style at the top of the Format
 sidebar, then select the Fill checkbox.
For a chart: Click Chart at the top of the Format sidebar, then select the Background checkbox.
Choose one of the following fill types:
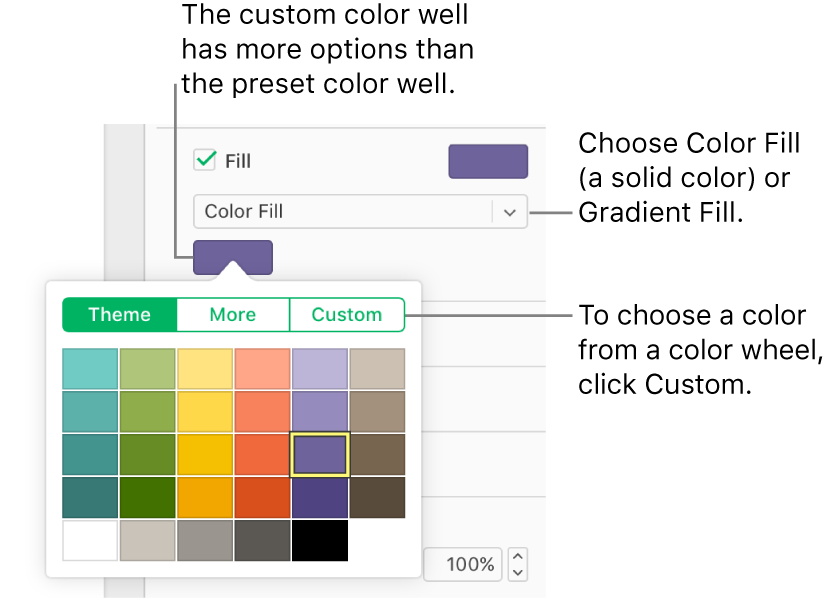
A preset color or gradient designed to match the current template: Click the preset color well to the right of the Fill or Background checkbox, then choose a color or gradient.

Note: The images in this task show the Fill checkbox selected; when the Background checkbox is selected, the same color well and pop-up menu options appear.
A custom color or gradient: Click the pop-up menu below the checkbox and choose Color Fill or Gradient Fill. Click the custom color well below the pop-up menu and choose a color.

The custom color well has a wider range of options than the preset color well. To choose a color from a color wheel, click Custom at the top of the colors popover, then drag the marker on the color wheel or drag the sliders to adjust the saturation, brightness, and opacity.
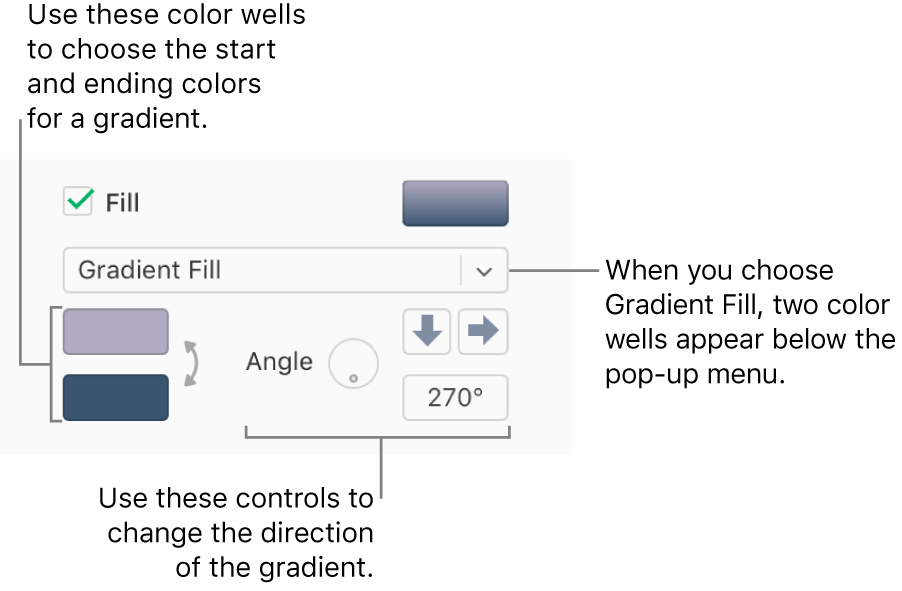
When you choose Gradient Fill, two color wells appear below the pop-up menu; choose a color from each color well to set the start and end color of the gradient.

Fill with an image
Select a shape (other than a line), text box, or chart.
Do one of the following:
For a shape or text box: Click Style at the top of the Format
 sidebar, then select the Fill checkbox.
For a chart: Click Chart at the top of the Format sidebar, then select the Background checkbox.
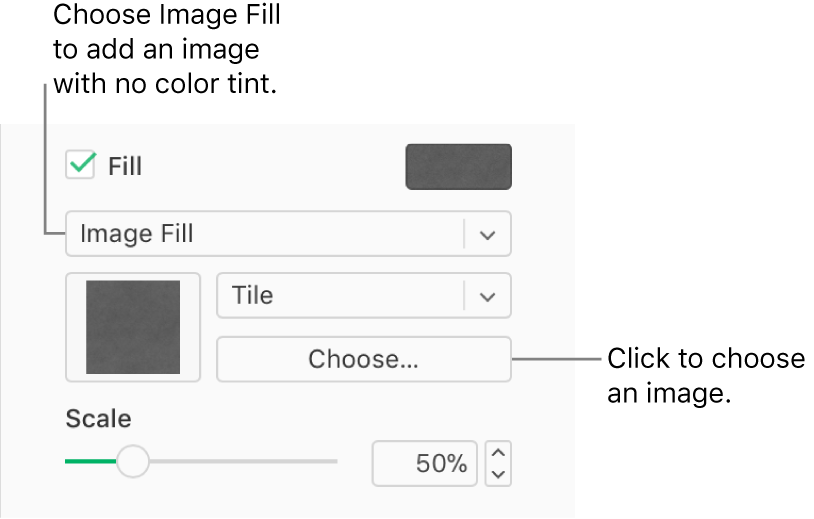
Click the pop-up menu below the Fill or Background checkbox, then choose Image Fill, or Advanced Image Fill if you want to add a color tint to the image.

Note: The image above shows the Fill checkbox selected; when the Background checkbox is selected, the same color well and pop-up menu options appear.
Click Choose, navigate to your photos, then double-click an image file with a .jpg, .png, or .gif filename extension.
To change how the image fills the object, click the pop-up menu above the Choose button and choose an option, or drag the Scale slider.
If Advanced Image Fill is selected, click the color well that appears to the right of the Choose button, then select a tint color.
Choose a color that matches the current template, or click Custom and choose a color from a color wheel (where you can also adjust the saturation, brightness, and opacity).
To remove the tint, click the pop-up menu below the Fill or Background checkbox, then choose Image Fill (instead of Advanced Image Fill) from the pop-up menu.
Tip: You can also change the color of lines, shadows, borders, text, and more; whenever you see a color well in the sidebar, you can click it to add color to whatever is selected on the sheet.