render
To generate video and audio with any applied effects or transitions, and store the result as a render file. These render files are stored with your Final Cut Pro event and project files. When you publish or export a project, it’s similarly rendered to create the output files.
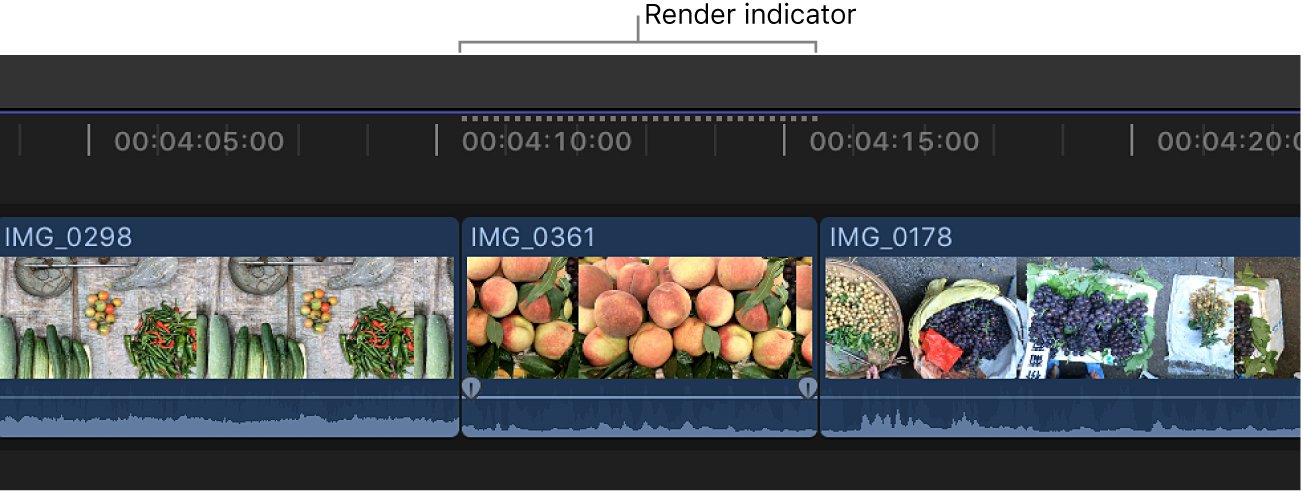
When you add effects, transitions, generators, titles, and other items that require rendering for playback at high quality, the render indicator (a light gray dotted line) appears below the ruler at the top of the timeline.
By default, rendering begins automatically in the background 0.3 seconds after you stop working and moving the pointer in Final Cut Pro. You can turn off background rendering or adjust this setting in Final Cut Pro settings.
To manually render a project or a portion of a project, do one of the following:
Render a portion of your project: In the timeline, select the clip or clips that you want to render, then choose Modify > Render Selection (or press Control-R).
Note: The selection must be a clip selection, not a range selection.
Render all portions of your project that need rendering: Choose Modify > Render All (or press Control-Shift-R).