Mac Laptops Keys
Before You Begin
Important
Clean the keyboard thoroughly with compressed air before you replace a missing keycap or a keycap on an unresponsive key. If cleaning didn't resolve the issue, continue reading to:
Identify the parts of a key by reviewing the exploded view below
Gather the necessary tools
Identify your keyboard design
Identify which type of key you’re replacing
Determine during the keycap removal procedure whether you need to also replace the key’s scissor mechanism
Key exploded view
Keycap (1)
Snaps (2)
Hinges (3)
Scissor pins (4)
Scissor mechanism (5)
Scissor pins (6)
Metal hooks (upper) (7)
Metal hooks (lower) (8)
Dome (9)

Tools
Compressed air
ESD-safe tweezers
Keycap levers (Some link bar keycaps require two keycap levers for removal)
Microterry polishing cloth
Needle-nose pliers
Nylon probe (black stick)
Precut adhesive strips (1x0.5)
Precut adhesive strips (1x1)
 Caution
The adhesive on the precut adhesive strips that you’ll use to remove keycaps is very strong. If you accidentally place the keycap lever on the wrong keycap, you must remove and replace that keycap.
An adhesive strip can be used only once. You must replace the adhesive strip for every keycap removal.
Always replace a keycap that you removed with a new one. Don’t reuse keycaps.
Use gentle pressure on the keycap to activate the adhesive. Don't bend the top case when you press the keycap lever onto the keycap.
If a keycap replacement doesn’t resolve the issue, replace the top case.
Important
Before you replace a keycap, inspect the scissor mechanism, dome, and metal hooks inside the well of the keycap.
Ensure that the scissor mechanism is installed in the well of the keycap. If it isn't, install a replacement scissor mechanism.
Use the black stick to gently move the scissor mechanism up and down (1). Verify that the scissor mechanism moves easily and lies flat when released. If it doesn't, replace the scissor mechanism.
Press and release the dome (2)—it should spring back upright. If the dome is damaged or not centered, replace the top case.
If a lower hook is bent (3), try to bend it back to a 90-degree angle.
If an upper hook is bent (4), use needle-nose pliers to straighten it.
If any lower hook or upper hook is broken or bent beyond repair, replace the top case.


Keyboard Identification
Identify your keyboard design by comparing the Return key on your laptop with the following images:
ANSI 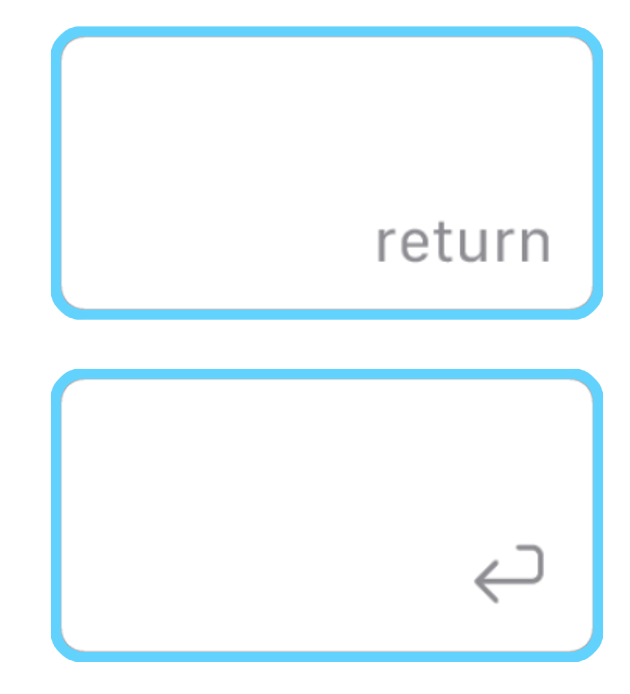 | ISO 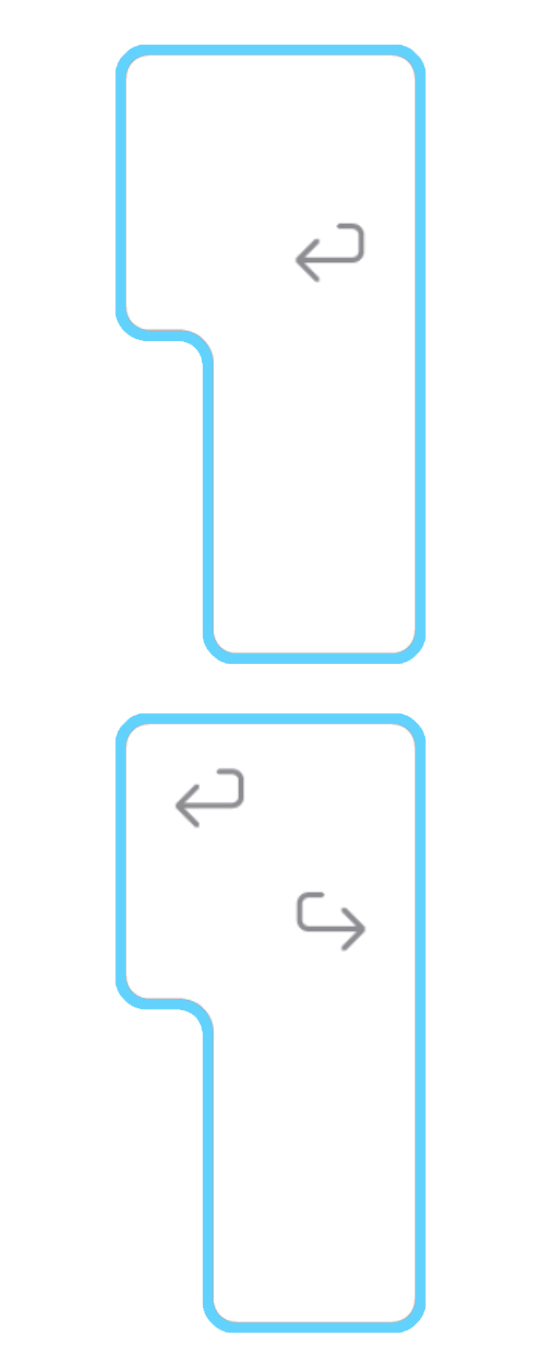 | JIS 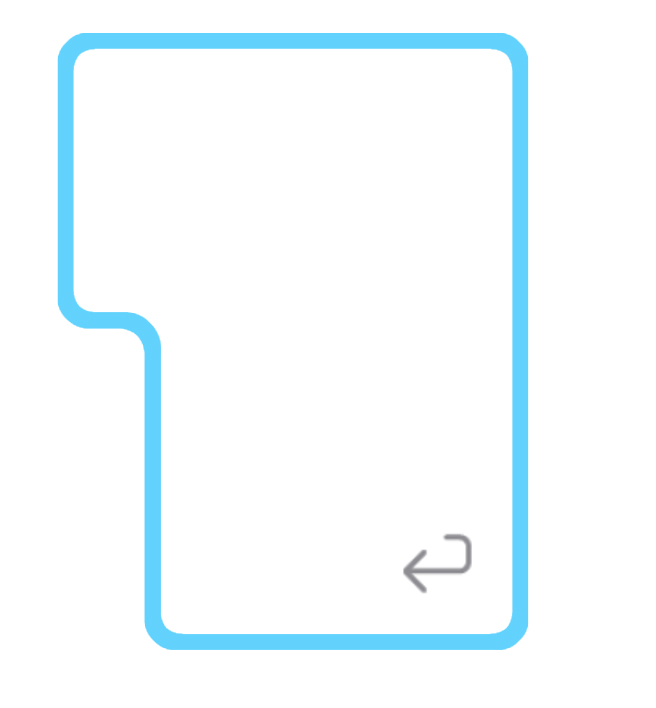 |
Key Identification
Identify which type of key you’re replacing, navigate to the appropriate linked article, and ensure that you're referencing the correct information for your laptop model.

