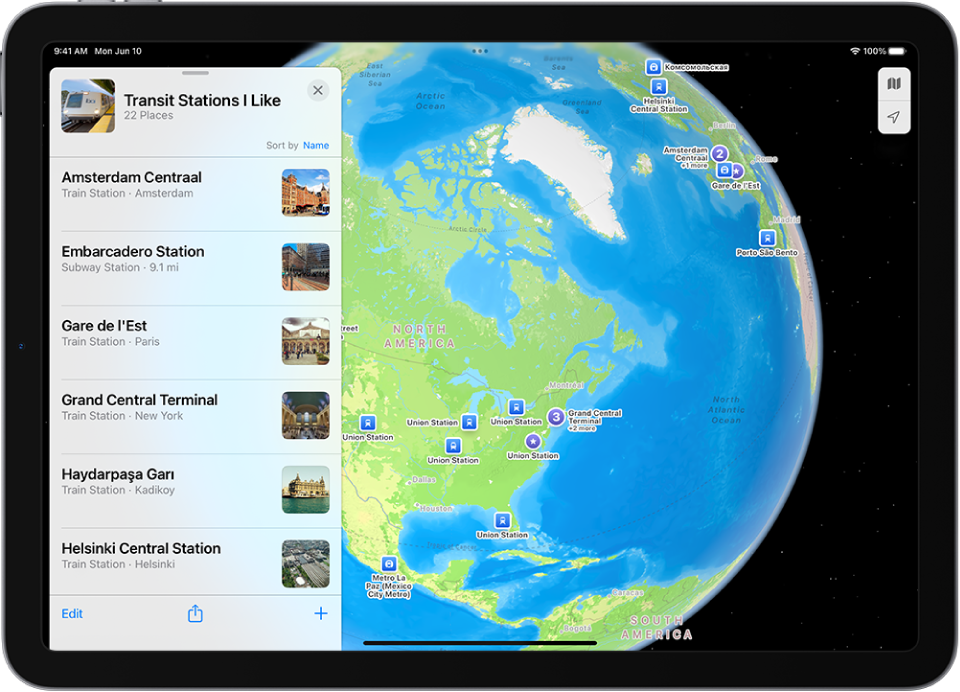
Organize places with custom guides in Maps on iPad
You can organize places into your own guides for easy reference, and you can share your guides with others.

See your favorites
A guide called Favorites always appears in your guides. This makes it easier for you to save places to a guide.
Go to the Maps app
 on your iPad.
Below Library, tap
 , tap Guides, then tap Favorites.
Tip: You can pin any places that you want to see in your library when you open Maps. See Add a pin to your library.
Create a guide
Go to the Maps app
 on your iPad.
Below Library, tap
 , then tap Guides.
Tap
 .
.Enter a name for the guide, then tap
 to add an image from your photo library.
Tap Create.
Add a place to a guide
Go to the Maps app
 on your iPad.
Tap a place on the map or a search result.
In a place card, tap
 , then tap Add to Guides.
Choose one of your guides, enter a name for the location, then tap Save.
You can also add Publisher Guides to your guides. See Explore places with guides.
Share a guide
Go to the Maps app
 on your iPad.
Below Library, tap
 , tap Guides, then tap the guide you want to share.
Tap
 at the bottom of the guide card, tap Share Guide, then choose an option.
Edit a guide that you created
For any guide that you create, you can supply a cover image, change the title, and remove places.
Go to the Maps app
 on your iPad.
Below Library, tap
 , tap Guides, then tap the guide you want to edit.
Tap Edit at the bottom of the guide card.
Make your changes, then tap
 at the top right of the guide card.
Remove a guide
Go to the Maps app
 on your iPad.
Below Library, tap
 , then tap Guides.
Swipe left on the guide you want to remove, then tap Delete.