Active Noise Cancellation and Transparency modes for AirPods
You can switch between Active Noise Cancellation and Transparency listening modes on your AirPods Pro and AirPods Max, depending on how much of your surroundings you want to hear. You can also turn off listening modes.
What are Active Noise Cancellation and Transparency modes?
With Active Noise Cancellation, an outward-facing microphone or microphones detect external sounds, which your AirPods 4 (ANC), AirPods Pro 1, AirPods Pro 2, AirPods Pro 3, AirPods Max 1, and AirPods Max 2 then counter with anti-noise, canceling the external sounds before you hear them. An inward-facing microphone listens inside your ear for unwanted internal sounds, which your AirPods also counter with anti-noise.
Transparency mode lets outside sound in, so you can hear what's going on around you. Active Noise Cancellation and Transparency mode work best when your AirPods Pro fit well.
If you have AirPods 4 (ANC), AirPods Pro 2, AirPods Pro 3, or AirPods Max 2 and the latest version of iOS or iPadOS, you can also use Adaptive Audio, which adjusts the noise cancellation for you in response to and based on your surroundings.
With AirPods Pro 2, AirPods Pro 3, and AirPods Max 2, listening modes can also reduce your exposure to loud environmental sounds.
Switch between listening modes
You can switch between listening modes right from your AirPods, or you can use your iPhone, iPad, Apple Watch, or Mac. When you switch between modes, a chime plays.
When you use iOS, iPadOS, watchOS, or macOS to switch between noise-control modes, you see Active Noise Cancellation available as Noise Cancellation.
Switch between listening modes on your AirPods Max 1 or AirPods Max 2
When you're wearing your AirPods Max 1 or your AirPods Max 2, press the listening mode button to switch between Active Noise Cancellation and Transparency modes. With AirPods Max 2, you can also switch to Adaptive Audio. You can customize which modes to switch between in Bluetooth settings on your iPhone, iPad, or Mac.

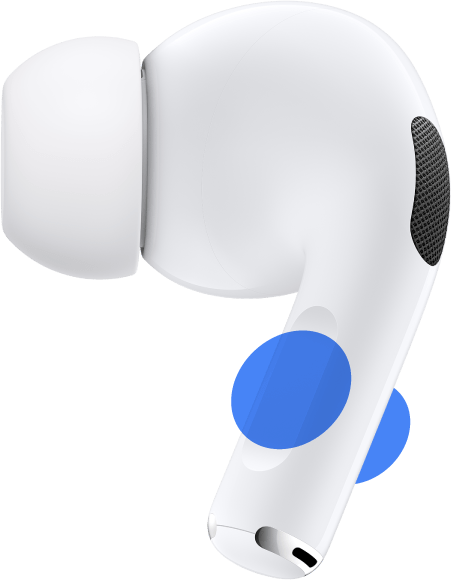
Switch between listening modes on your AirPods 4 (ANC) or AirPods Pro
Press and hold the force sensor on the stem of an AirPod until a chime plays.
When you're wearing both AirPods, press and hold the force sensor on either AirPod to switch between Active Noise Cancellation, Transparency mode, and Off. With AirPods 4 (ANC), AirPods Pro 2, and AirPods Pro 3, you can also switch to Adaptive Audio. You can customize which modes to switch between in AirPods Settings on your iPhone, iPad, or Mac.
To use Active Noise Cancellation with one AirPod only, use your iPhone or iPad to go to Settings > Accessibility > AirPods, and turn on "Noise Cancellation with One AirPod." Then press and hold the force sensor to switch between listening modes.
Switch between listening modes on your iPhone or iPad
Swipe down from the top right corner of your device to open Control Center on your iPhone or on your iPad.
While wearing your AirPods, touch and hold the volume slider until you see the additional controls.
Tap the Listening Mode button
 in the lower-left corner.
Tap the listening mode that you want.

You can also customize and switch between listening modes in Settings:
With your AirPods in your ears and connected to your iPhone or iPad, go to Settings.
Tap the name of your AirPods.
To switch between listening modes, tap Noise Cancellation or Transparency. To select the listening modes that you want to use with the force sensor on your AirPods 4 (ANC) or AirPods Pro, or with the listening mode button on your AirPods Max, select two or three modes under Button Cycles Between.

Switch between listening modes on your Apple Watch
With your AirPods Pro or AirPods Max connected to your Apple Watch, press the side button to go to Control Center.
While you're listening to audio, tap the icon of your AirPods.
Choose a listening mode.
Switch between listening modes on your Mac
With your AirPods Pro or AirPods Max connected to your Mac, click the AirPods icon in the menu bar.
Choose your AirPods Pro or AirPods Max, then choose the listening mode you want.

You can also choose the two or three listening modes that you want to use with the force sensor on your AirPods (ANC) or AirPods Pro, or with the listening mode button on your AirPods Max:
With your AirPods Pro or AirPods Max connected to your Mac, choose Apple menu > System Settings.
Click "Press and hold to cycle between" to select the two or three listening modes that you want to cycle between.

Find out what to do if Active Noise Cancellation isn’t working as expected on your AirPods Pro.
Turn off listening modes
With your AirPods connected to your device, go to Settings > your AirPods on iPhone or iPad. On Mac, choose Apple menu > System Settings, then choose your AirPods.
For AirPods Pro 2 and AirPods Pro 3 paired with compatible devices,* enable the setting called Off Listening Mode, which allows you to turn off all listening mode technology.
Under Listening Mode, select Off. For AirPods Pro 2 and AirPods Pro 3 on compatible devices, turning off Listening Mode also disables Hearing Protection features.
* Compatible devices include iPhone with iOS 18.1 or later, iPad with iPadOS 18.1 or later, or a Mac computer with macOS Sonoma 15.1 or later.
Need more help?
Tell us more about what's happening, and we’ll suggest what you can do next.