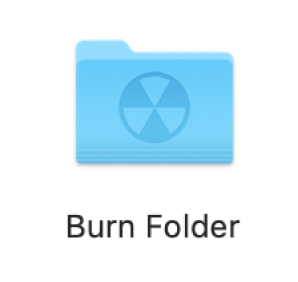
Create and use a burn folder on Mac
You can create a burn folder to collect files you want to burn onto a CD or DVD. Burn folders are useful for burning several copies of a folder or for regularly backing up a set of files by burning them to discs.
Create a burn folder
On your Mac, click the desktop (the background area of your screen) if you want to keep the burn folder on the desktop; otherwise, open the window where you want to keep the burn folder.
Choose File > New Burn Folder, then type a name for the folder.
Note: If your computer doesn’t have an internal drive or a connected external drive that can burn discs, the New Burn Folder command doesn’t appear in the File menu. To see the New Burn Folder command, connect an external drive.
Drag the items you want to burn to a disc to the burn folder.

The items you want to burn appear as aliases in the burn folder; the original items remain in their respective folders in the Finder.
If you like, for quick access to the burn folder in the future, drag it to the Favorites section of the Finder sidebar.
Burn the contents of a burn folder to a disc
On your Mac, open the burn folder, then click Burn. (Or, if the burn folder is in the Finder sidebar, click the burn icon
 next to it.)
Insert a blank disc into your computer’s optical drive, or into an optical drive connected to your computer, then follow the instructions. The original files that the aliases point to are burned to the disc.
If the Finder can’t find the original file for an alias, it asks whether to cancel burning or to continue without that item. If you cancel, the disc remains empty.