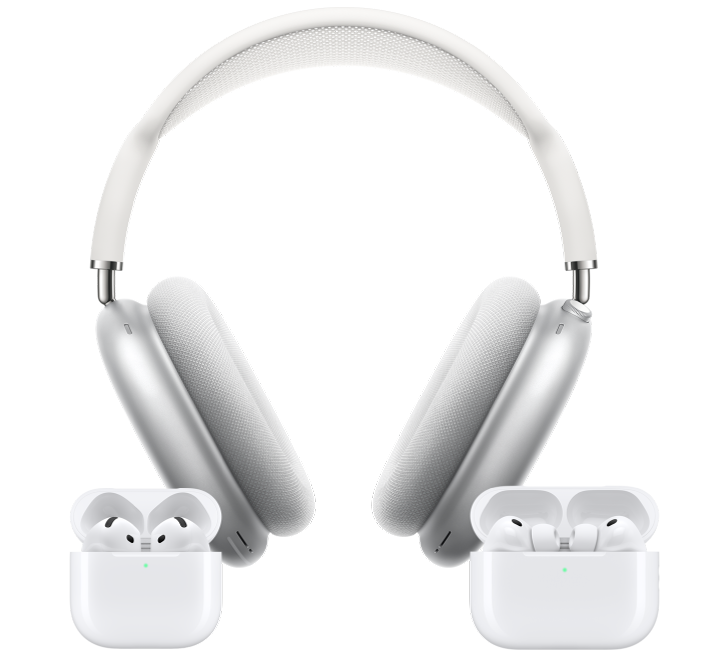
Pair your AirPods
You can pair AirPods with your Apple devices to listen to music, movies, messages, and more. After you set up your AirPods with one Apple device (like your iPhone), your AirPods connect automatically to your other Apple devices where you’re signed in to the same Apple Account.
Listen with a tap or a press
With just a tap or a press, pause and resume video playback, skip music tracks, activate Siri, and more—all without picking up another device.
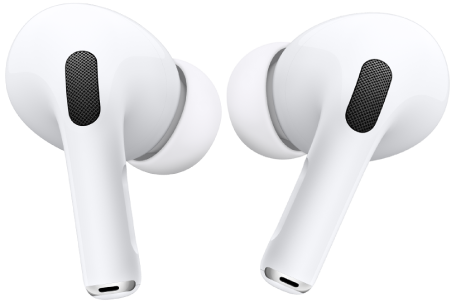
Meet your new workout partners
AirPods Pro 3 feature in-ear heart rate monitoring sensors that help you track your performance with your favorite workout apps, including the Fitness app on iPhone.
Tune out your surroundings
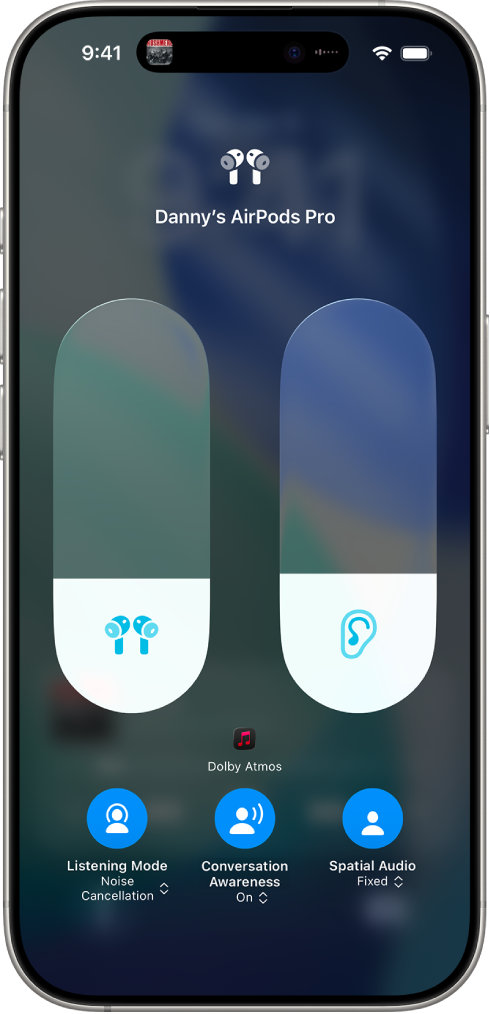
Give your full attention to what matters in the moment. With supported AirPods models, turn on Noise Cancellation to block external sounds, and when you need to hear the dog bark or the kettle whistling, switch to Transparency mode. With some AirPods models, you can also use Adaptive Audio to automatically adjust the level of noise control based on your environment.
Find your AirPods
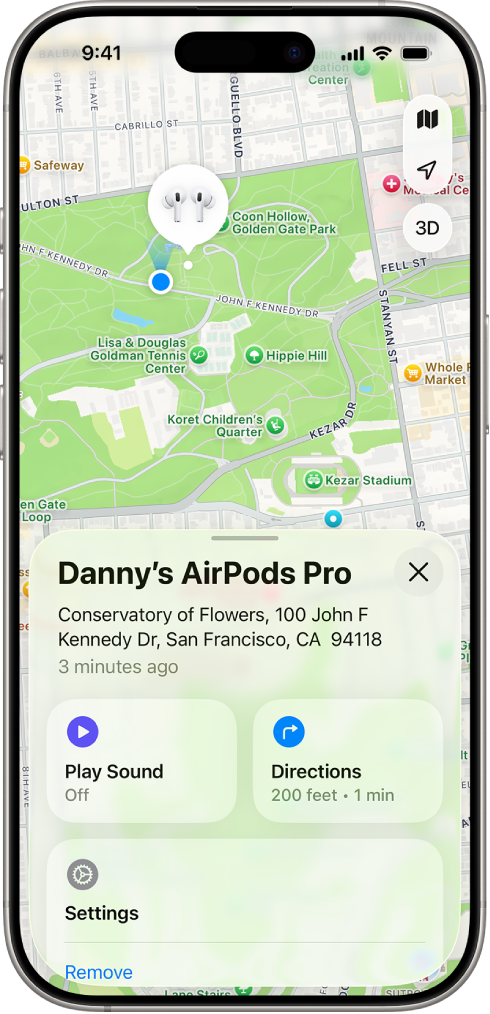
Locate and get directions to your AirPods when they’re lost with the Find my app. If your AirPods are nearby, you can play a sound on your AirPods to help you locate them, set separation alerts to let you know if you’ve left them behind, and more.
Designed for you
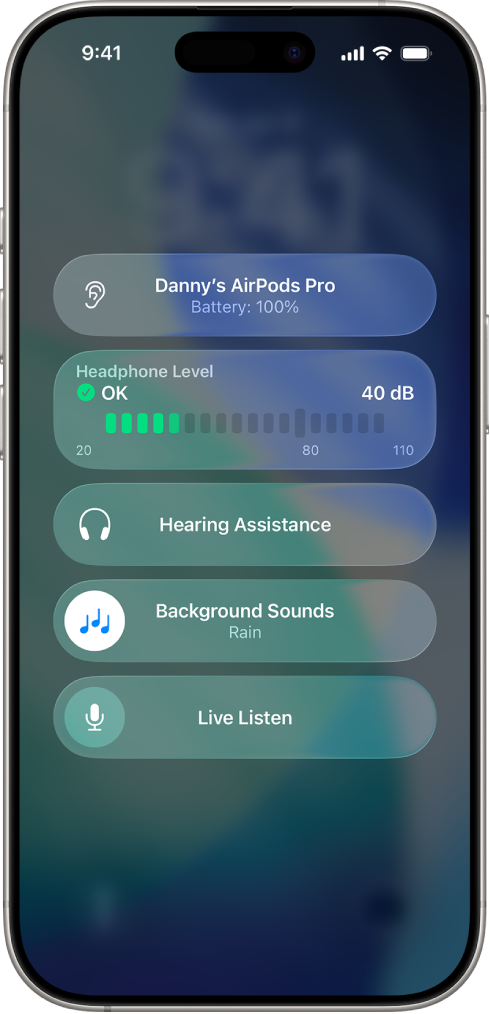
Built-in features on your AirPods can make it easier to focus on your work, use AirPods controls, and hear people speaking in the room.
To explore the AirPods User Guide, click Table of Contents at the top of the page, or enter a word or phrase in the search field.