Create a storyboard project in iMovie on iPad
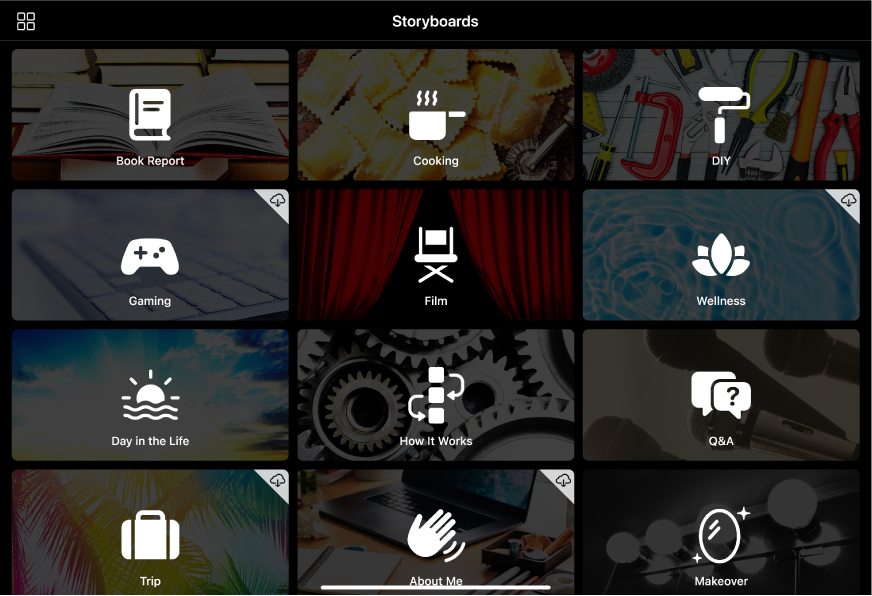
Storyboards are pre-made video templates for creating common types of videos like cooking tutorials, product reviews or science experiments. To create a storyboard project, first choose a storyboard. Each storyboard includes a flexible shot list that provides a step-by-step guide to the clips you need to capture to make your video, as well as titles, transitions and music to match. iMovie Trailers are now included with Storyboards.
If you’re in a classroom setting and using an iPad set up as a Shared iPad, your projects are automatically stored in iCloud Drive rather than on the iPad itself.
Note: For educational institutions using Shared iPad, iMovie is designed to be used by students who are logged in on only one iPad at a time.
In the iMovie app
 on your iPad, tap Start New Project, then tap Storyboard.
If you don’t see Start New Project, tap Projects to return to the Projects browser.
Tap to choose a storyboard.

When style options appear, tap a style to select it for your storyboard project.
If you’re not certain what style you want, you can experiment with different styles after you create the storyboard project. See Change the style of a Magic Movie or storyboard project in iMovie on iPad.
To add music, select the colour and font for titles and apply a filter, tap the buttons at the bottom of the screen.
If you aren’t sure about these yet, you can experiment with style options after you create the storyboard project. See Change the style of a Magic Movie or storyboard project in iMovie on iPad.
Tap Create at the top of the screen.
Note: To create a movie trailer, choose the Trailers storyboard, tap the trailer template you want to use, then tap Create. For more information about trailers, see Intro to trailers in iMovie on iPad.
After you create your storyboard project, you can add video clips, photos and titles.