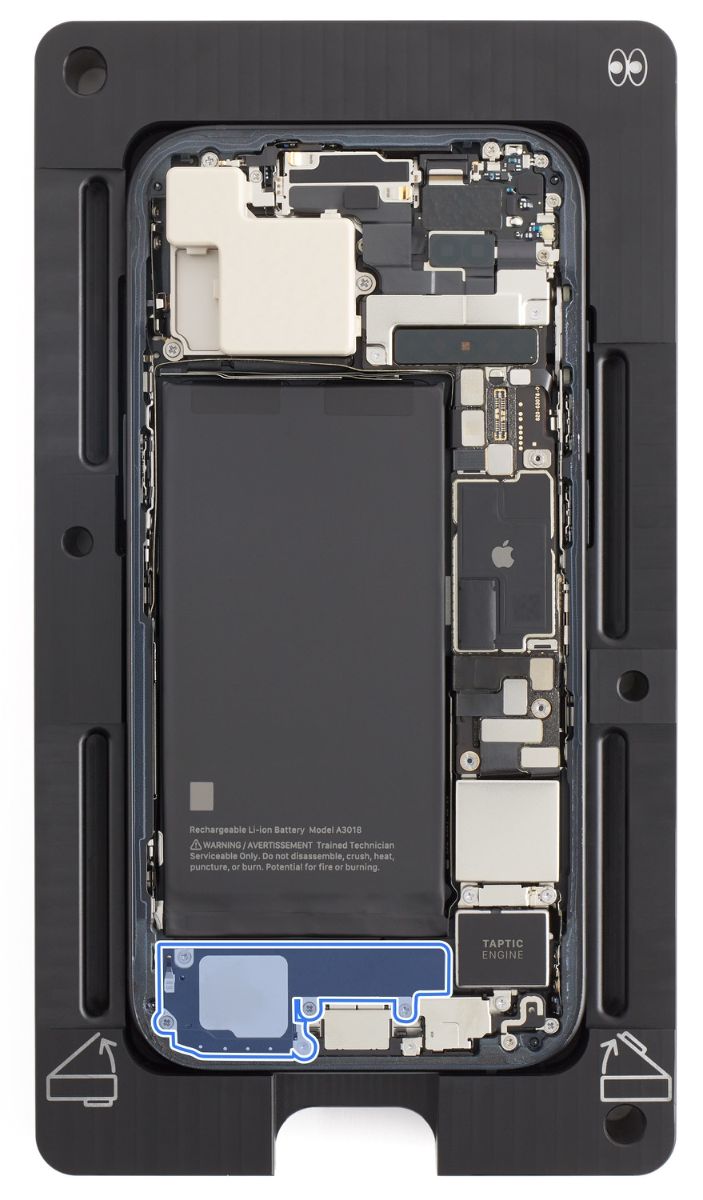
iPhone 15 Bottom Speaker
Before You Begin
 Warning
Read Battery Safety and follow workspace and battery handling guidelines before you begin.
Remove the following part before you begin:
Tools
6.1-inch repair tray
ESD-safe tweezers
JCIS bit
Micro stix bit
Nylon probe (black stick)
Torque driver (green, 0.45 kgf cm)
Torque driver (teal, 0.75 kgf cm)
 Caution
Avoid touching the grounding springs on and near the bottom speaker.
Removal
Use a torque driver and the JCIS bit to remove the four crosshead screws (1) from the bottom speaker. Set aside the screws.
Use a torque driver and the Micro stix bit to remove the trilobe screw (2) from the bottom speaker. Set aside the screw.

Remove the bottom speaker from the enclosure.
- Caution
Don’t damage the grounding spring on the bottom speaker.
Don’t lift the vent cowling while removing the bottom speaker.
Reassembly
Ensure that the rubber gasket is positioned as shown. If the gasket is out of position, use ESD-safe tweezers to reposition it.

Position the bottom speaker in the enclosure. Slide the bottom right screw hole of the bottom speaker under the vent cowling (1), and then drop the bottom speaker into place (2).
- Caution: Don’t lift the vent cowling while positioning the bottom speaker.

Use the teal torque driver and the JCIS bit to install one new crosshead screw (923-09816) (2) into the bottom speaker.
Use the teal torque driver and the JCIS bit to install three new crosshead screws (923-09823) (3) into the bottom speaker.
Use the green torque driver and Micro stix bit to install one new trilobe screw (923-09819) (1) into the bottom speaker.
- Caution: Don’t damage the grounding springs on the bottom speaker.

Reinstall the following part to complete reassembly: